Want to Save 10% on Your Order Today?
Sign up for our newsletter and we'll send you a 10% off coupon
Plus stay up-to-date on all things SonRise Coffee!
Sign up for our newsletter and we'll send you a 10% off coupon
Plus stay up-to-date on all things SonRise Coffee!
Are you tired of your same old coffee routine? Ready to try something new?
Try the Moka pot.
This stovetop coffee brewer is incredibly popular throughout Europe, but the ease of use and the great-tasting coffee it produces contributed to the popularity of the Moka Pot around the world. It’s a great way to get a strong, espresso-like brew without the expense and hassle of a true espresso machine. Continue reading for a complete guide on how to make coffee in a moka pot!
*Just wanted to let you know that most of the products that we have linked in this article are Amazon affiliate links, which simply means that we get a small commission on any product that you purchase when you use the links on this article. But we highly recommend the products and only want you to have the best! So thank you!
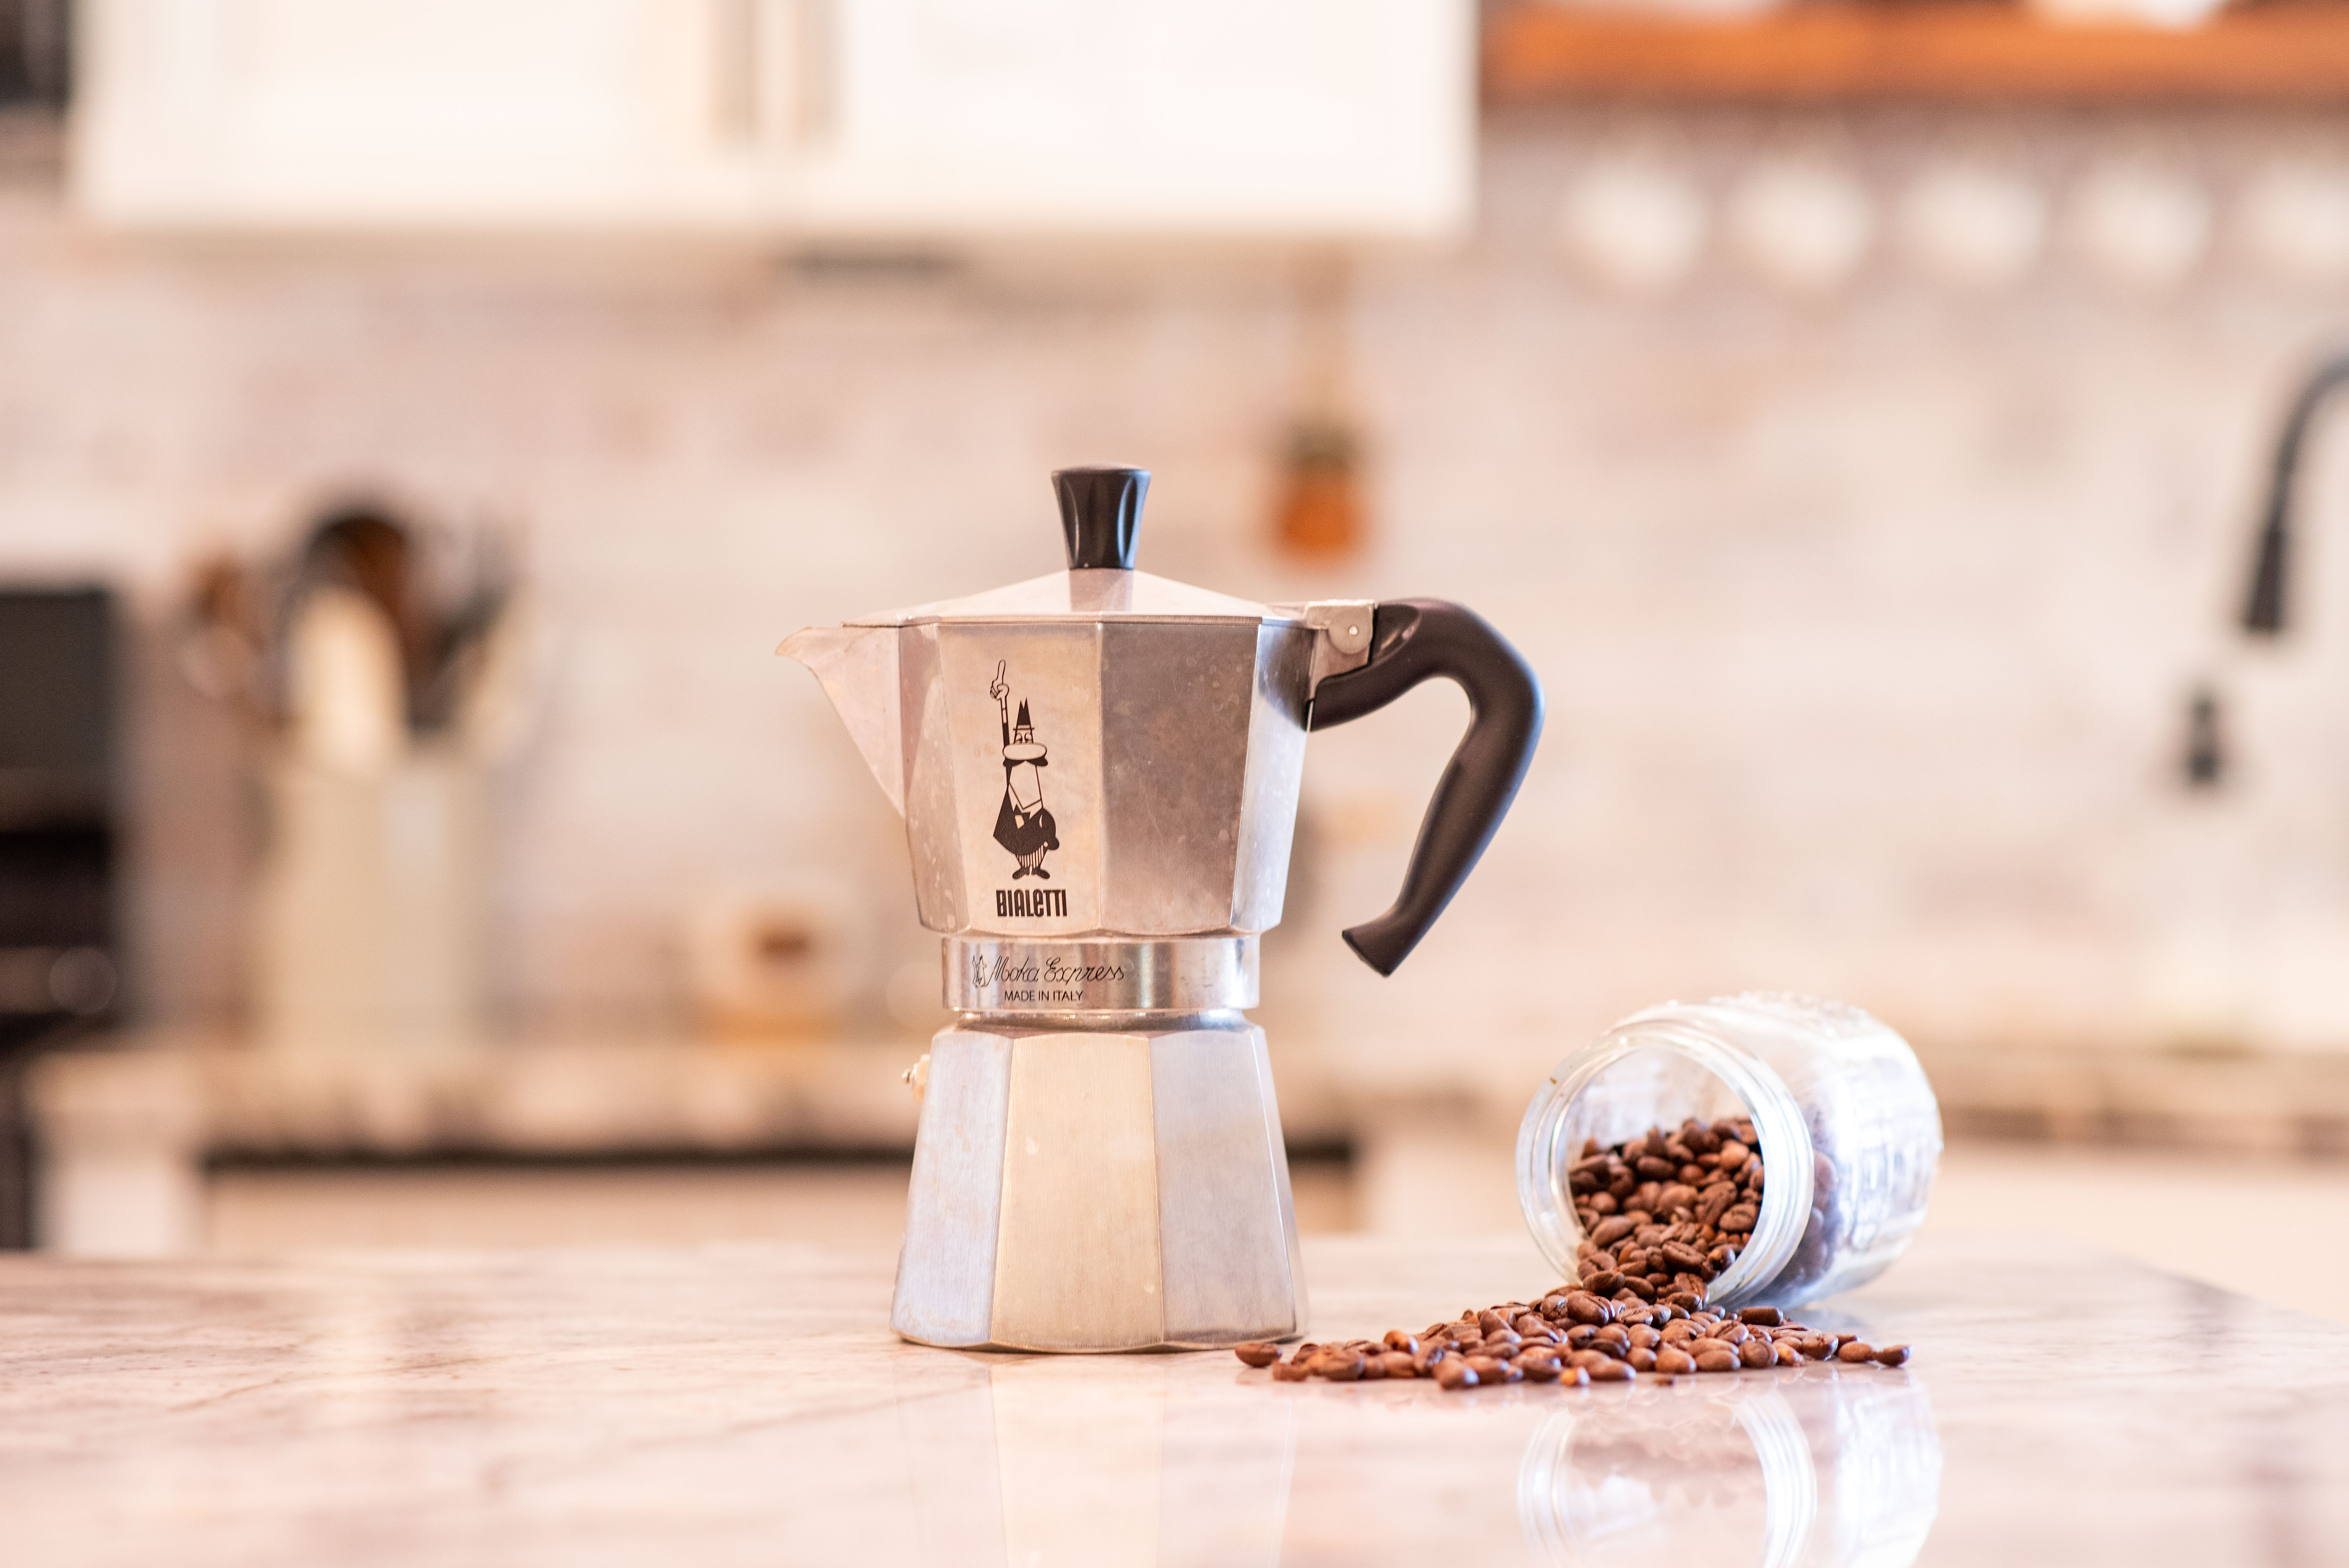
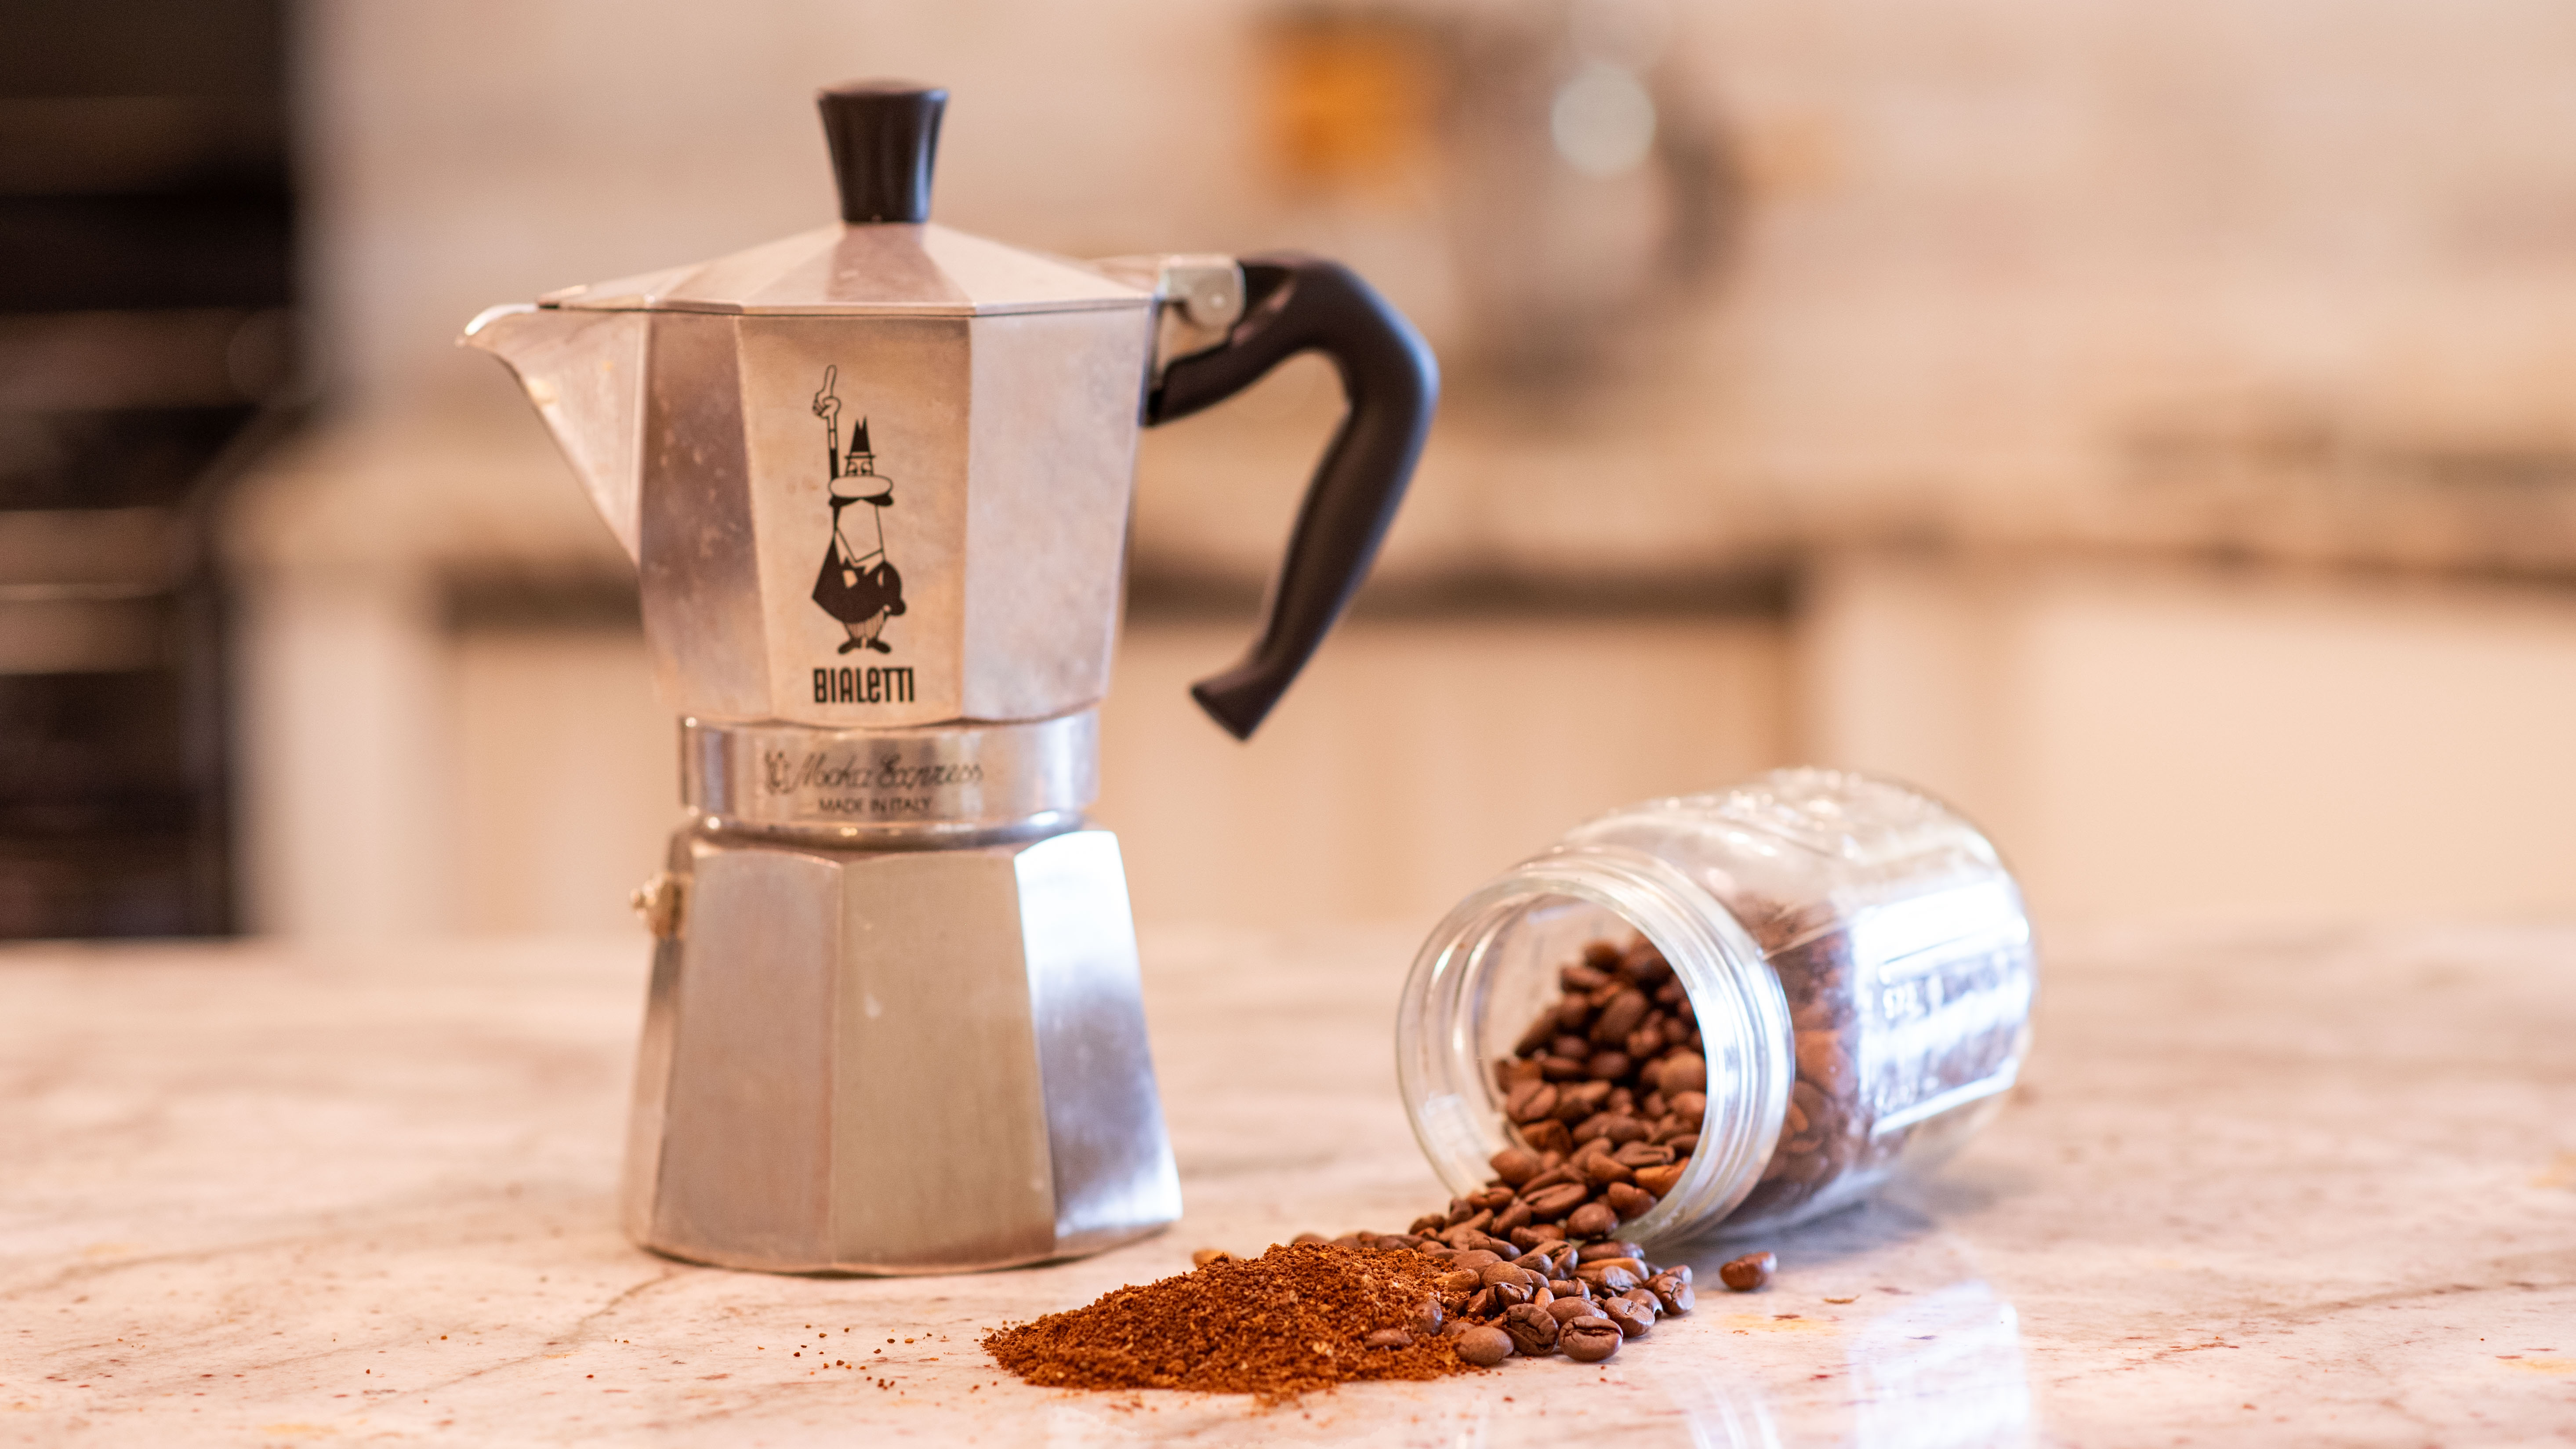
The Moka Pot, also known as a stovetop coffee maker, was invented in Italy in the early 1930’s by a man named Alfronso Bialetti. The rich, full-bodied flavor of espresso was becoming popular in Italy during this time, so he created this ingenious little coffee maker to make it easy for people to brew a strong, espresso-like coffee on their stovetops at home. Even today, you’ll find the Biletti Moka Express coffee pot in most Italian homes. Its popularity has spread around the world due to the ability for regular folks to enjoy coffee that tastes like it came from a high-end cafe.
Despite being known as “stovetop espresso makers,” Moka Pot coffee is not actually espresso. A shot of espresso requires 9 bars of pressure, and a moka pot only produces approximately 1 to 3 bars of pressure when it’s brewing. While this produces a great cup of coffee, it’s not enough to be classified as true espresso and doesn’t produce the fine creme that comes from an espresso machine.
But if you don’t have space or budget for a true espresso machine, a moka pot is a great alternative. Top your moka pot coffee with some steamed milk for a latte or cappuccino or just add some hot water for the traditional americano.
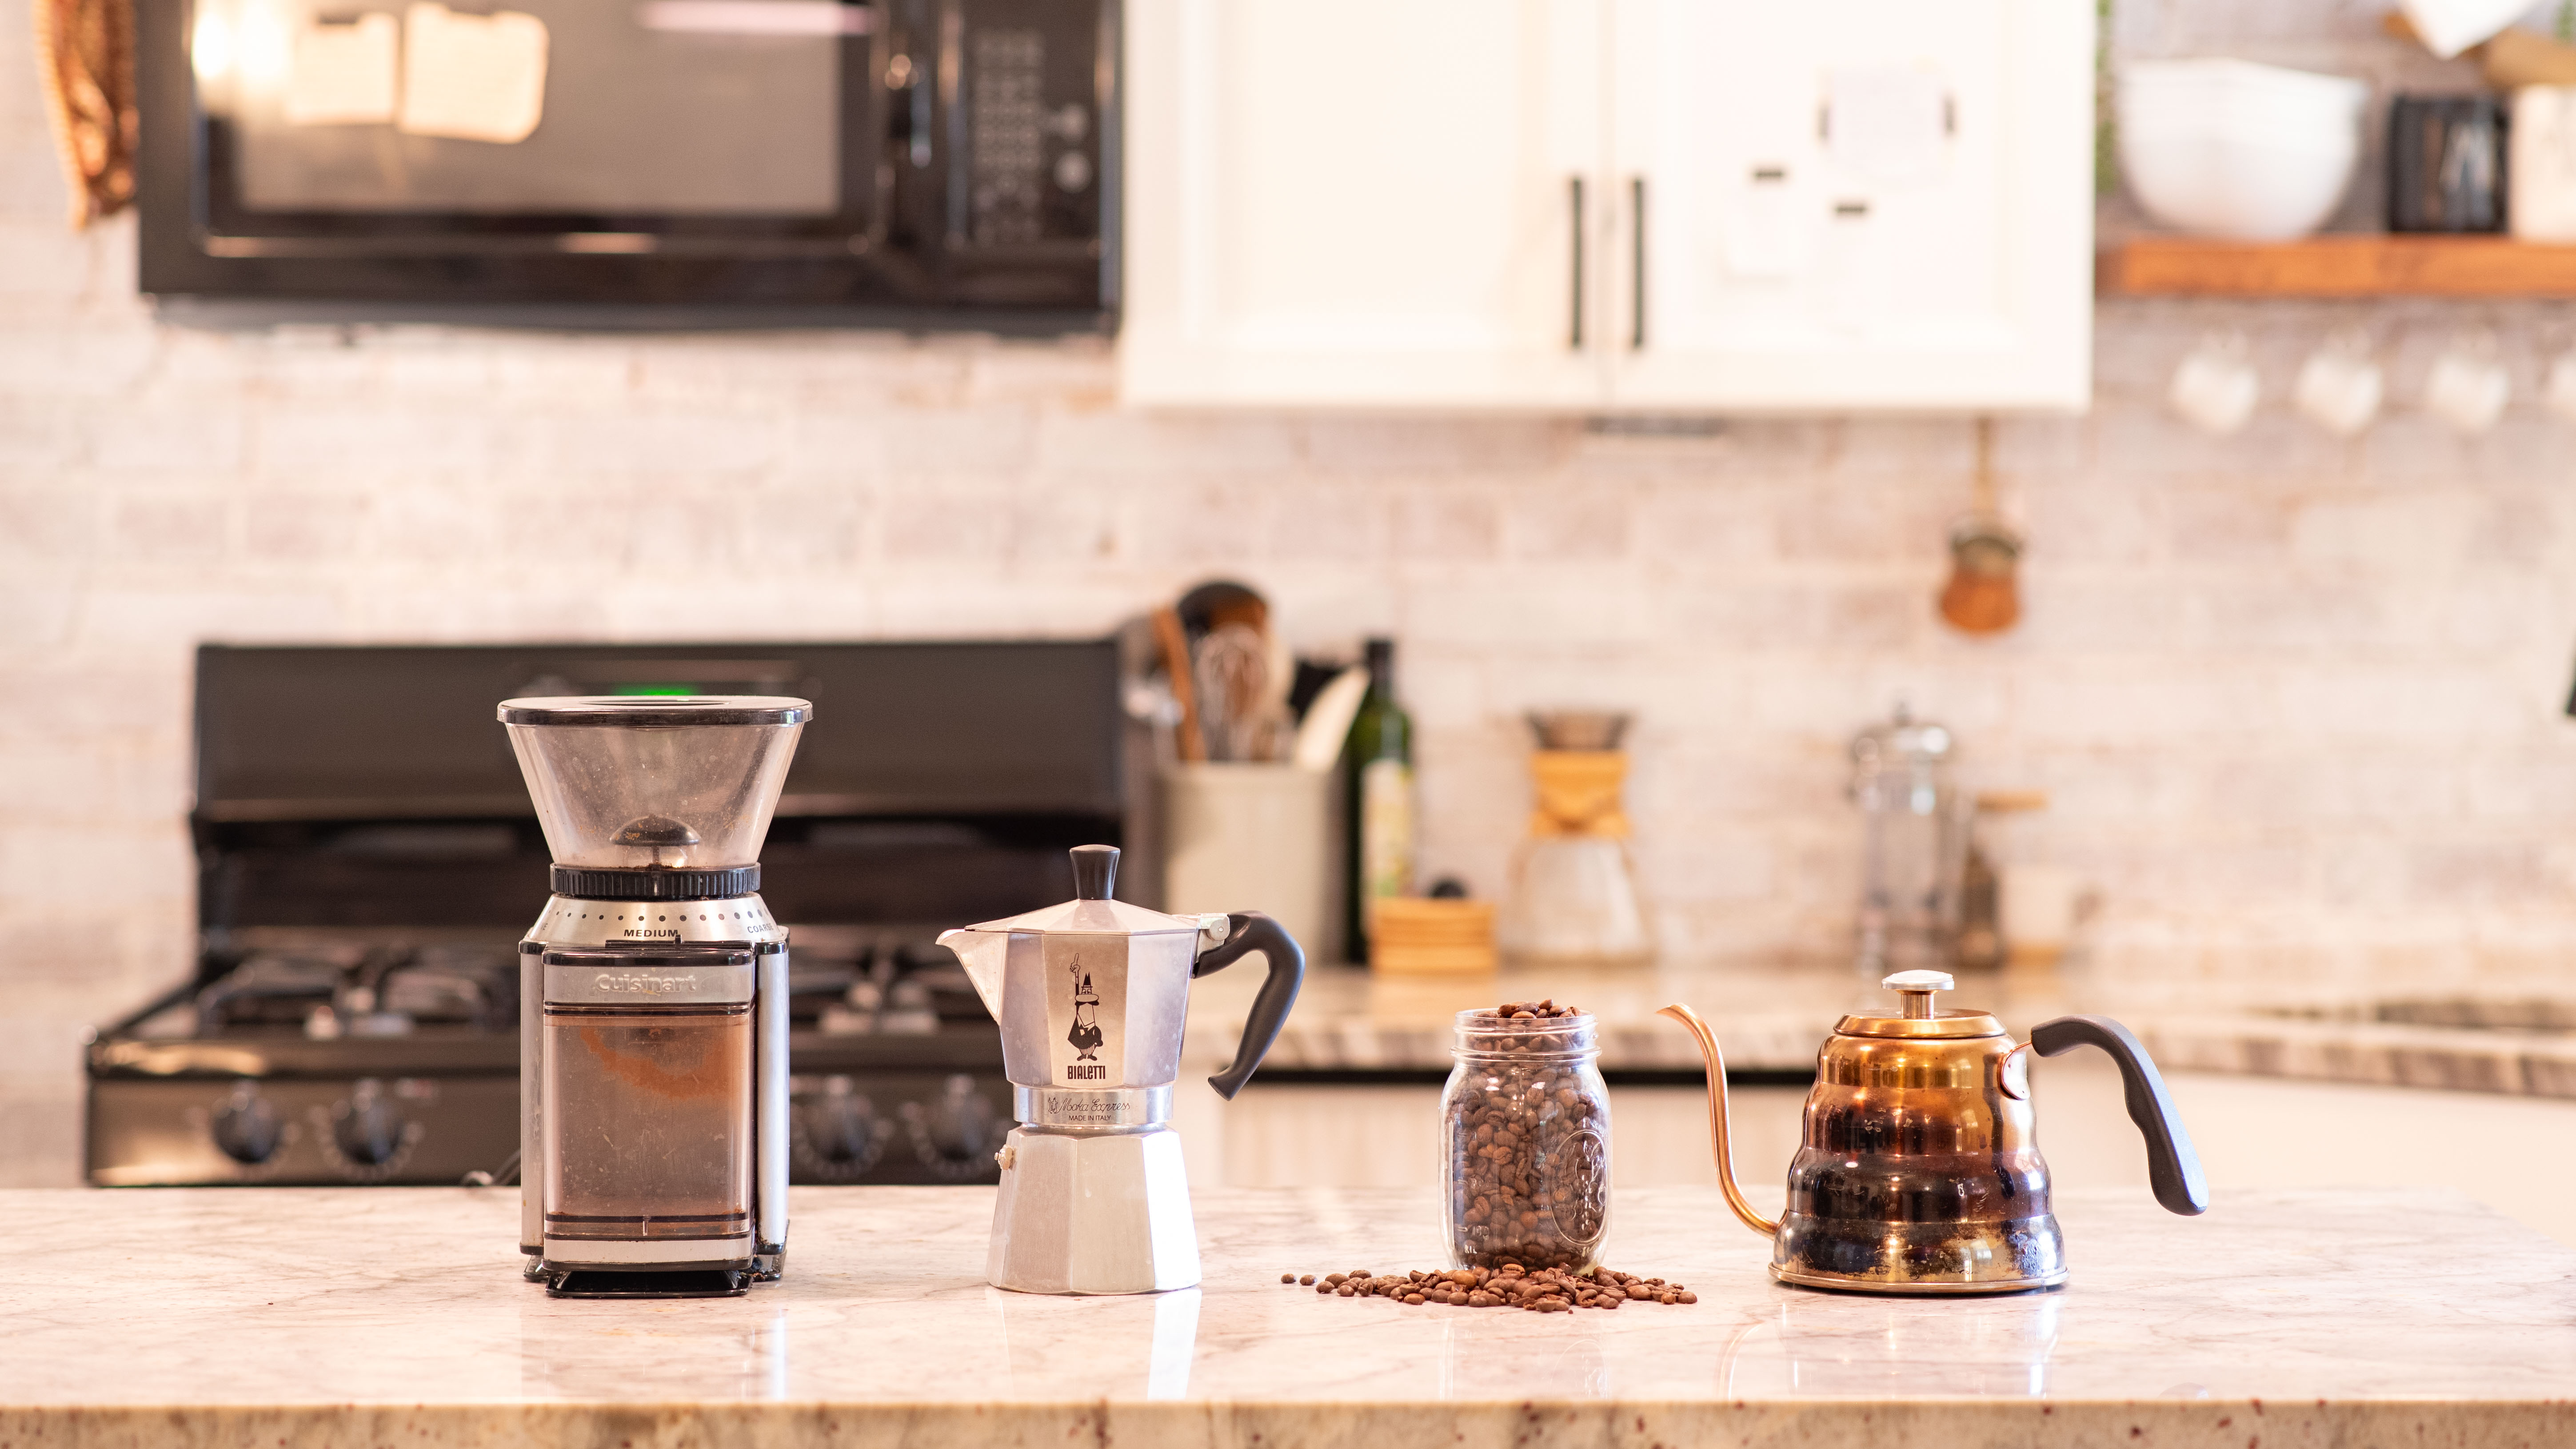
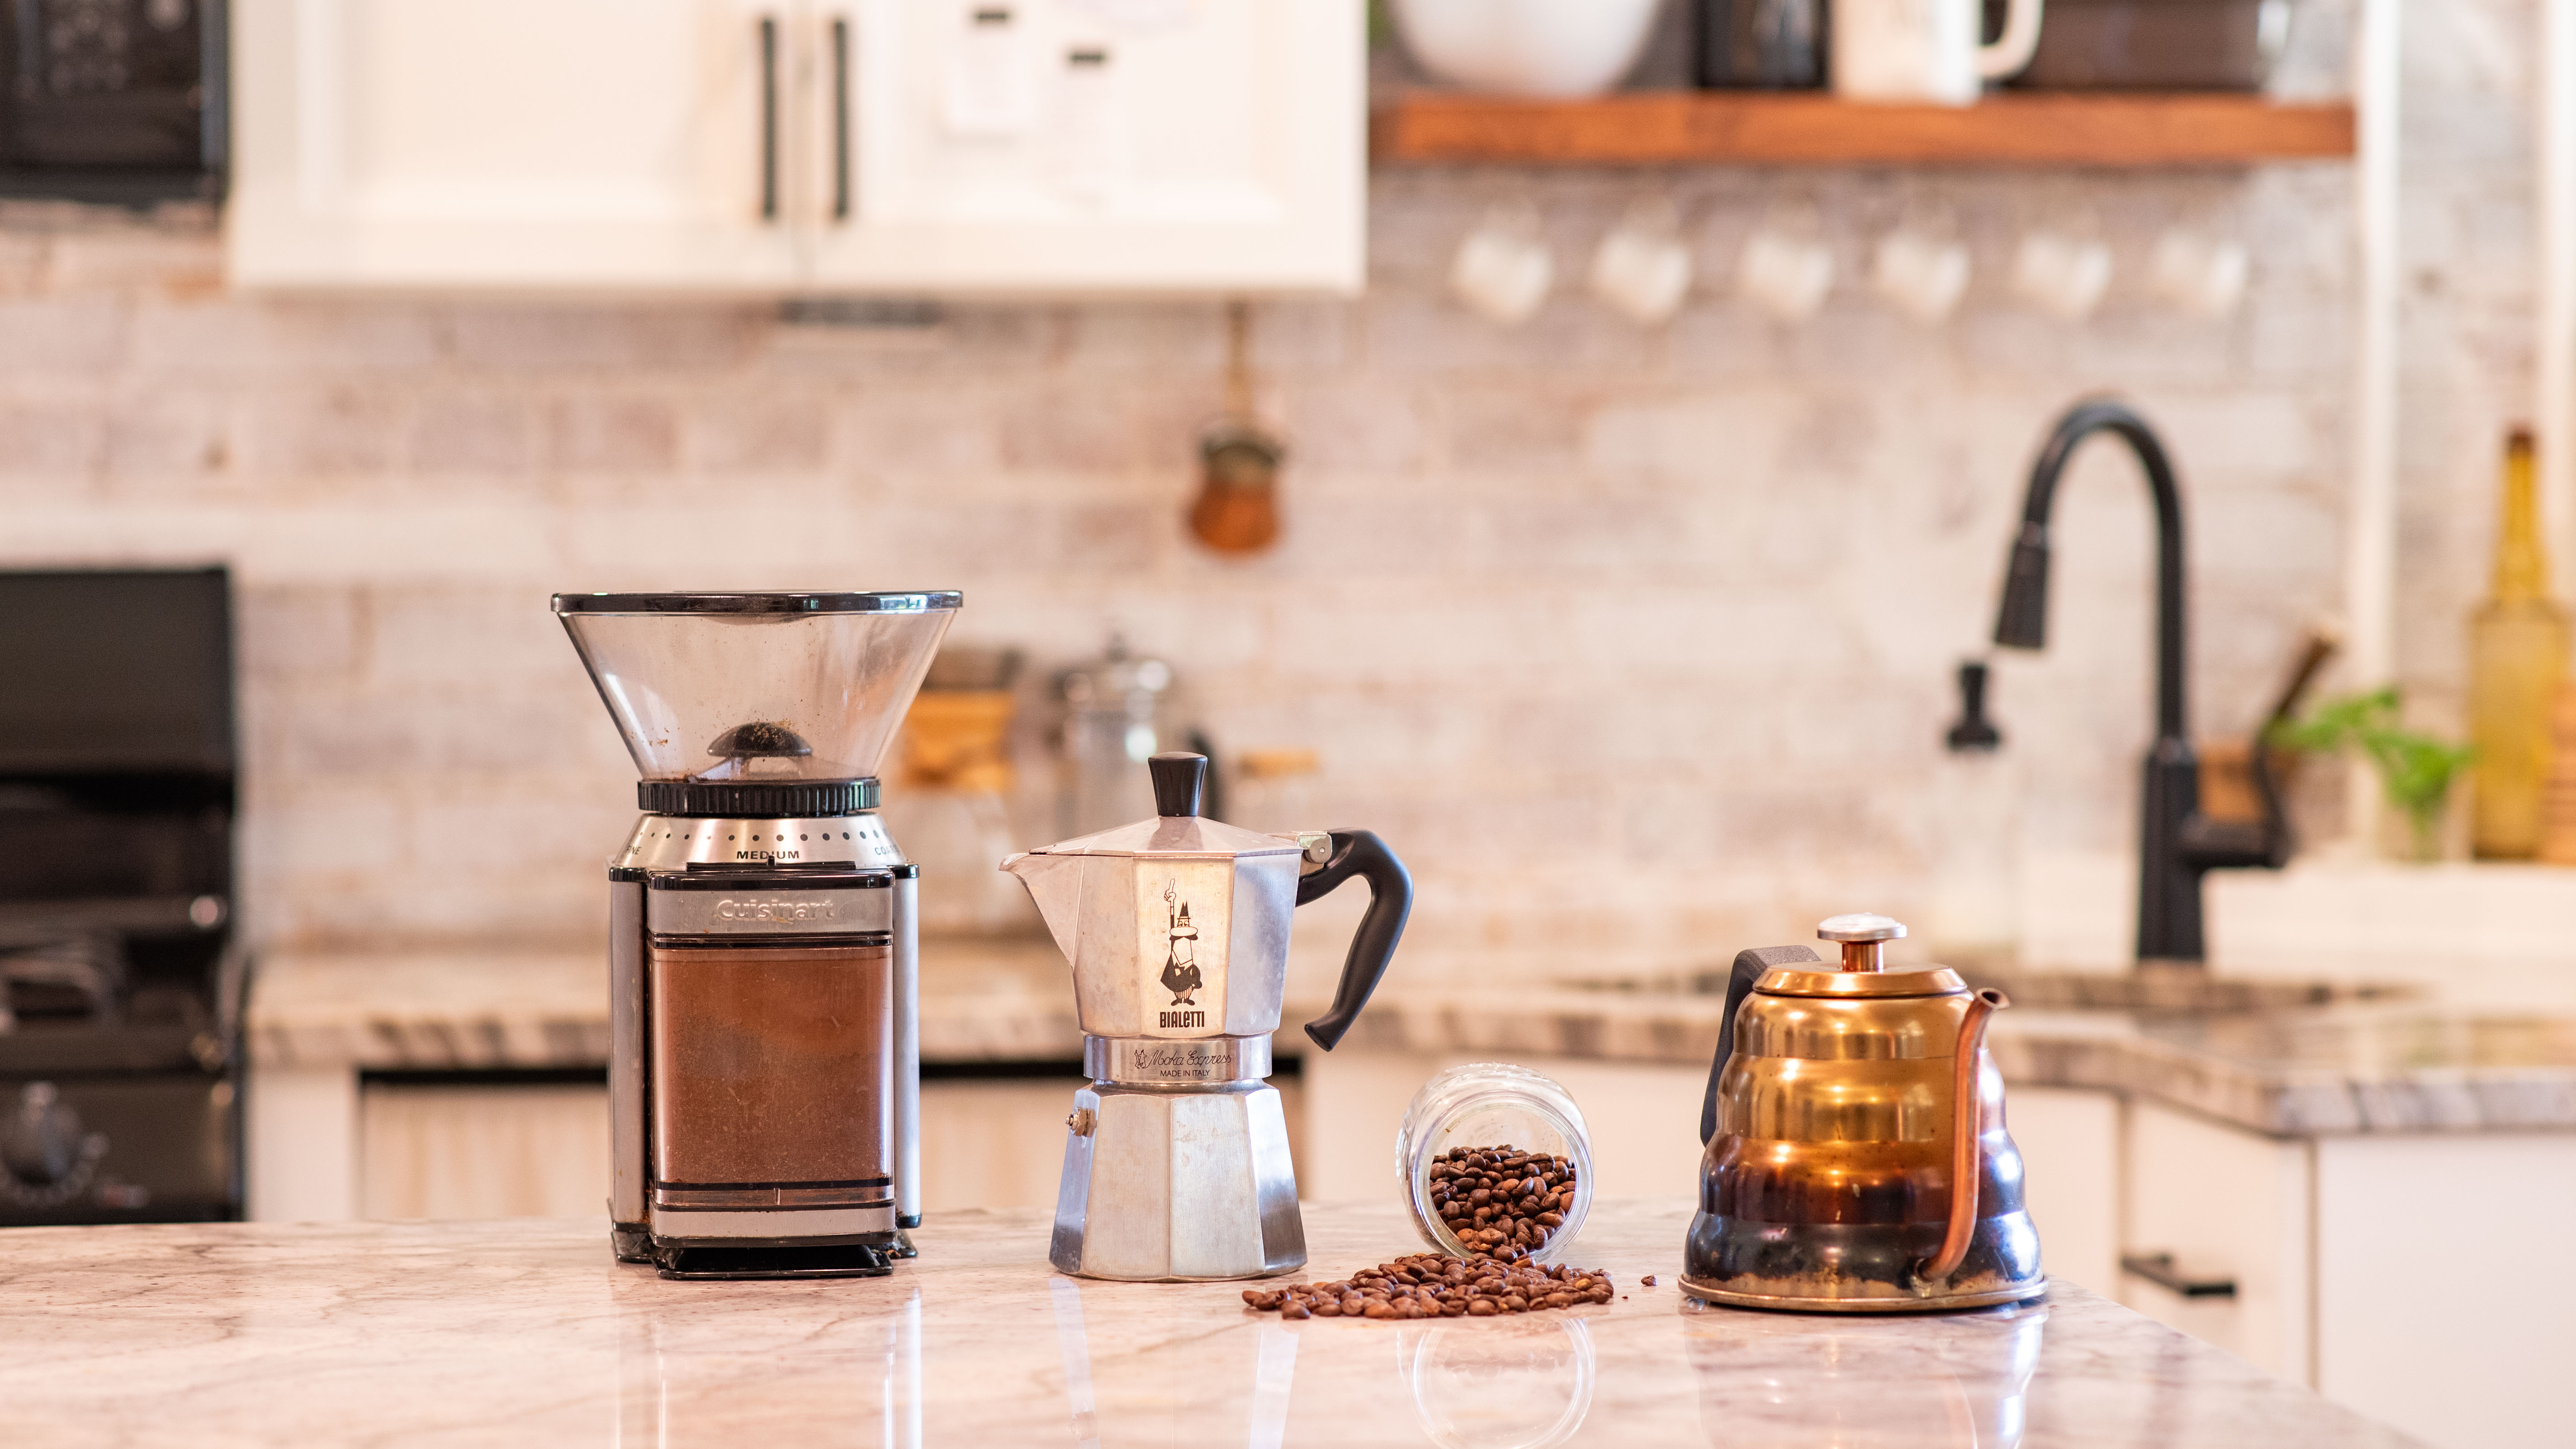
Before we get started brewing your first cup of coffee with a Moka Pot, let’s gather the things you’ll need.
You will obviously need a moka pot to brew this delicious coffee. There are a number of options available on the market, but by far, the most popular is the original Bialetti Moka Express. This coffee brewer comes in a variety of sizes, including 3-cup, 6-cup, and even larger options. We personally use the 3-cup brewer, which is great for single-serve coffee or to share with a friend.
A Moka express coffee maker consists of three main parts. A bottom chamber that holds the water, a filter basket for the ground coffee, and a top chamber where the brewed coffee collects. But we’ll get into more of this soon!
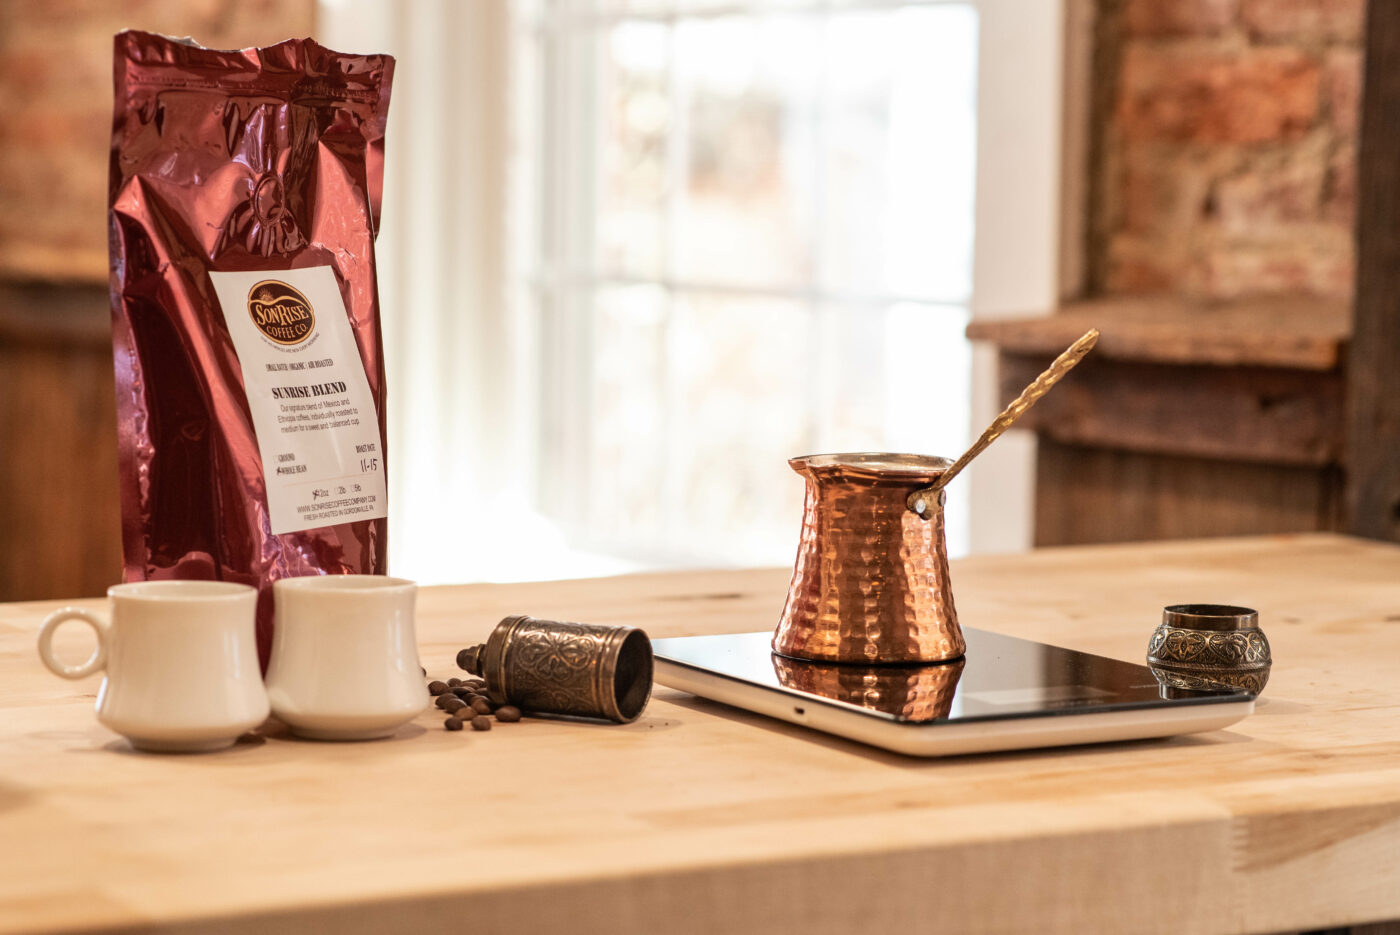
As with any brewing process, you will want to start with high-quality, fresh-roasted coffee. If you care about your health, we recommend using organic coffee due to the amount of pesticides and other sprays used in producing most coffee. Try this Organic Sunrise Coffee or this Peruvian Swiss-water processed decaf coffee.

The fresher your coffee is, the better the final brew will be. Grinding your own coffee is a great way to improve your coffee. We use and highly recommend the Baratza Encore grinder.
The water you choose for brewing your coffee will make a significant difference in the quality of the end product. We recommend using filtered water. This allows all the flavors and qualities of the coffee bean to come through in your final cup.
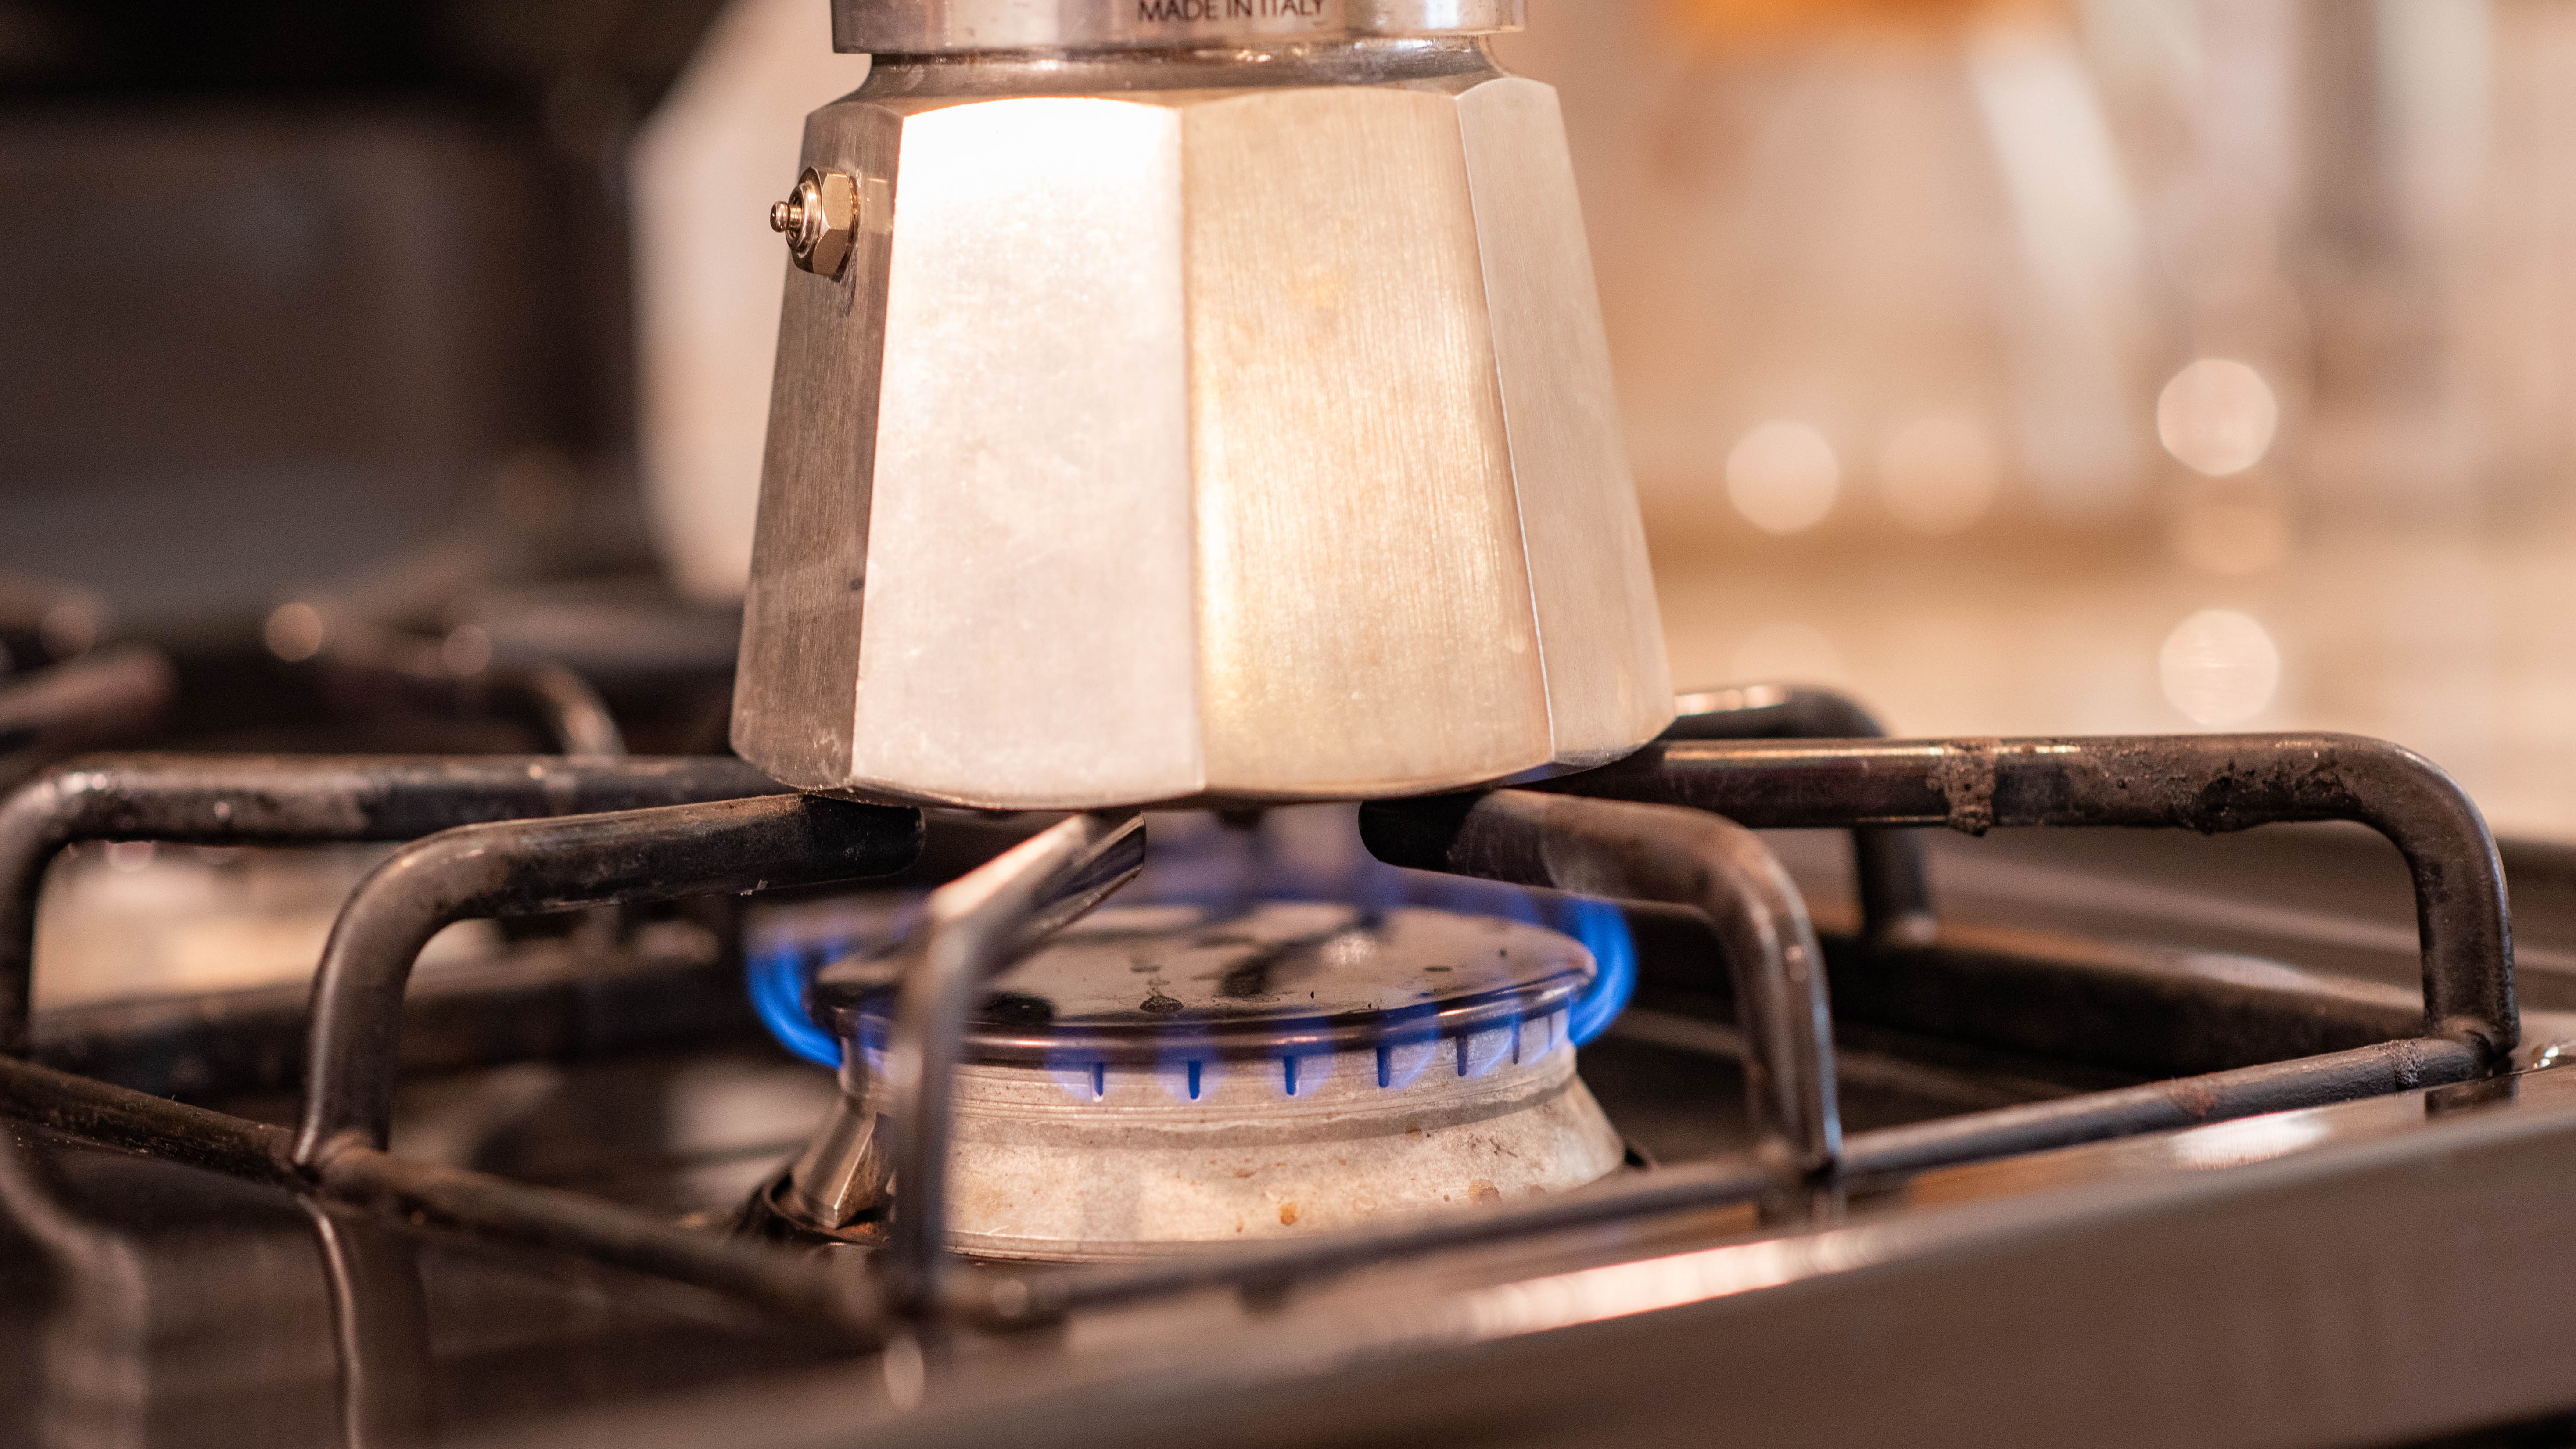
The beauty of the Moka Pot is the ability to make coffee pretty much anywhere you have a heat source. This can be any stove top, hot plate, or really anywhere you have a flame. You will want to keep it to medium or low heat so you can have more control over the brewing process.
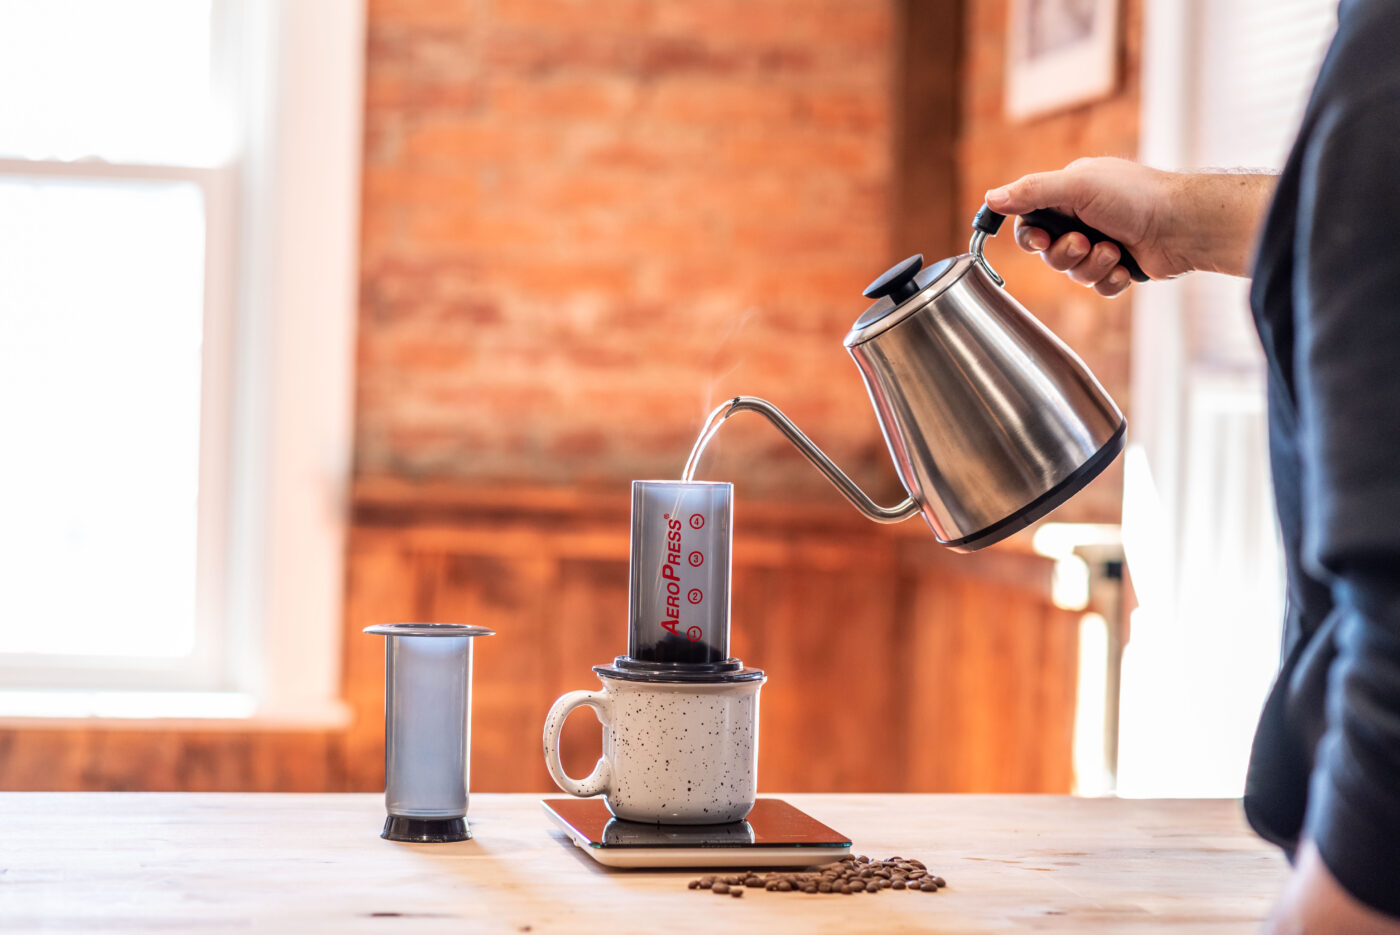
You might be thinking, “what does an AeroPress paper filter have to do with a Moka pot”. The answer…by adding this paper filter underneath the top chamber of your pot, you add another layer of filtration which gives you a cleaner cup of coffee and seems to improve the overall extraction.
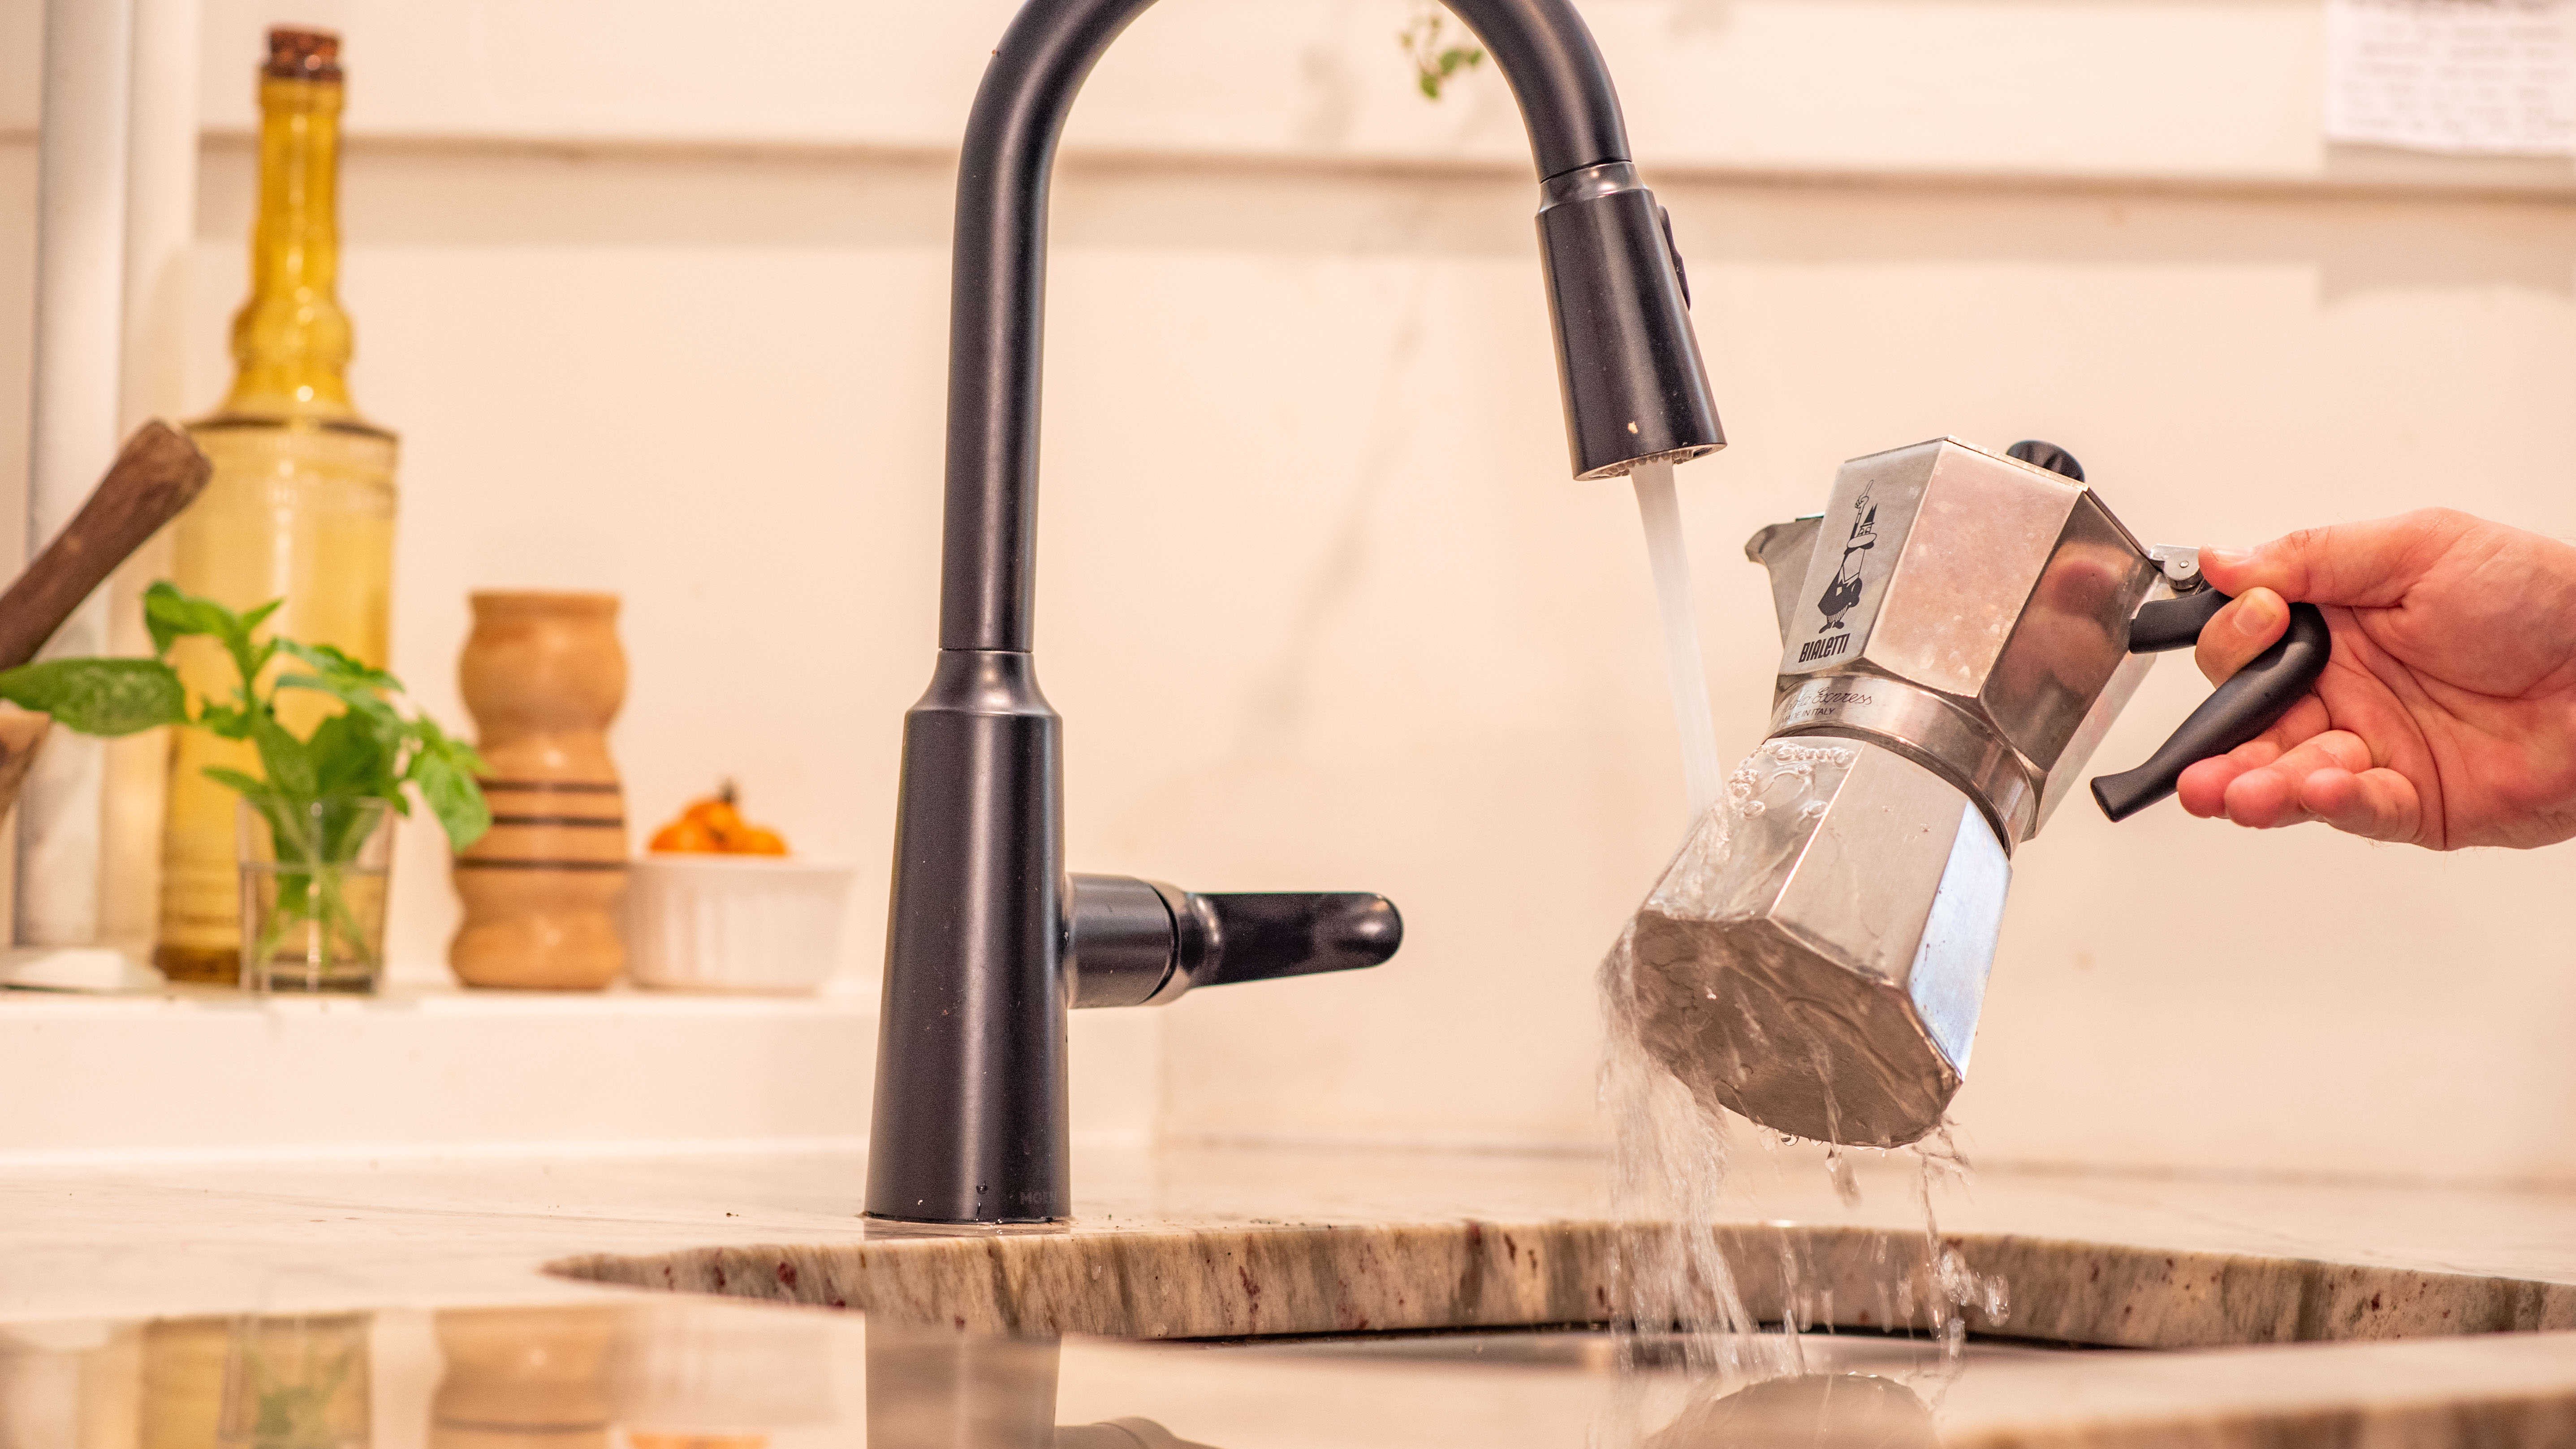
We recommend cooling the Moka Pot off with cold water immediately after the coffee is made so it doesn’t over-extract the coffee grounds. But this step is optional, and you can easily use the Moka Pot without this.
Now that you have all your supplies together. It’s time to get started.
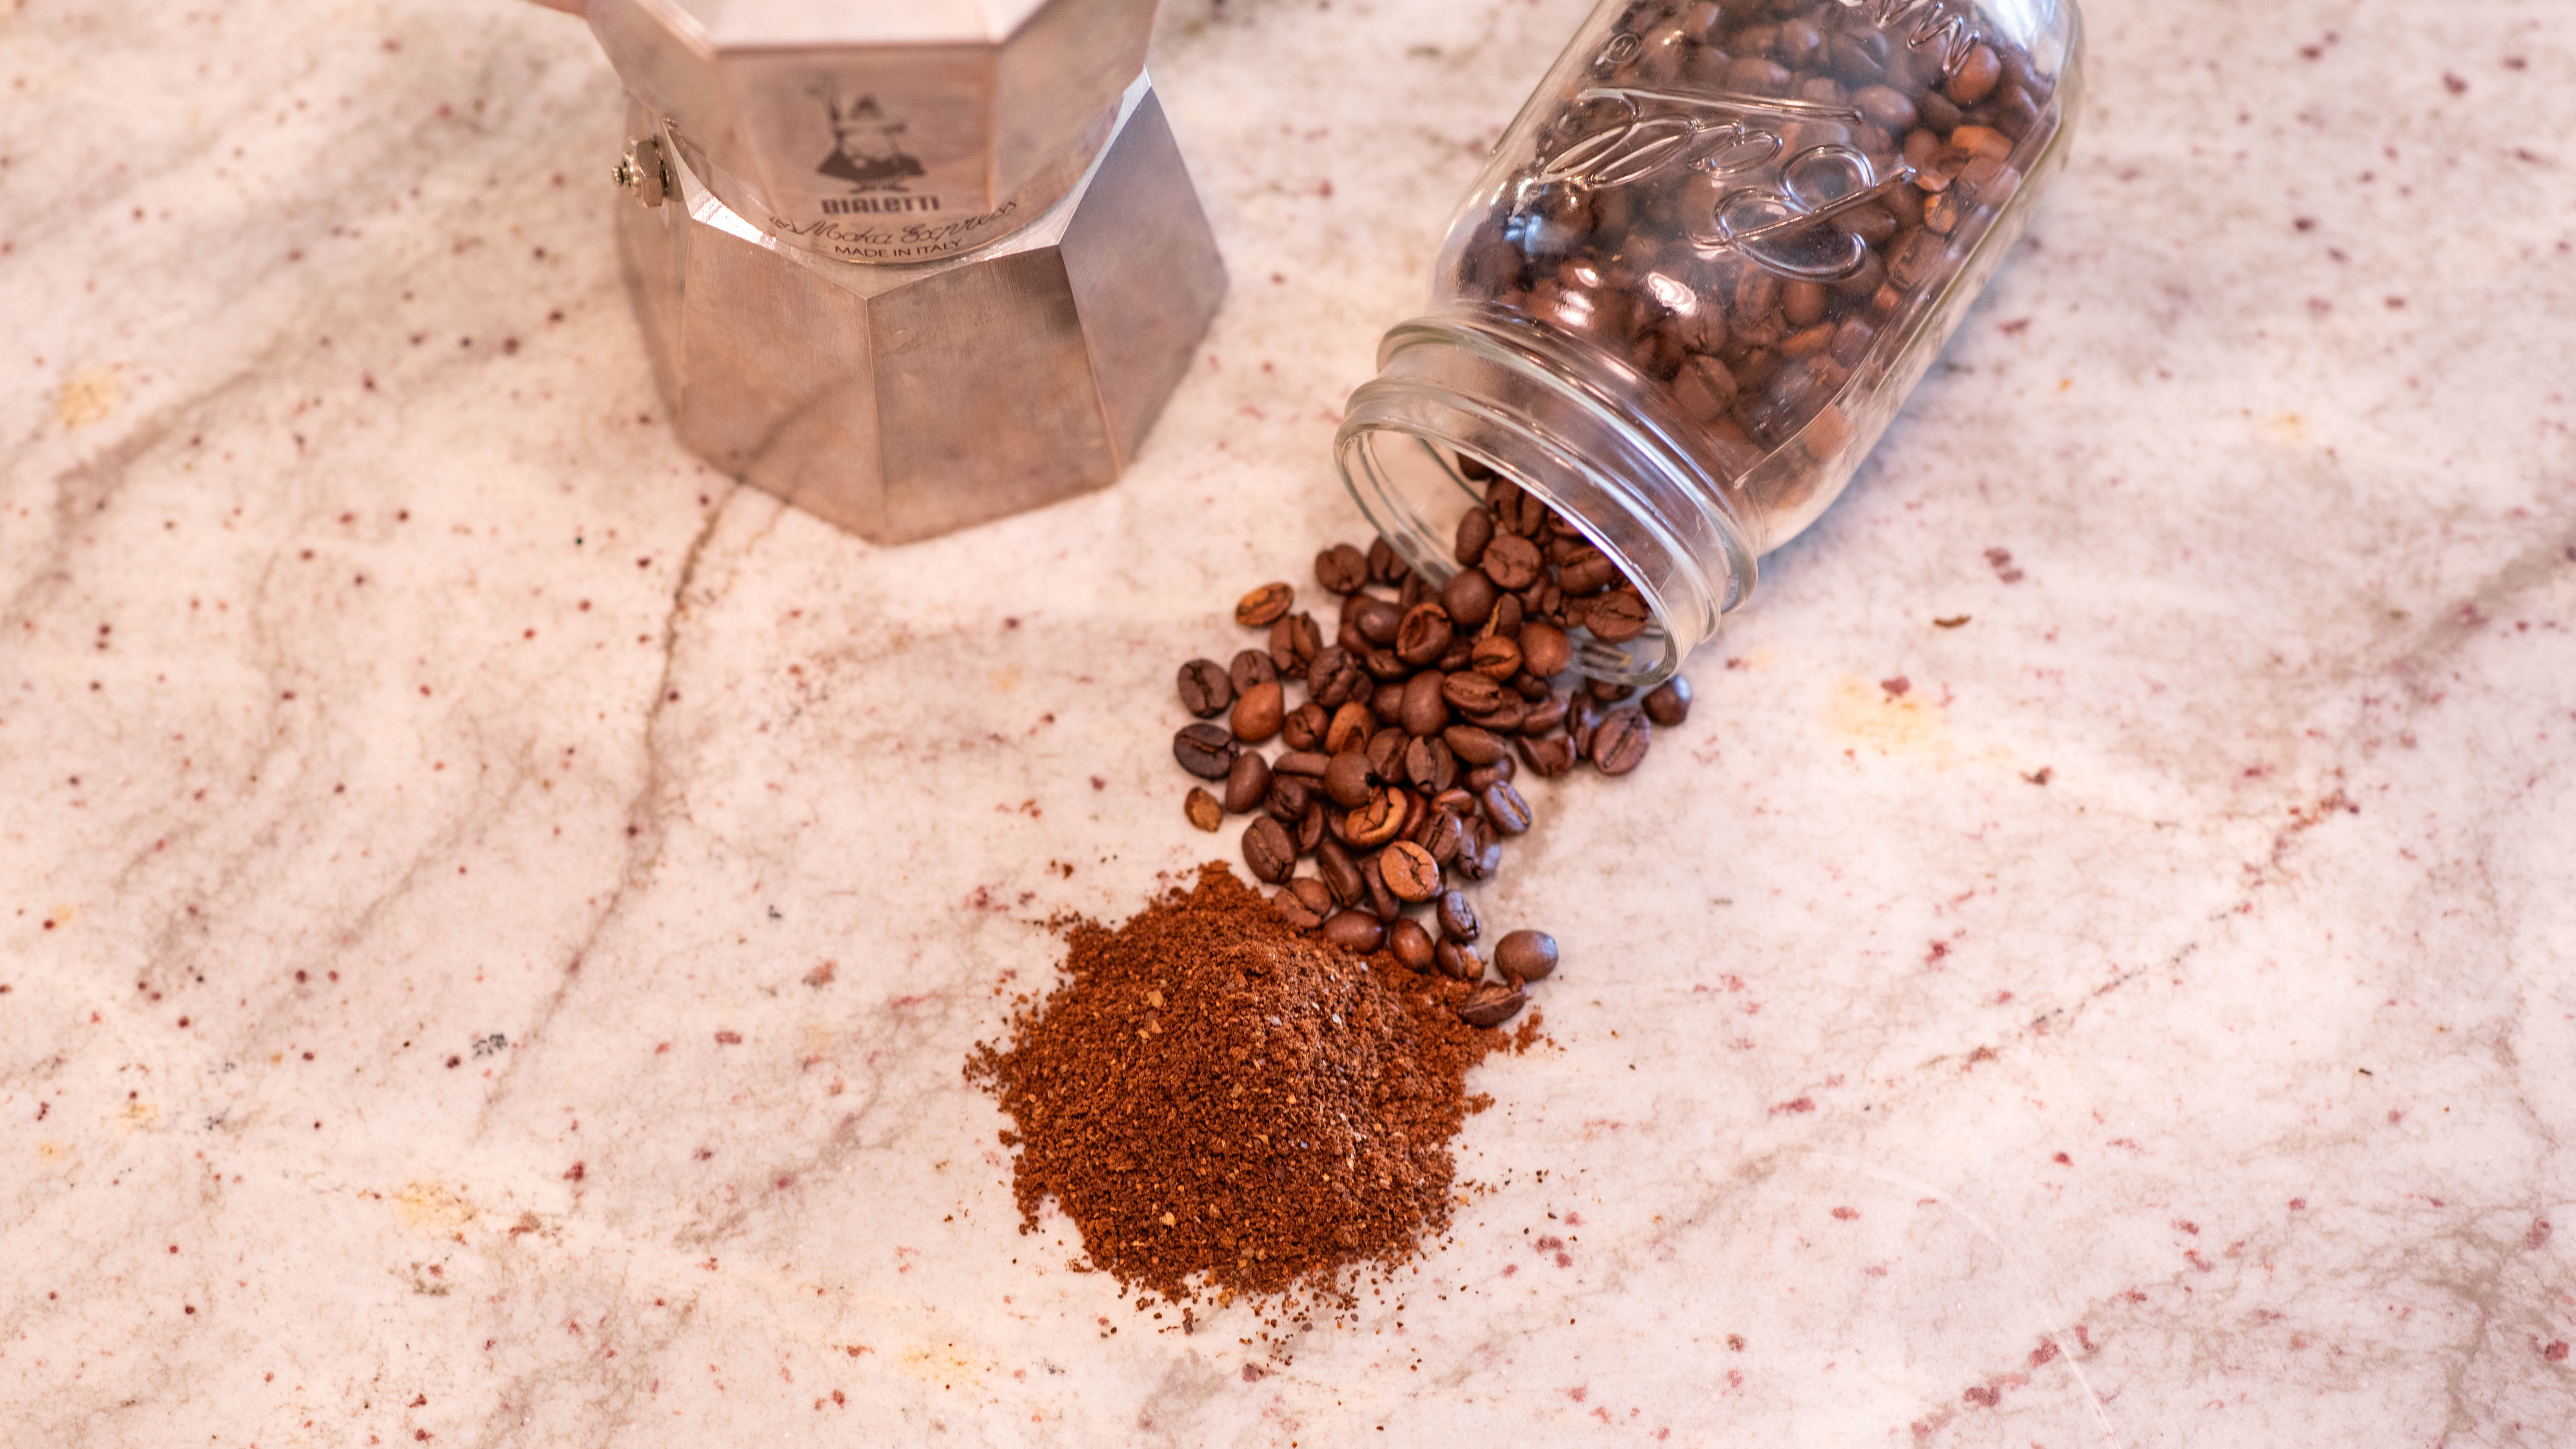
Begin by selecting your favorite coffee beans. For the freshest flavor, it’s best to use whole beans and grind them just before brewing. The grind should be a bit finer than what you’d use for a drip coffee maker but not as fine as espresso. A setting between 9-12 on the Baratza Encore, or somewhere between an espresso and drip coffee grind, is pretty ideal for a Moka Pot brew.
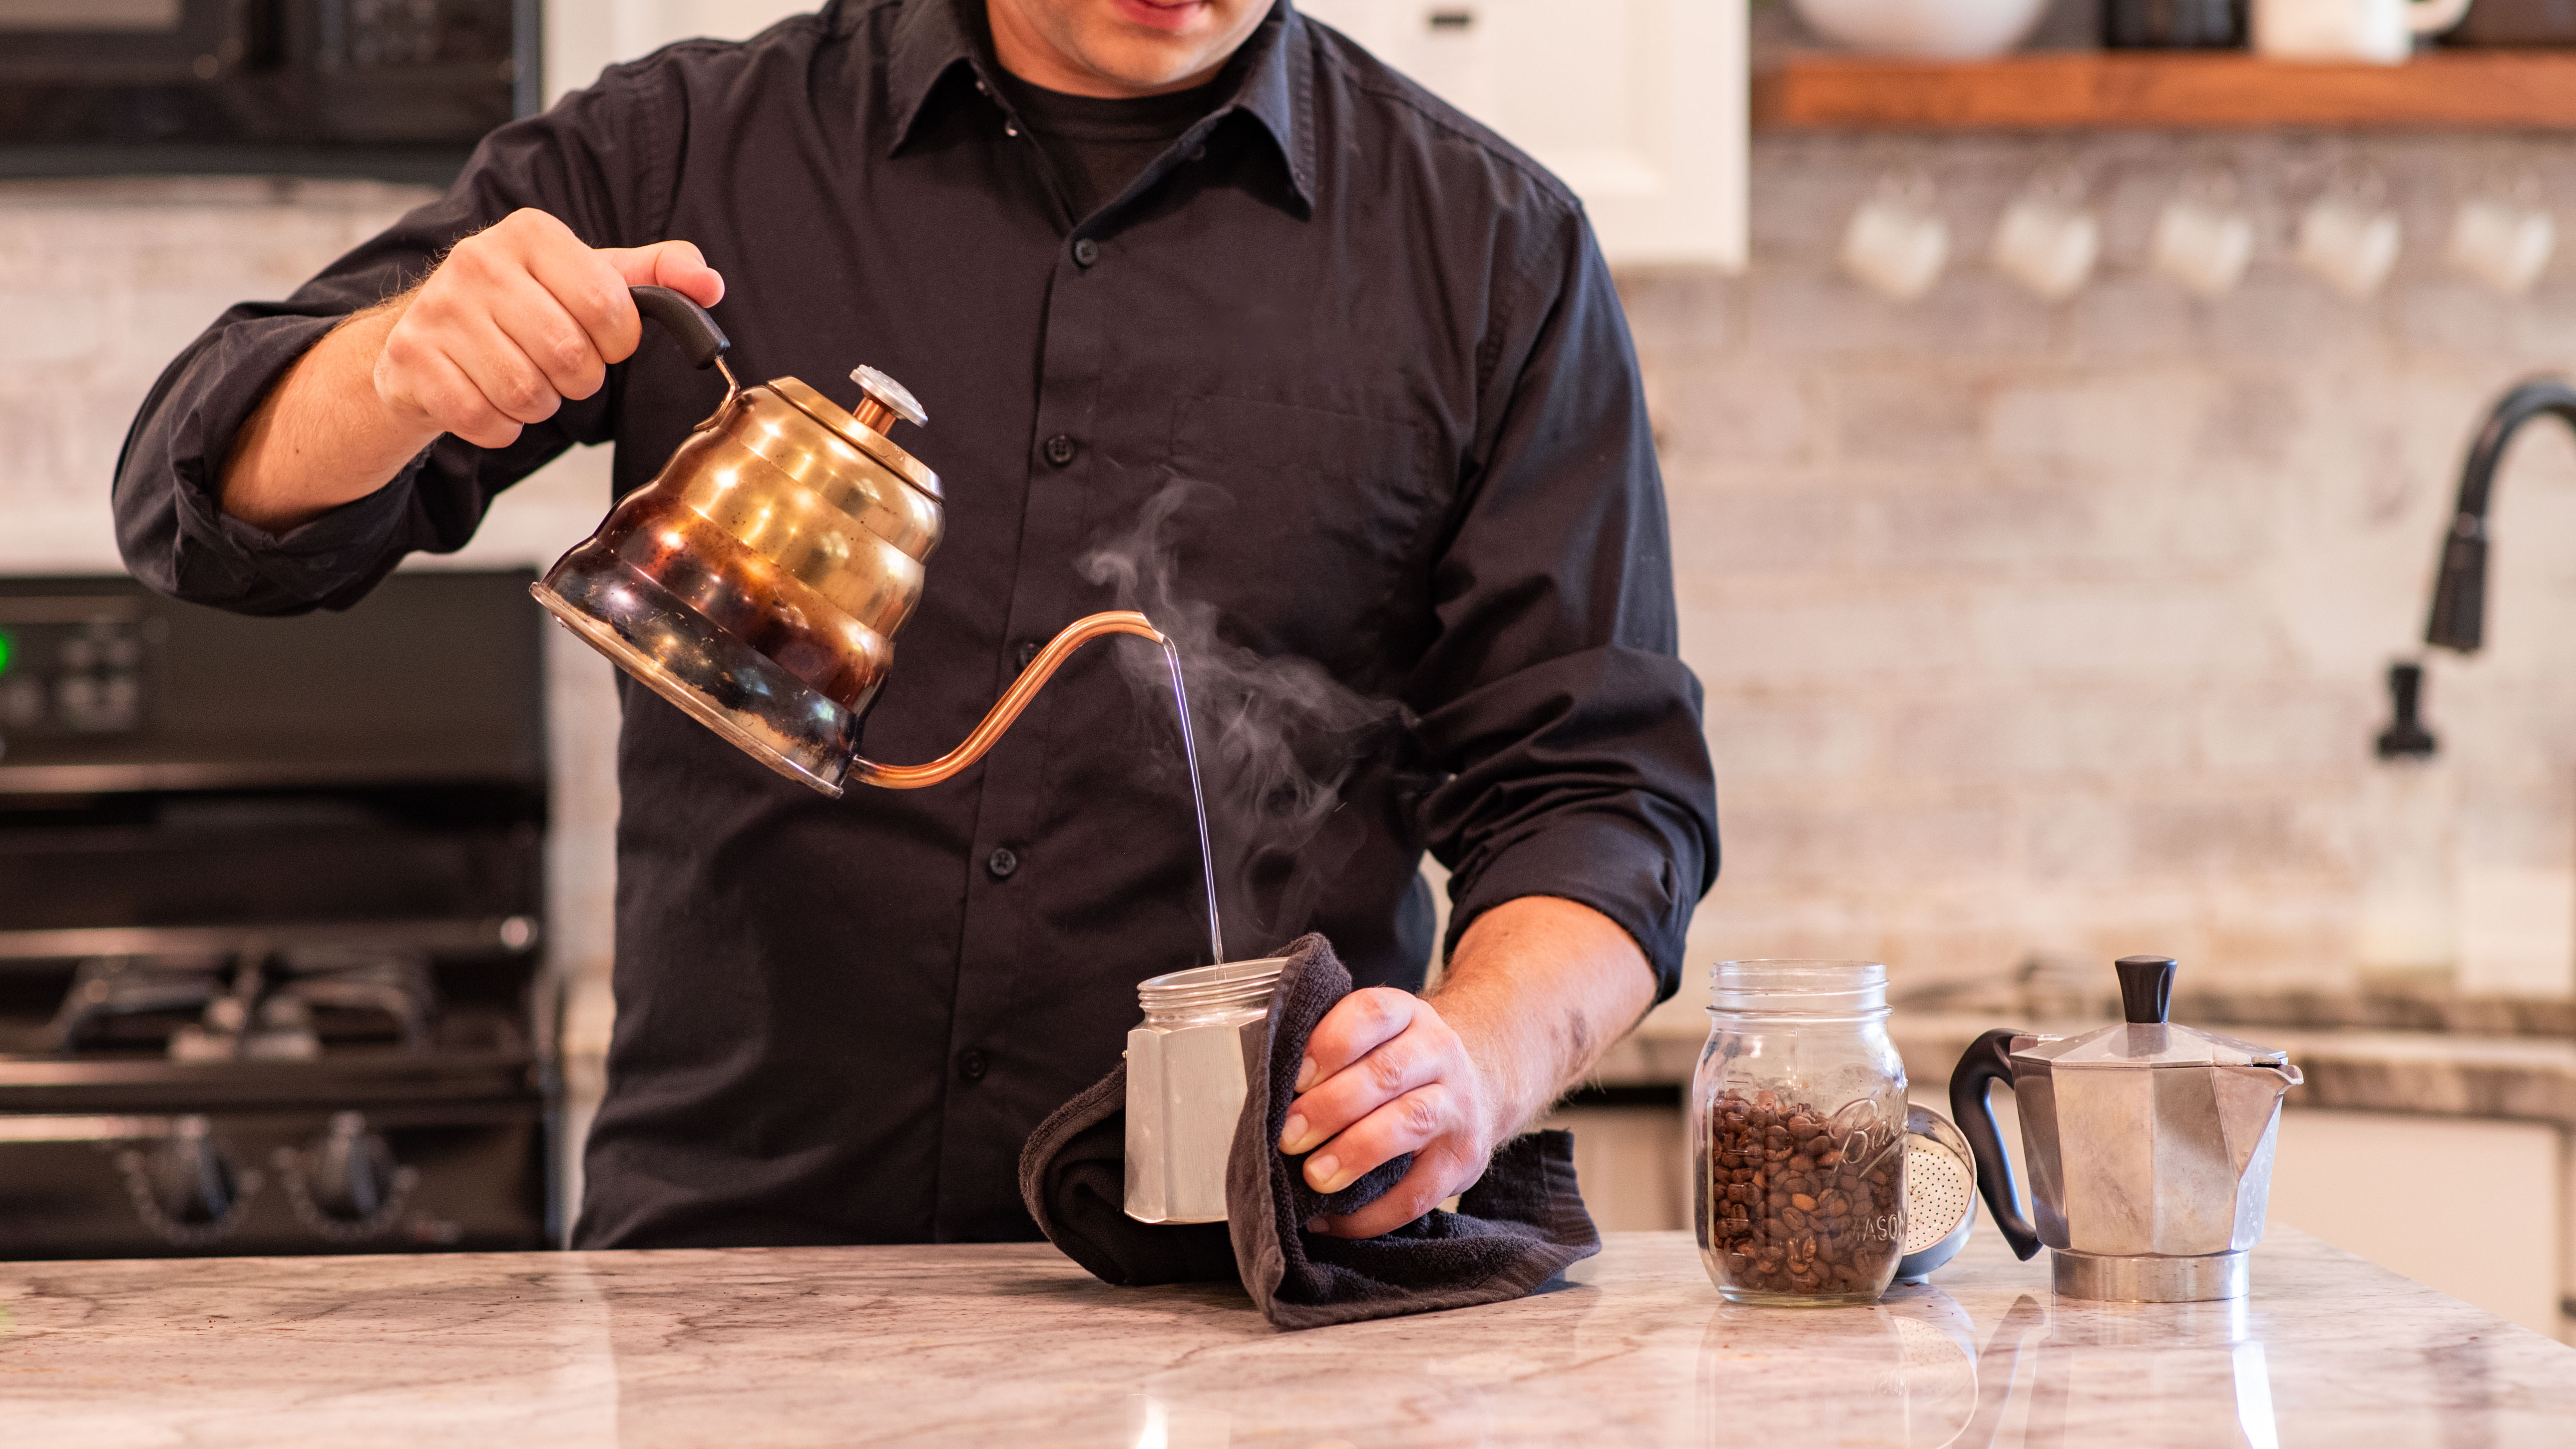
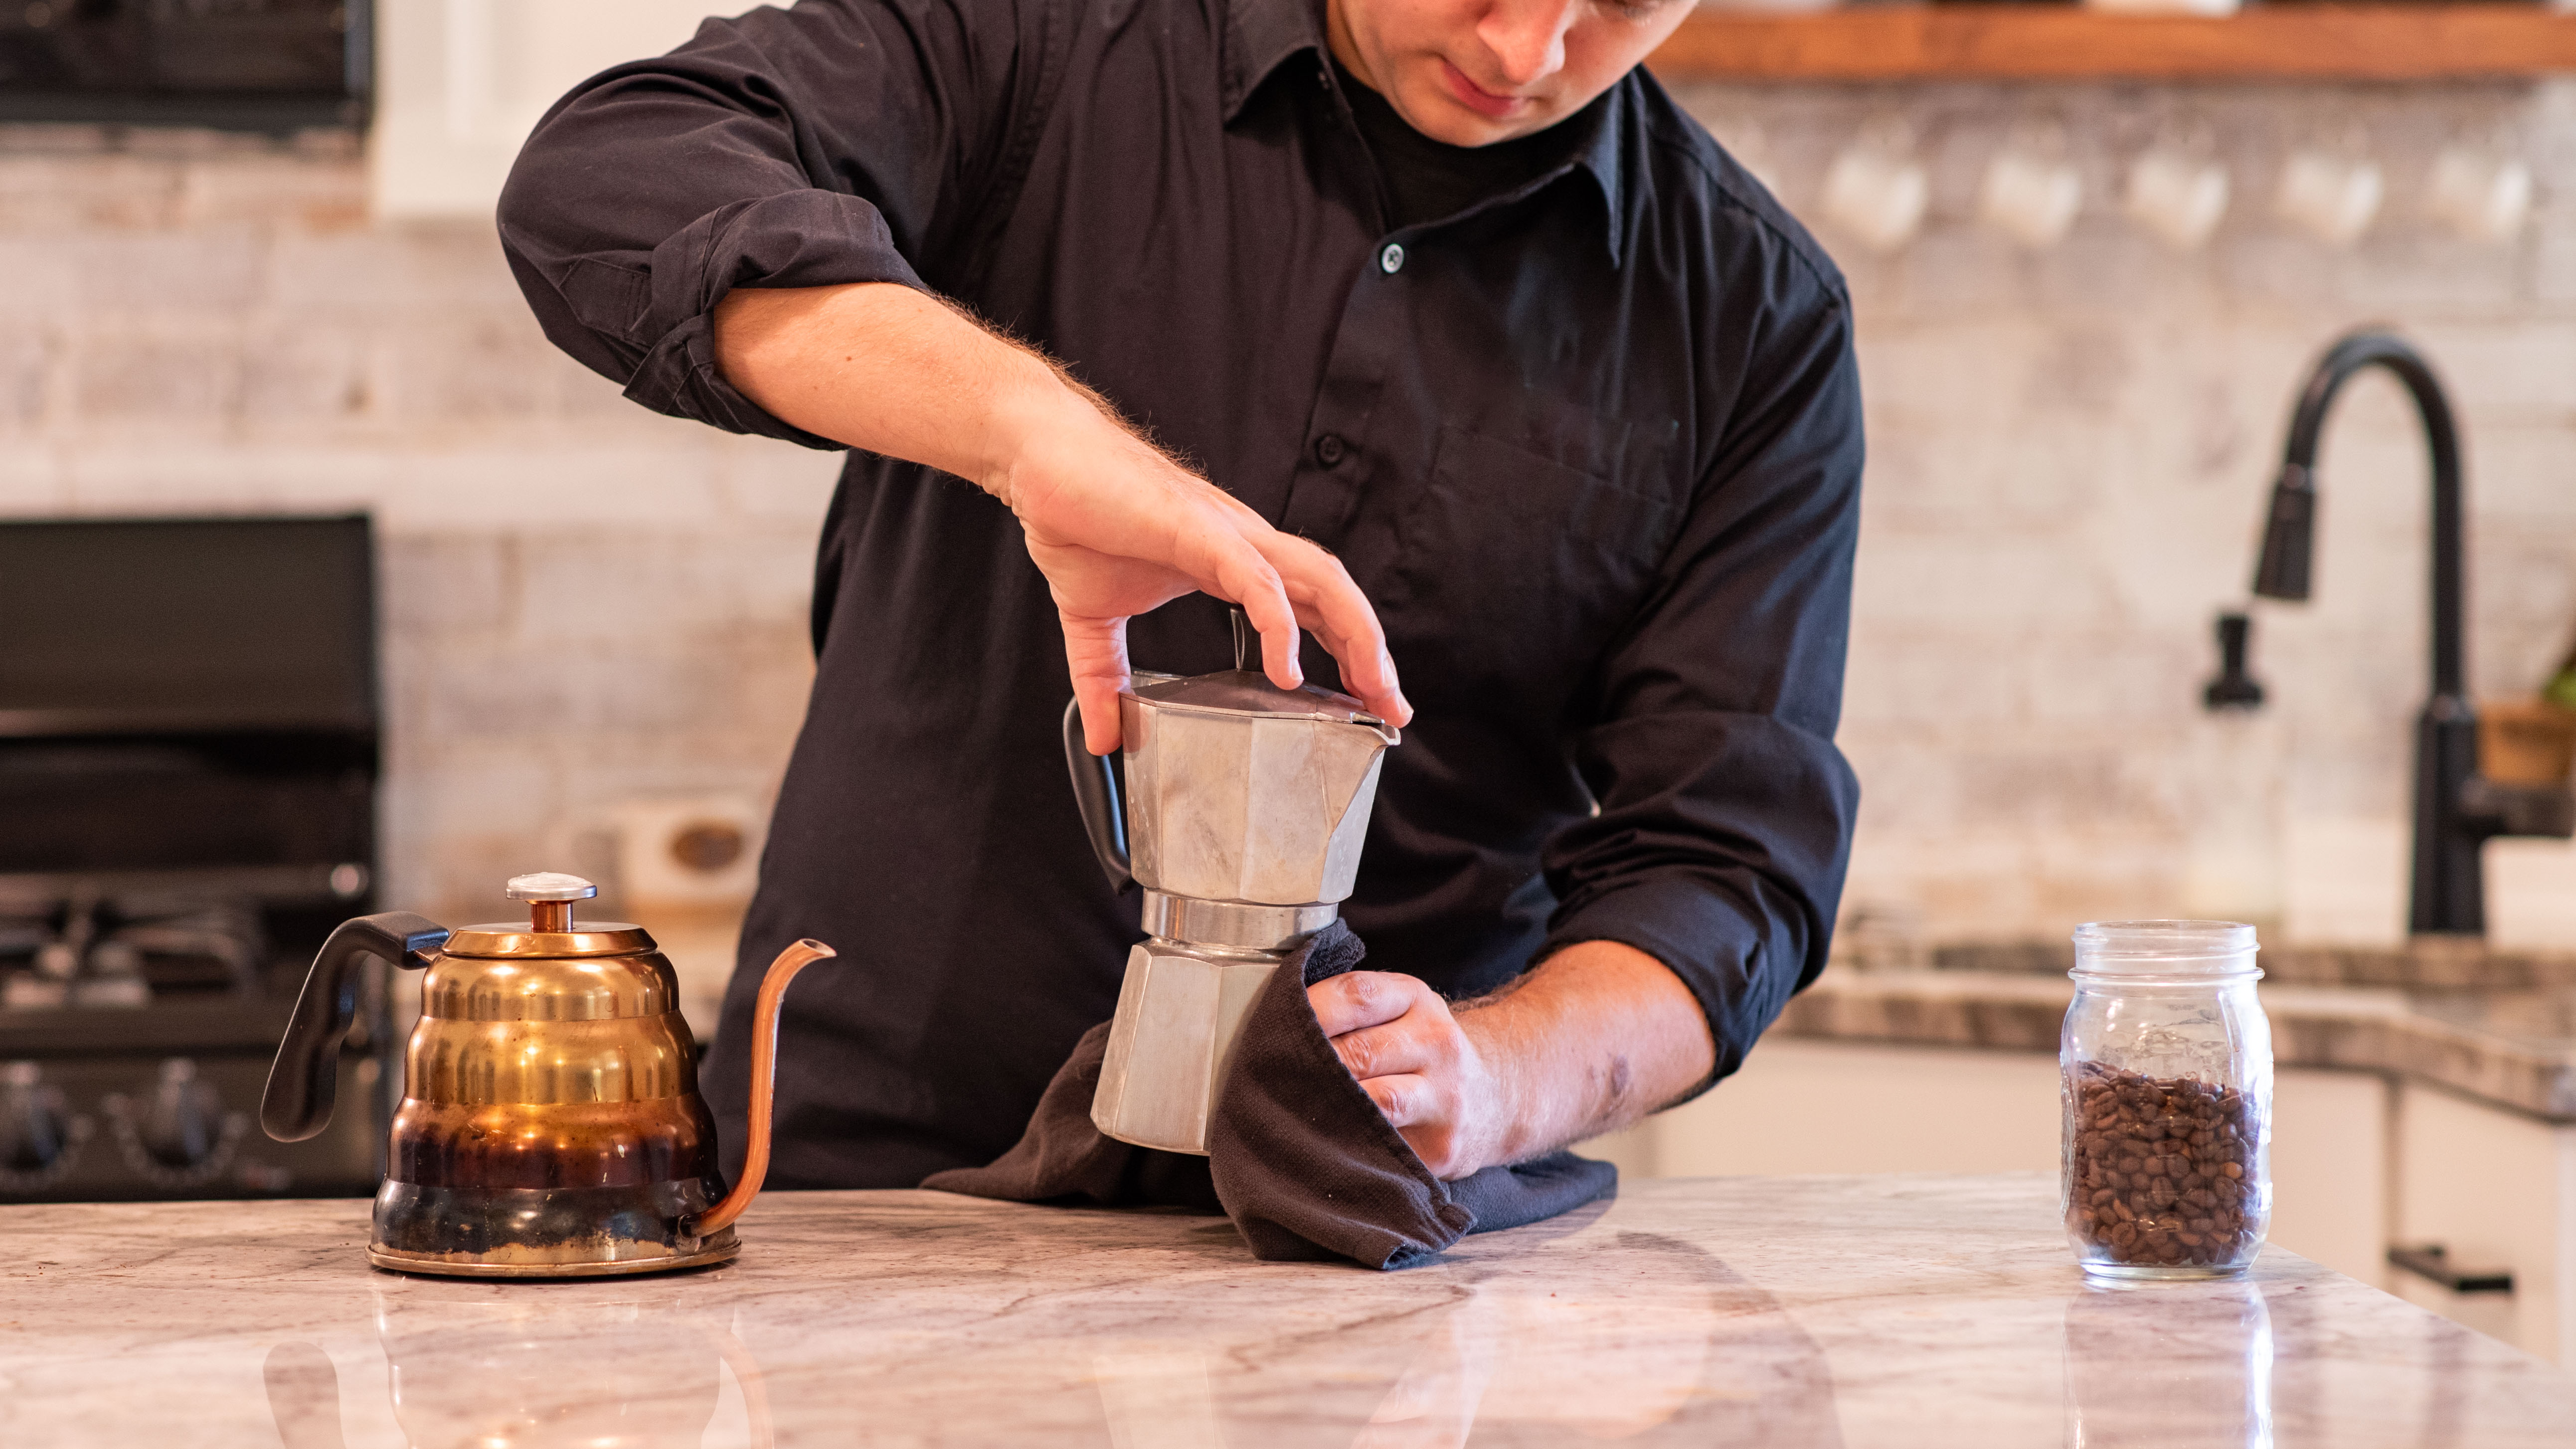
Fill the boiler or bottom chamber of your Moka pot with boiling or close to boiling water. Fill it up to just below the safety valve, which is the small, round protrusion located on the inside of the chamber. Starting with hot water makes for a more ideal brewing temperature and results in a better-tasting cup of coffee.
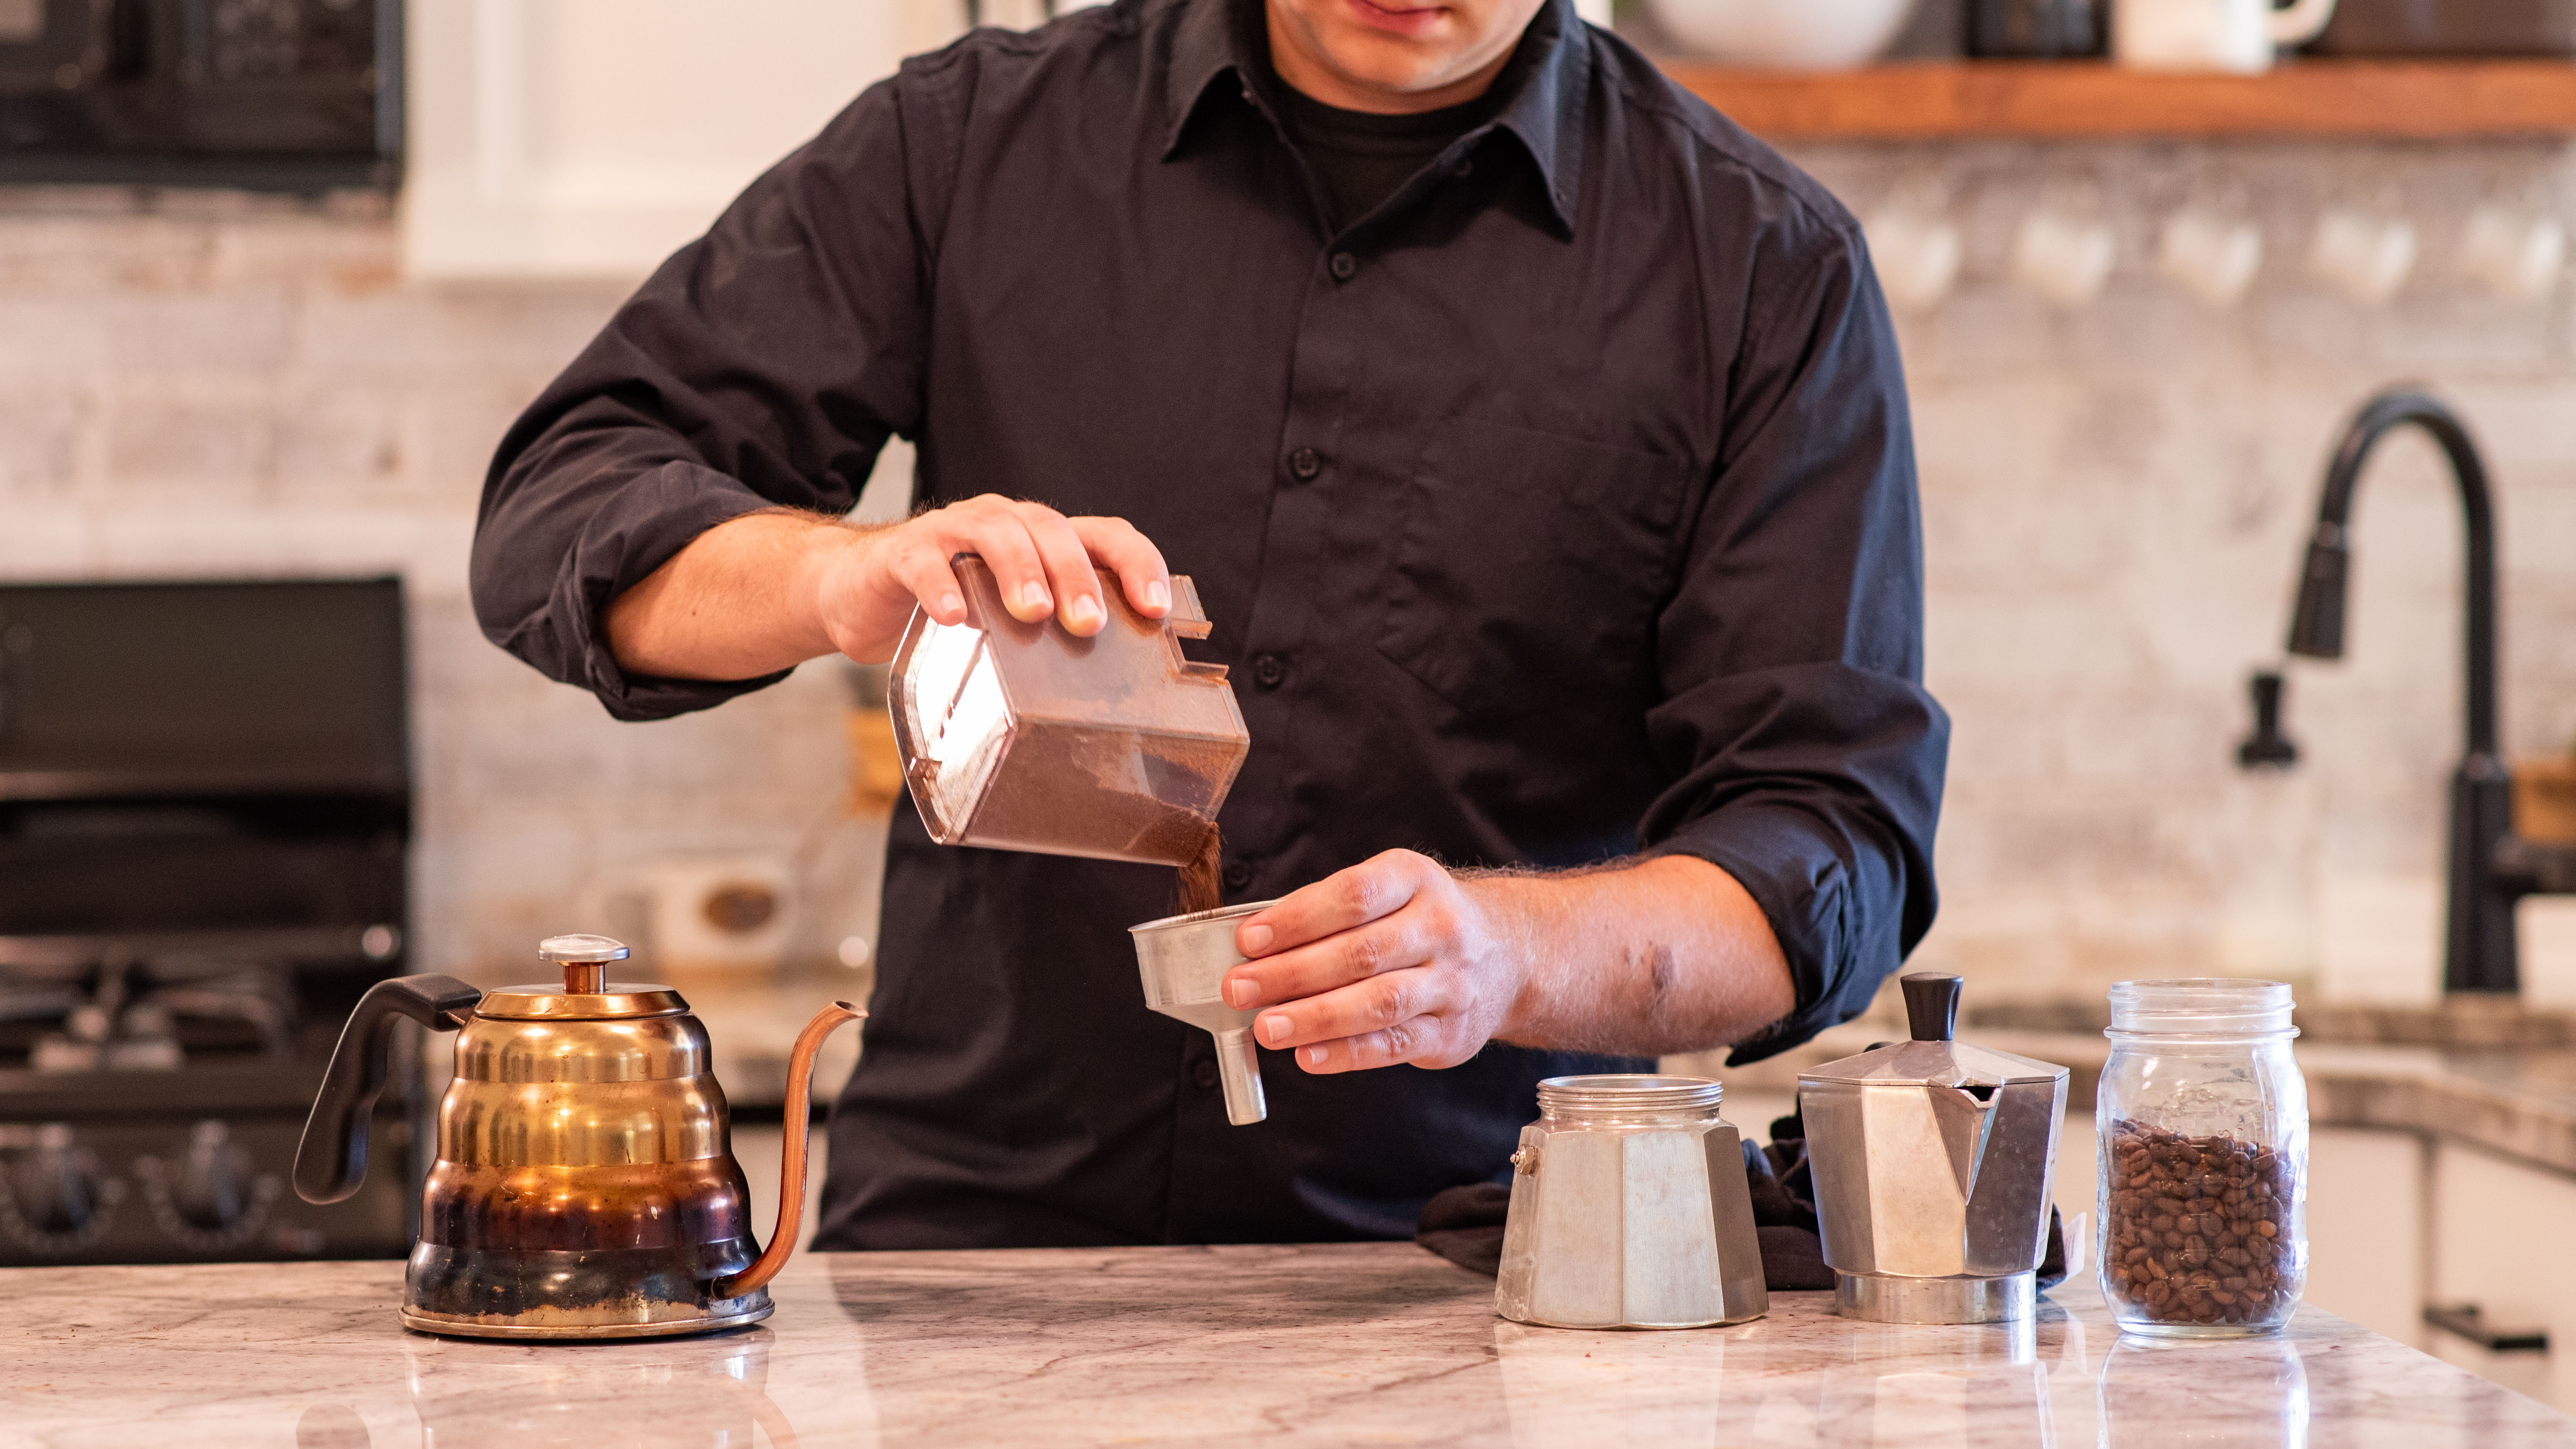
Take the filter basket of the Moka pot and fill it with your freshly ground coffee. Don’t tamp or press the coffee grounds at all. Remember, this isn’t espresso. The amount of coffee you use depends on the Moka pot’s size and your personal taste, but a good starting ratio is approximately 10:1. Making coffee is an art, and you should experiment and find the best ratio for you!
The Moka pot makes this process really easy, simply fill the basket to the top and fill your water chamber up to the valve. This gives you a consistent ratio and eliminates the need to measure your coffee or water.
Now, it’s time to put your Moka pot together. Place the filter basket filled with coffee onto the bottom chamber filled with hot water. This is also where the Aeropress filter comes in. For a 6-cup or larger moka pot, the filter will fit perfectly in the bottom of the top section. Then screw the top chamber onto the bottom chamber.
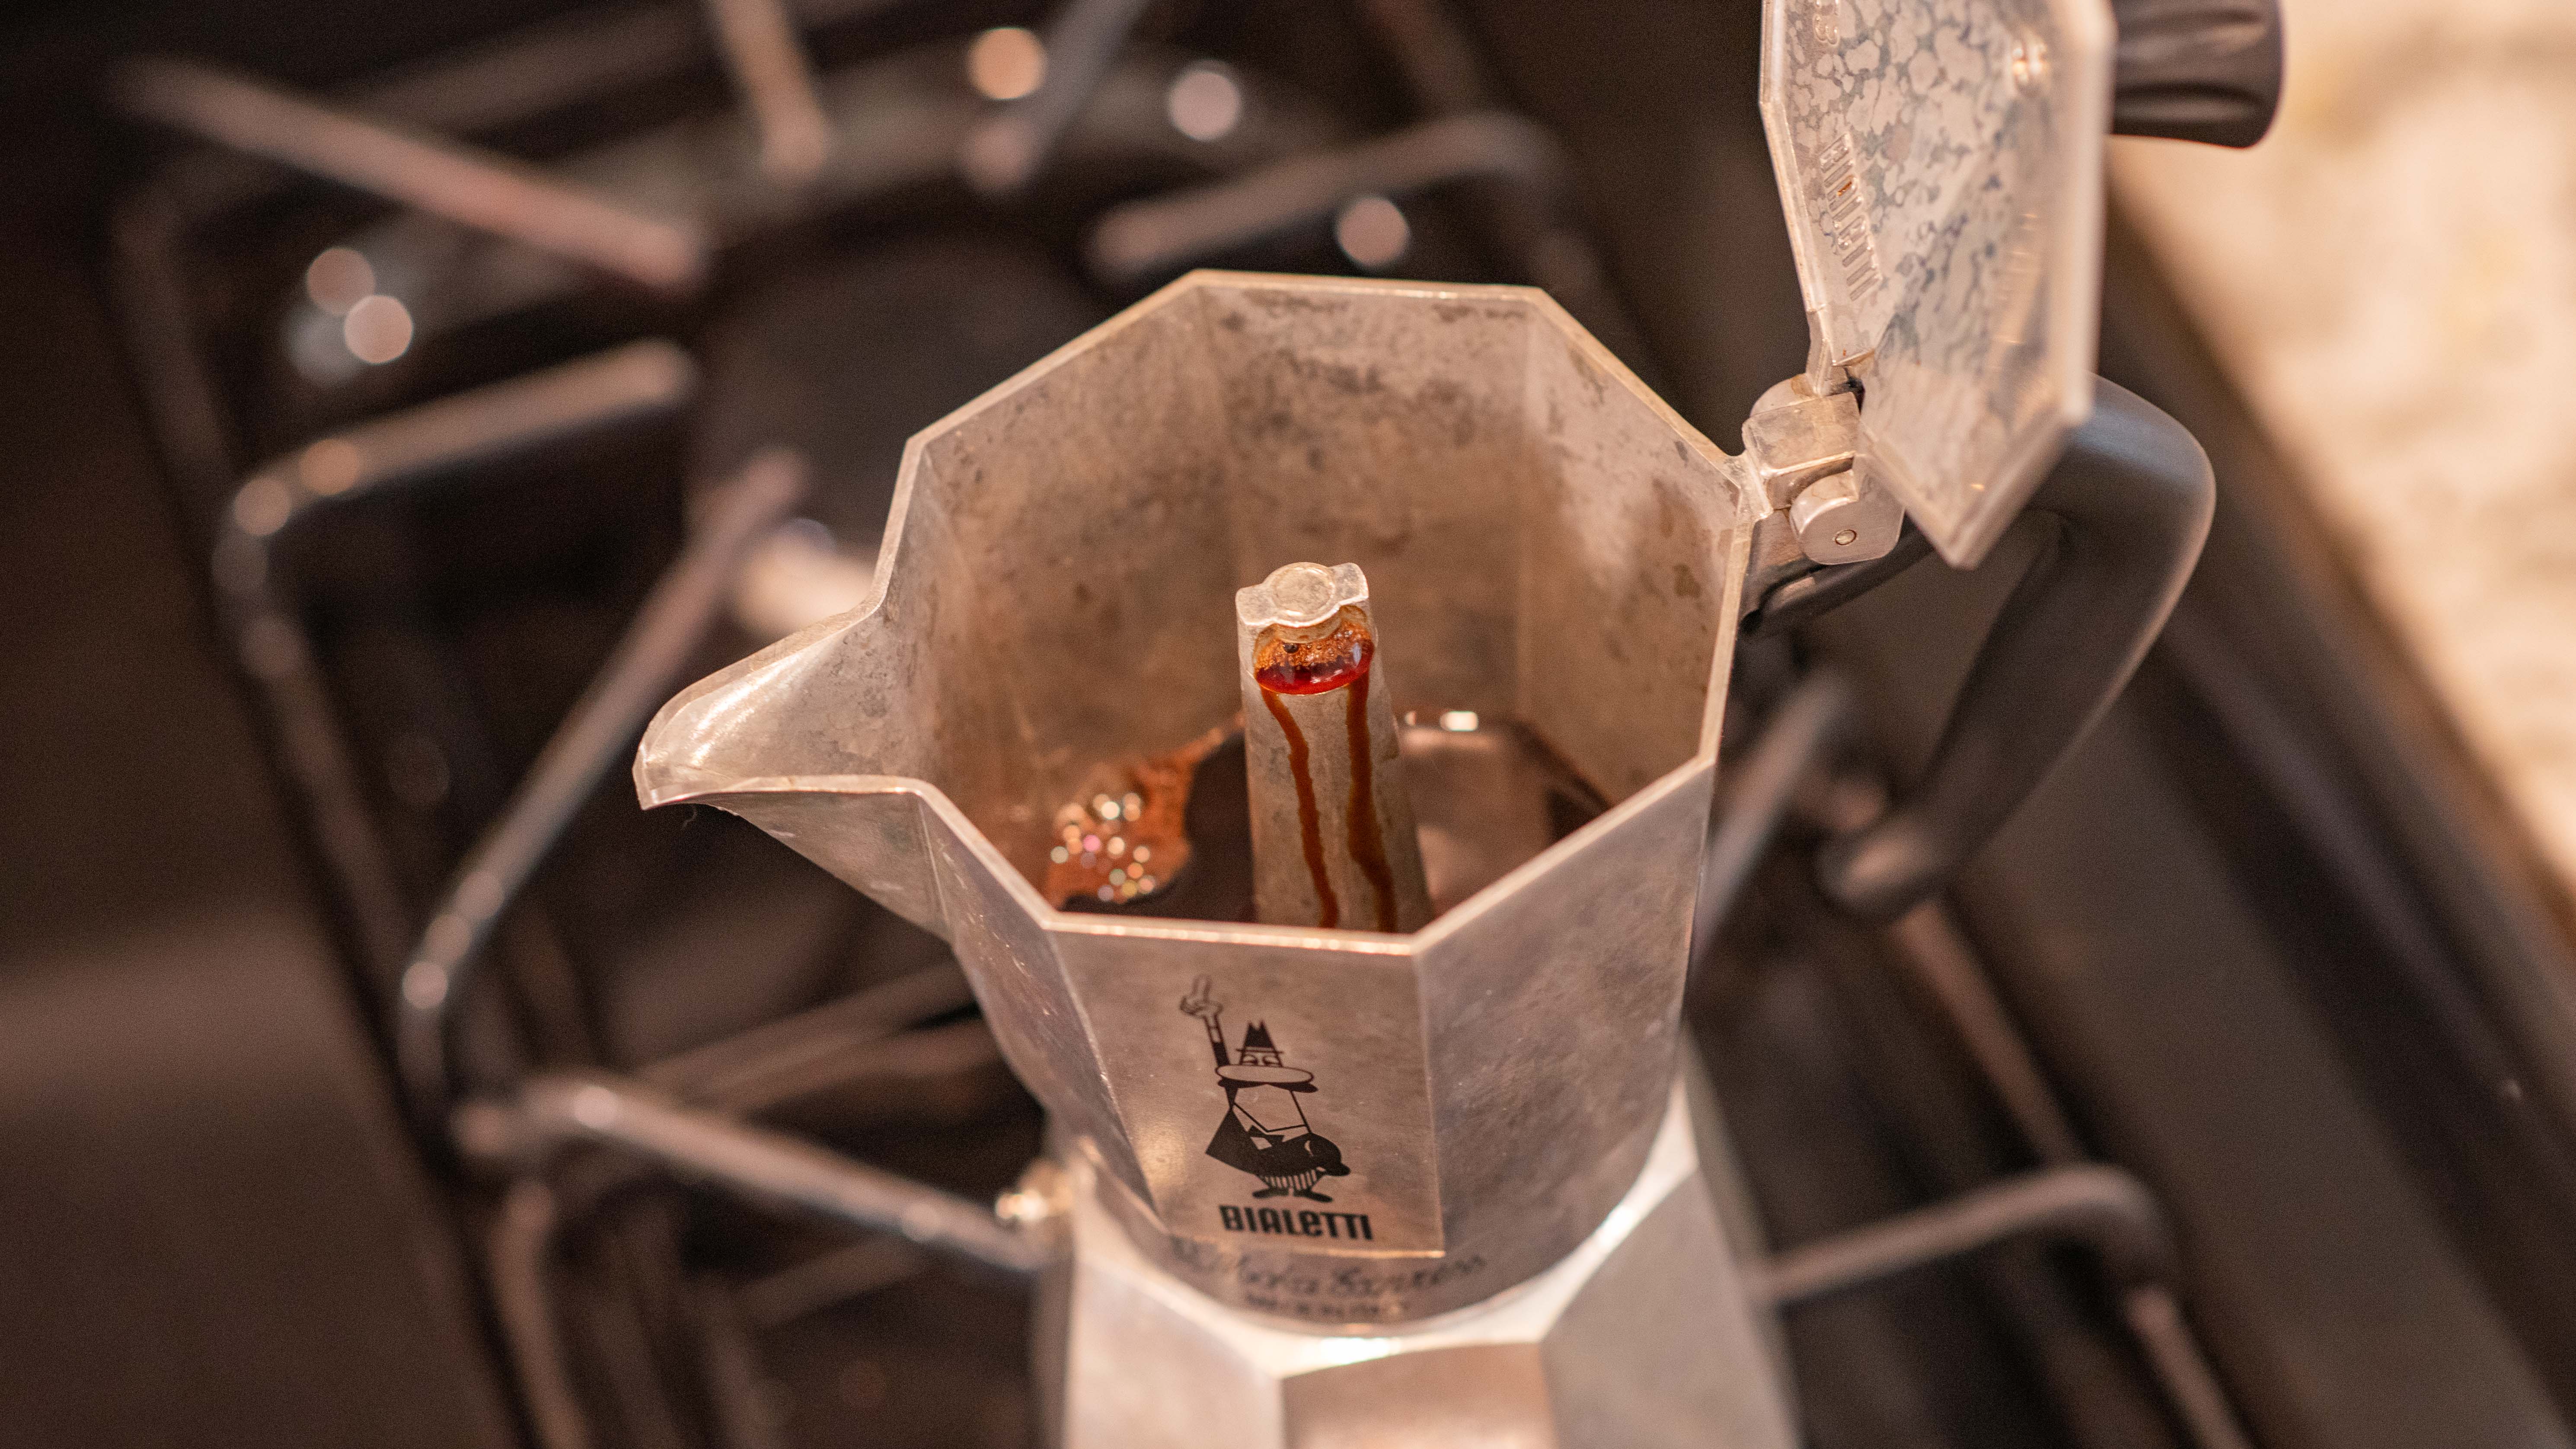
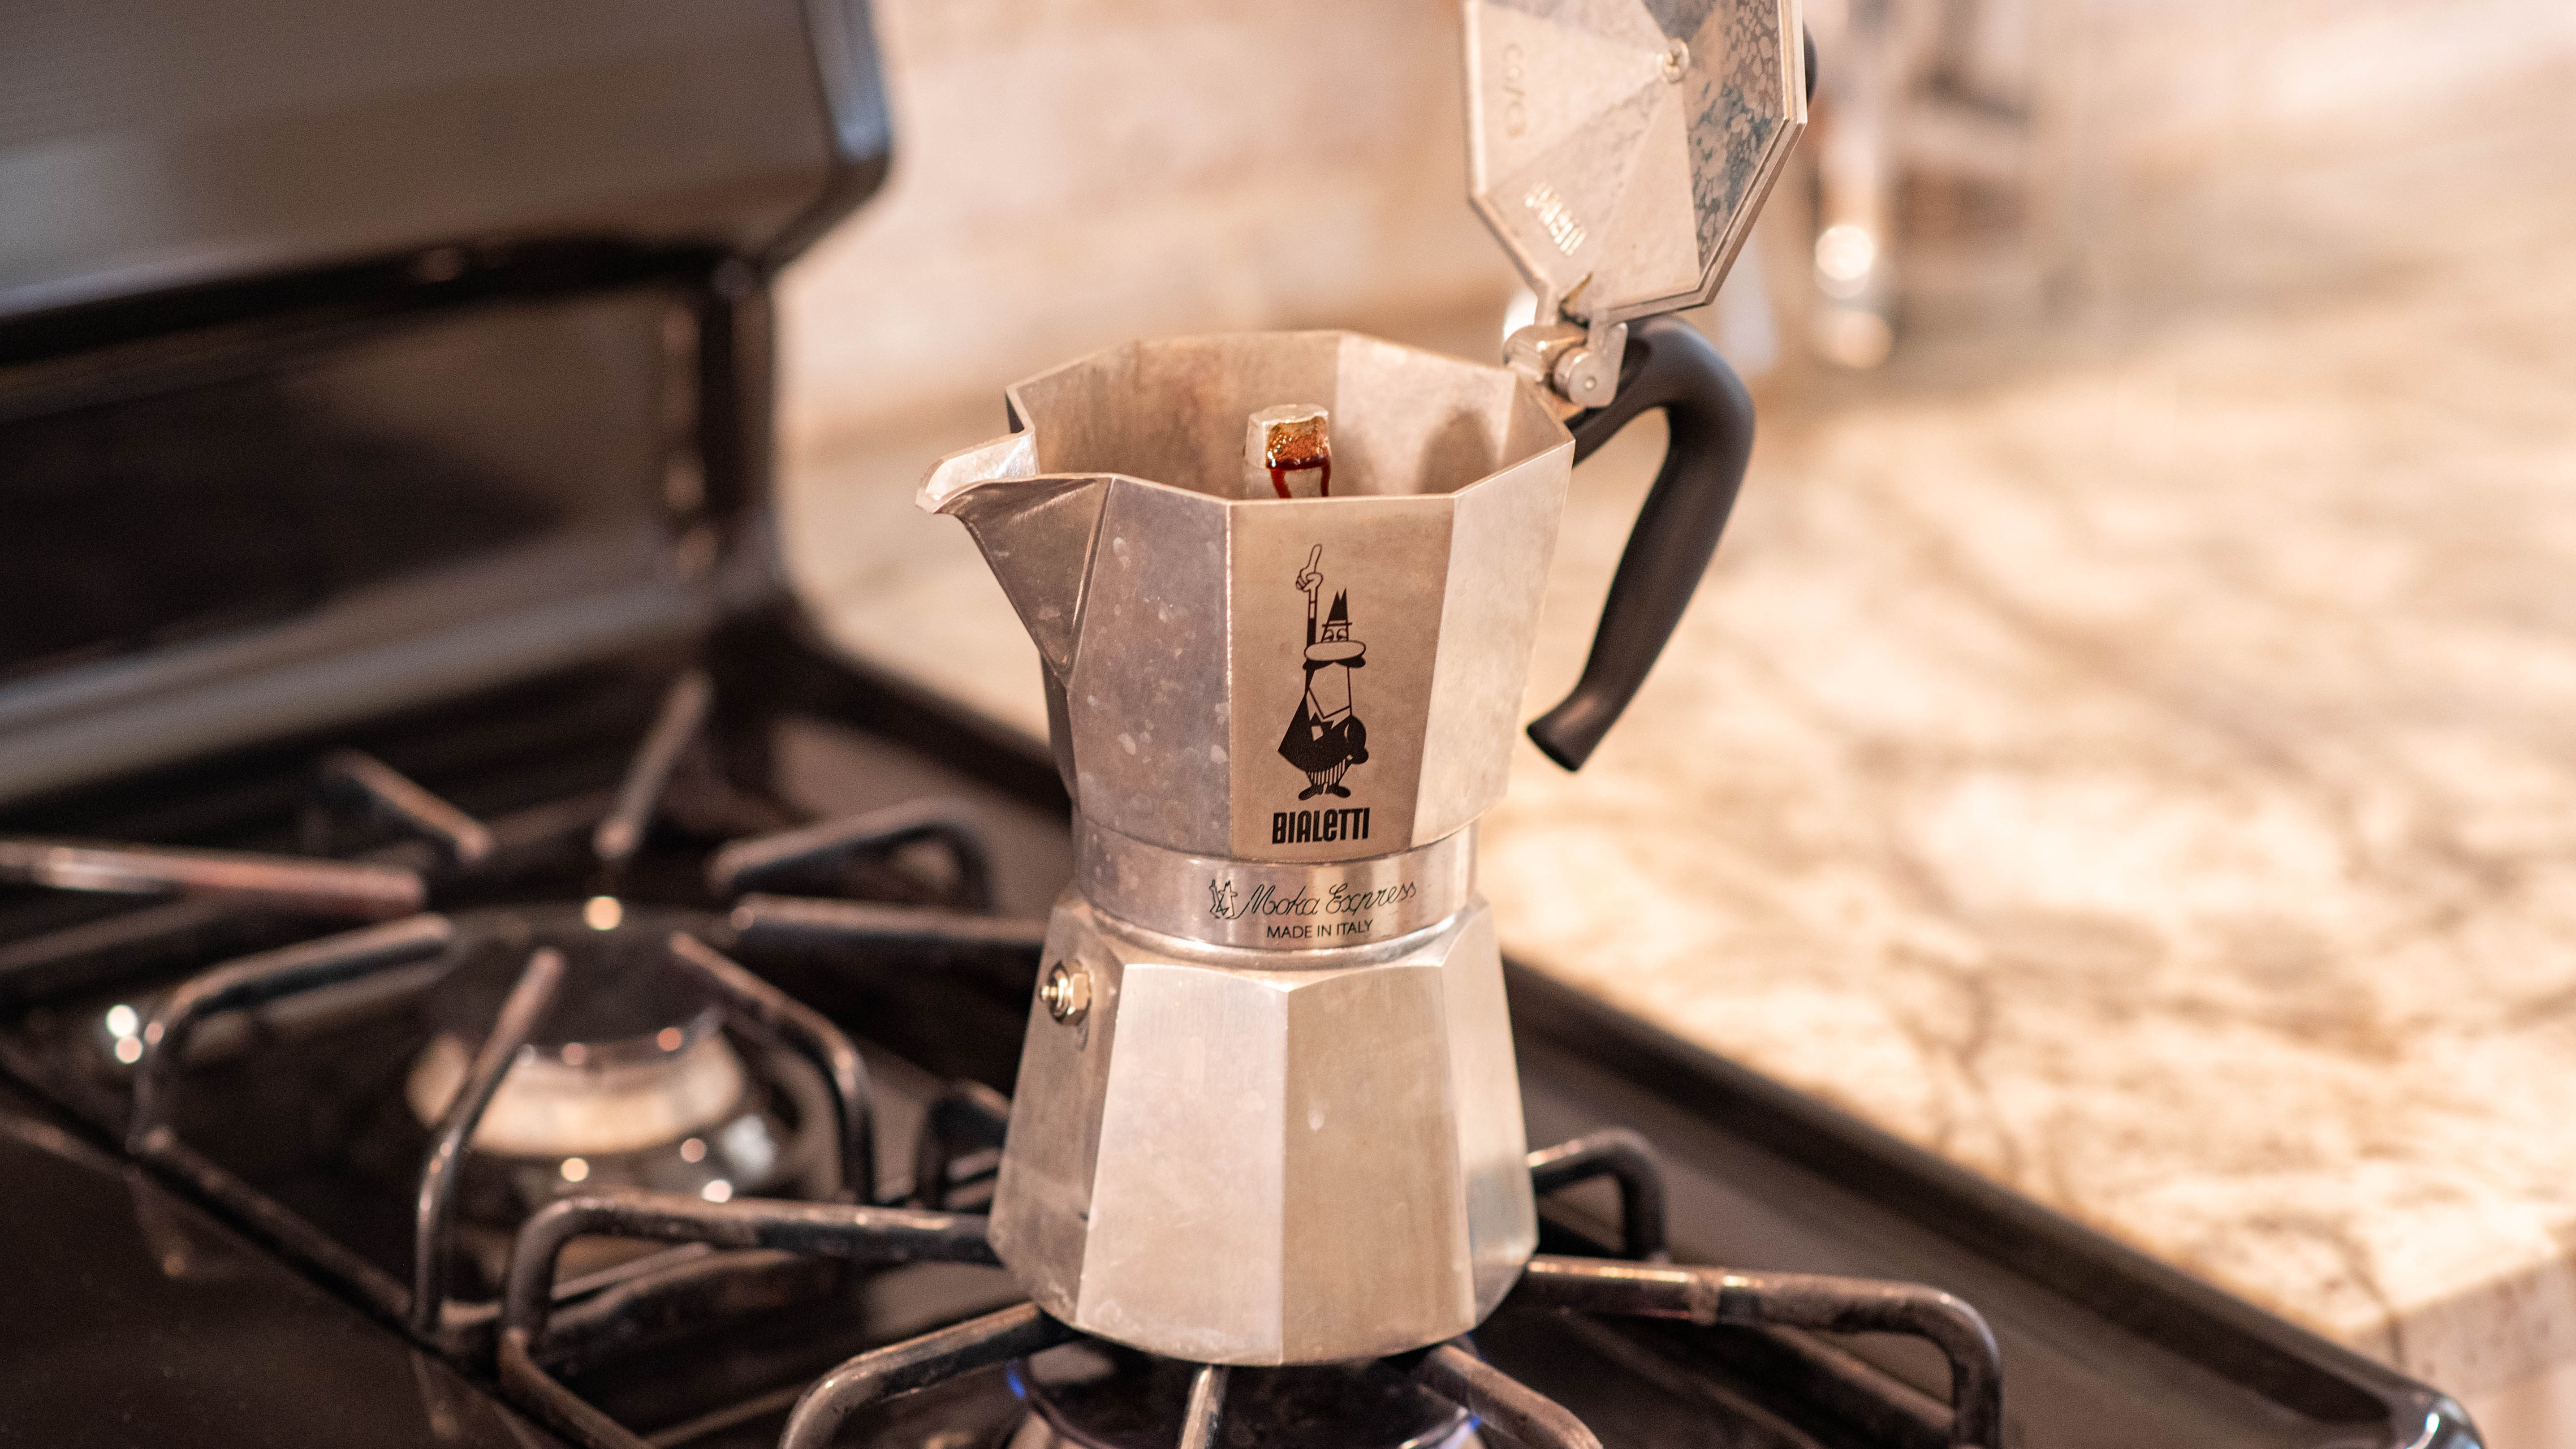
Place your fully assembled Moka pot on a stovetop or heat source. Use medium heat, and it’s important to keep the lid open during the brewing process. This allows you to monitor the coffee’s progress.
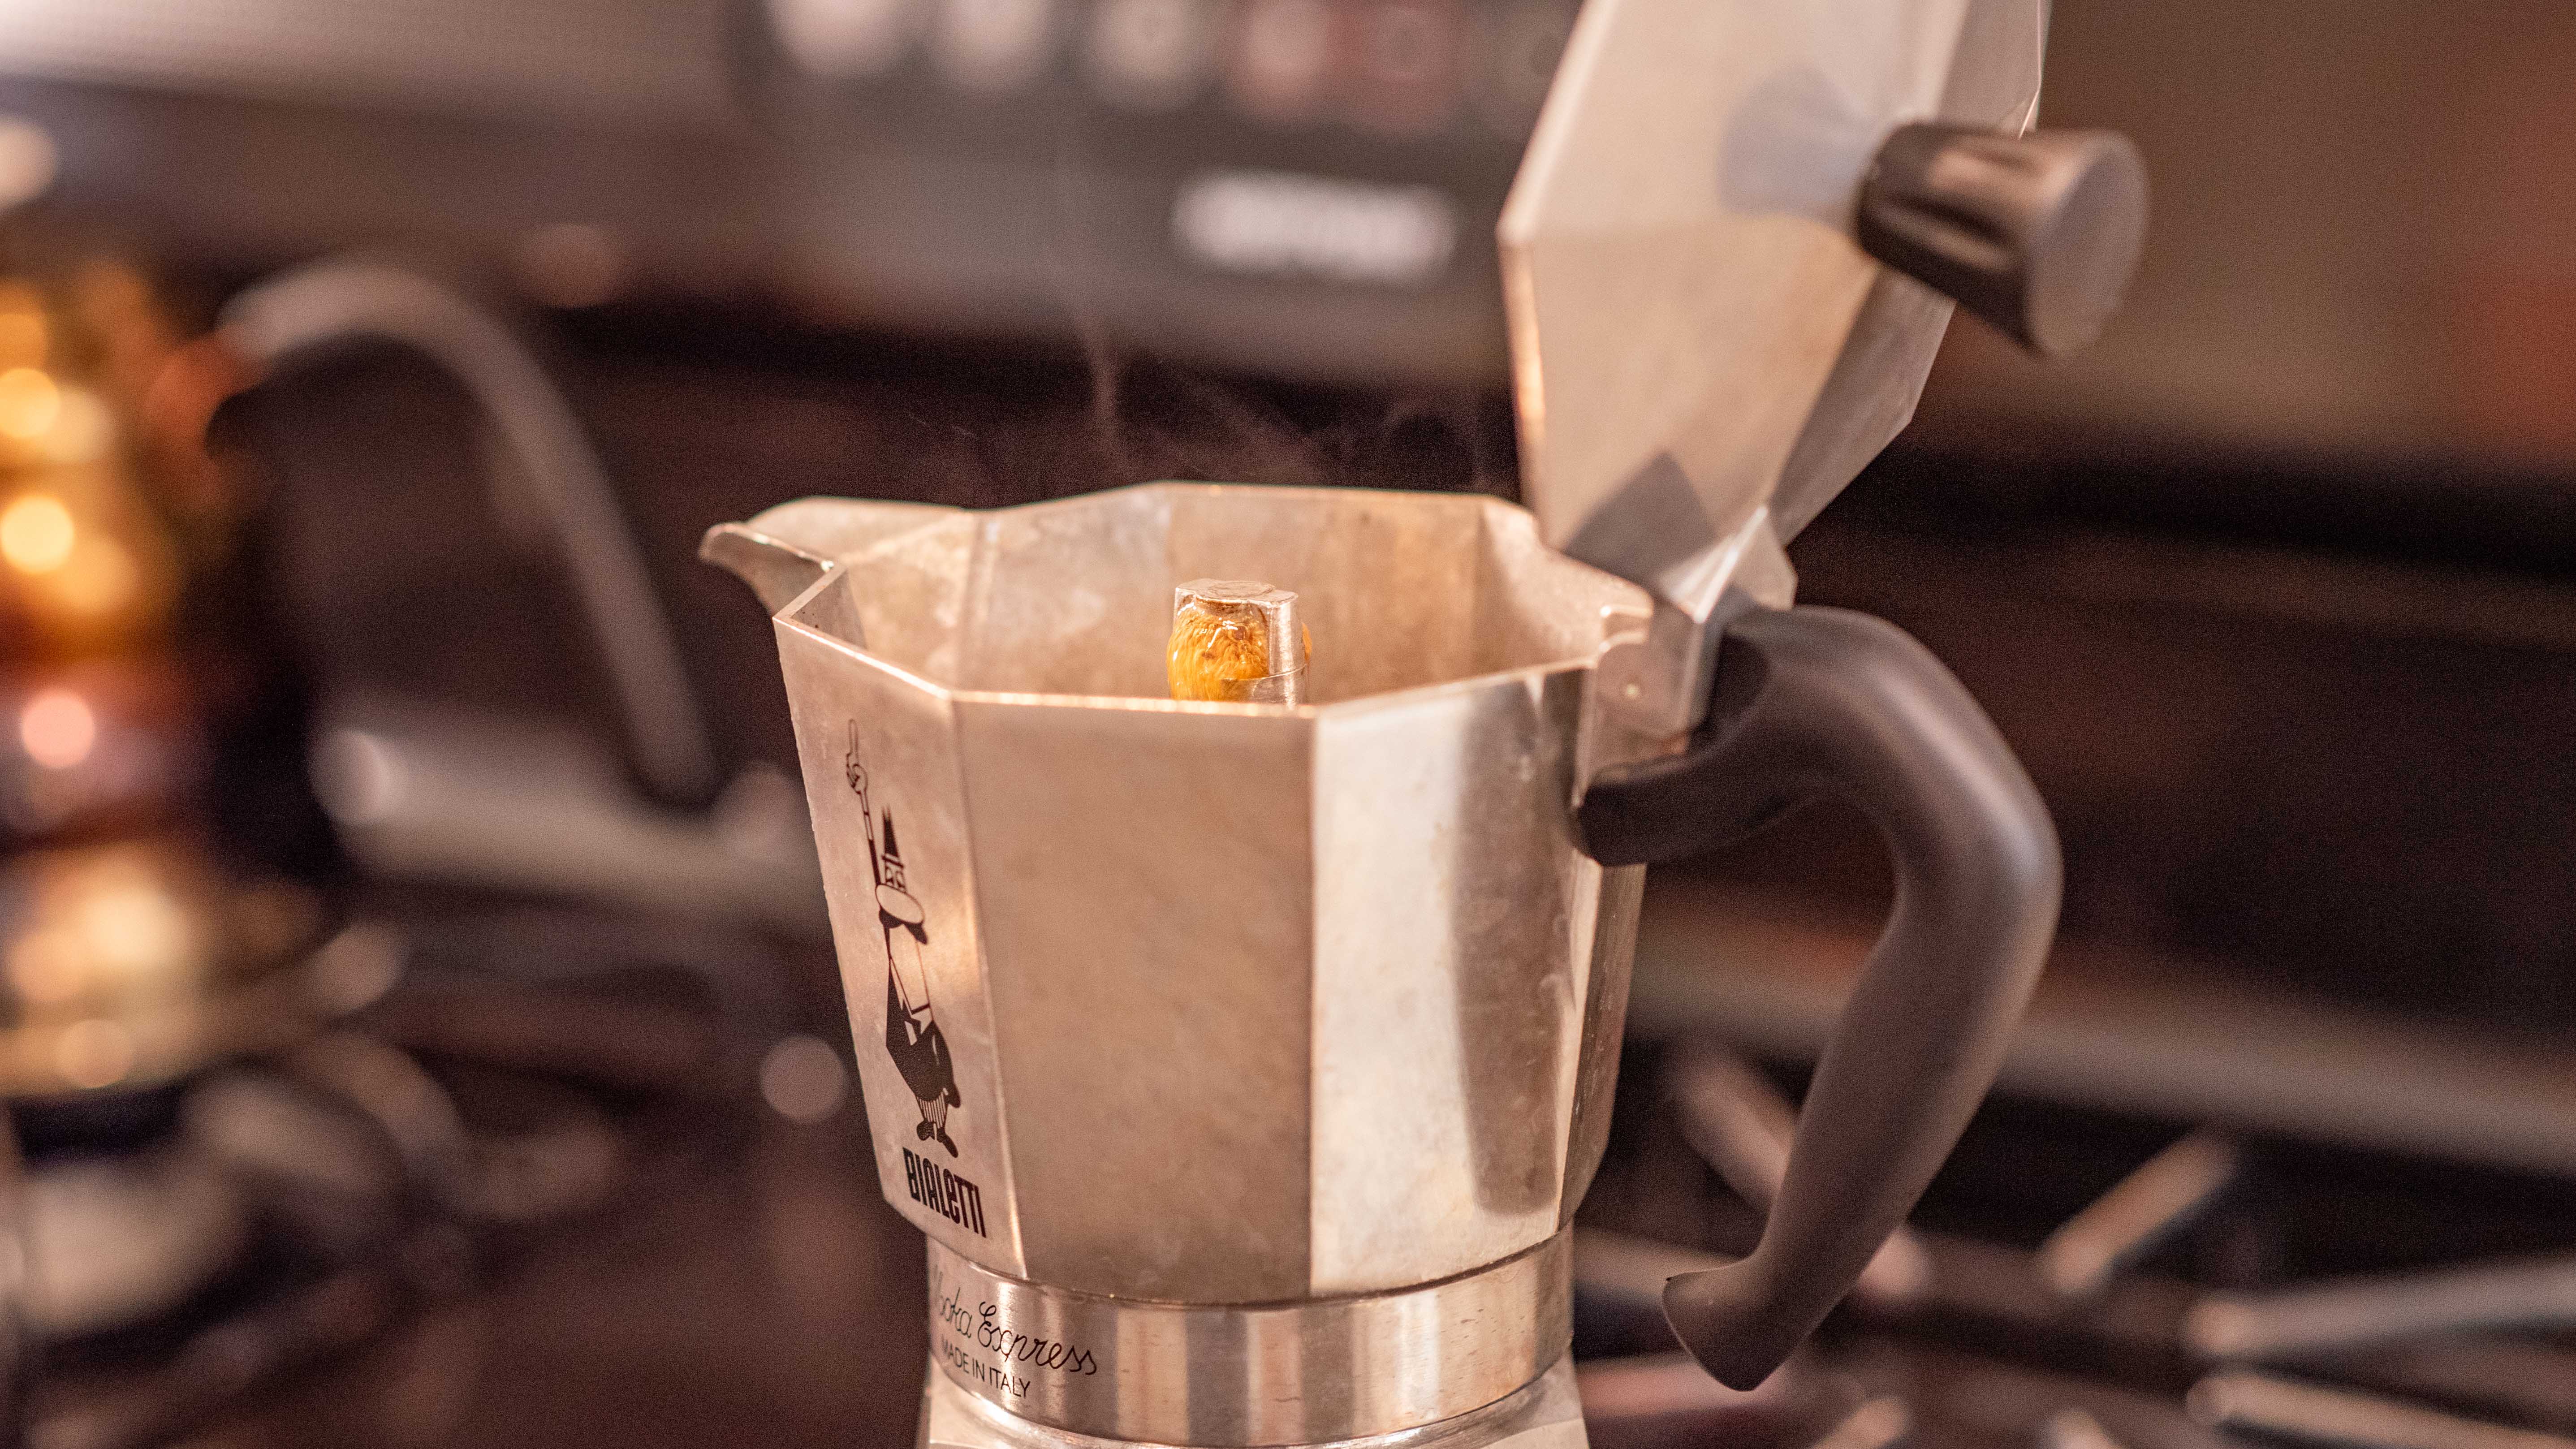
As the Moka pot heats up, the water in the bottom chamber will turn into steam, creating pressure. This pressure will force the water through the coffee grounds and into the top chamber. As soon as the coffee starts coming out the spout, you will want to significantly lower the temperature of your heat source. The goal is to maintain the same temperature that the coffee pot was at when it started brewing. Keep a close eye (and ear) on your pot, and try to maintain a consistent flow of coffee into the top chamber.
Your brew is done when you start to hear a bit of a gurgling or spurting sound. At this point you want to stop the brewing as quickly as possible, as the sputtering is actually uncondensed steam trying to force its way through the coffee grounds, which will cause your coffee to be bitter. To cool the pot down quickly and avoid the bitter result, simply run some cold water over the bottom chamber of the moka pot until it stops sputtering.
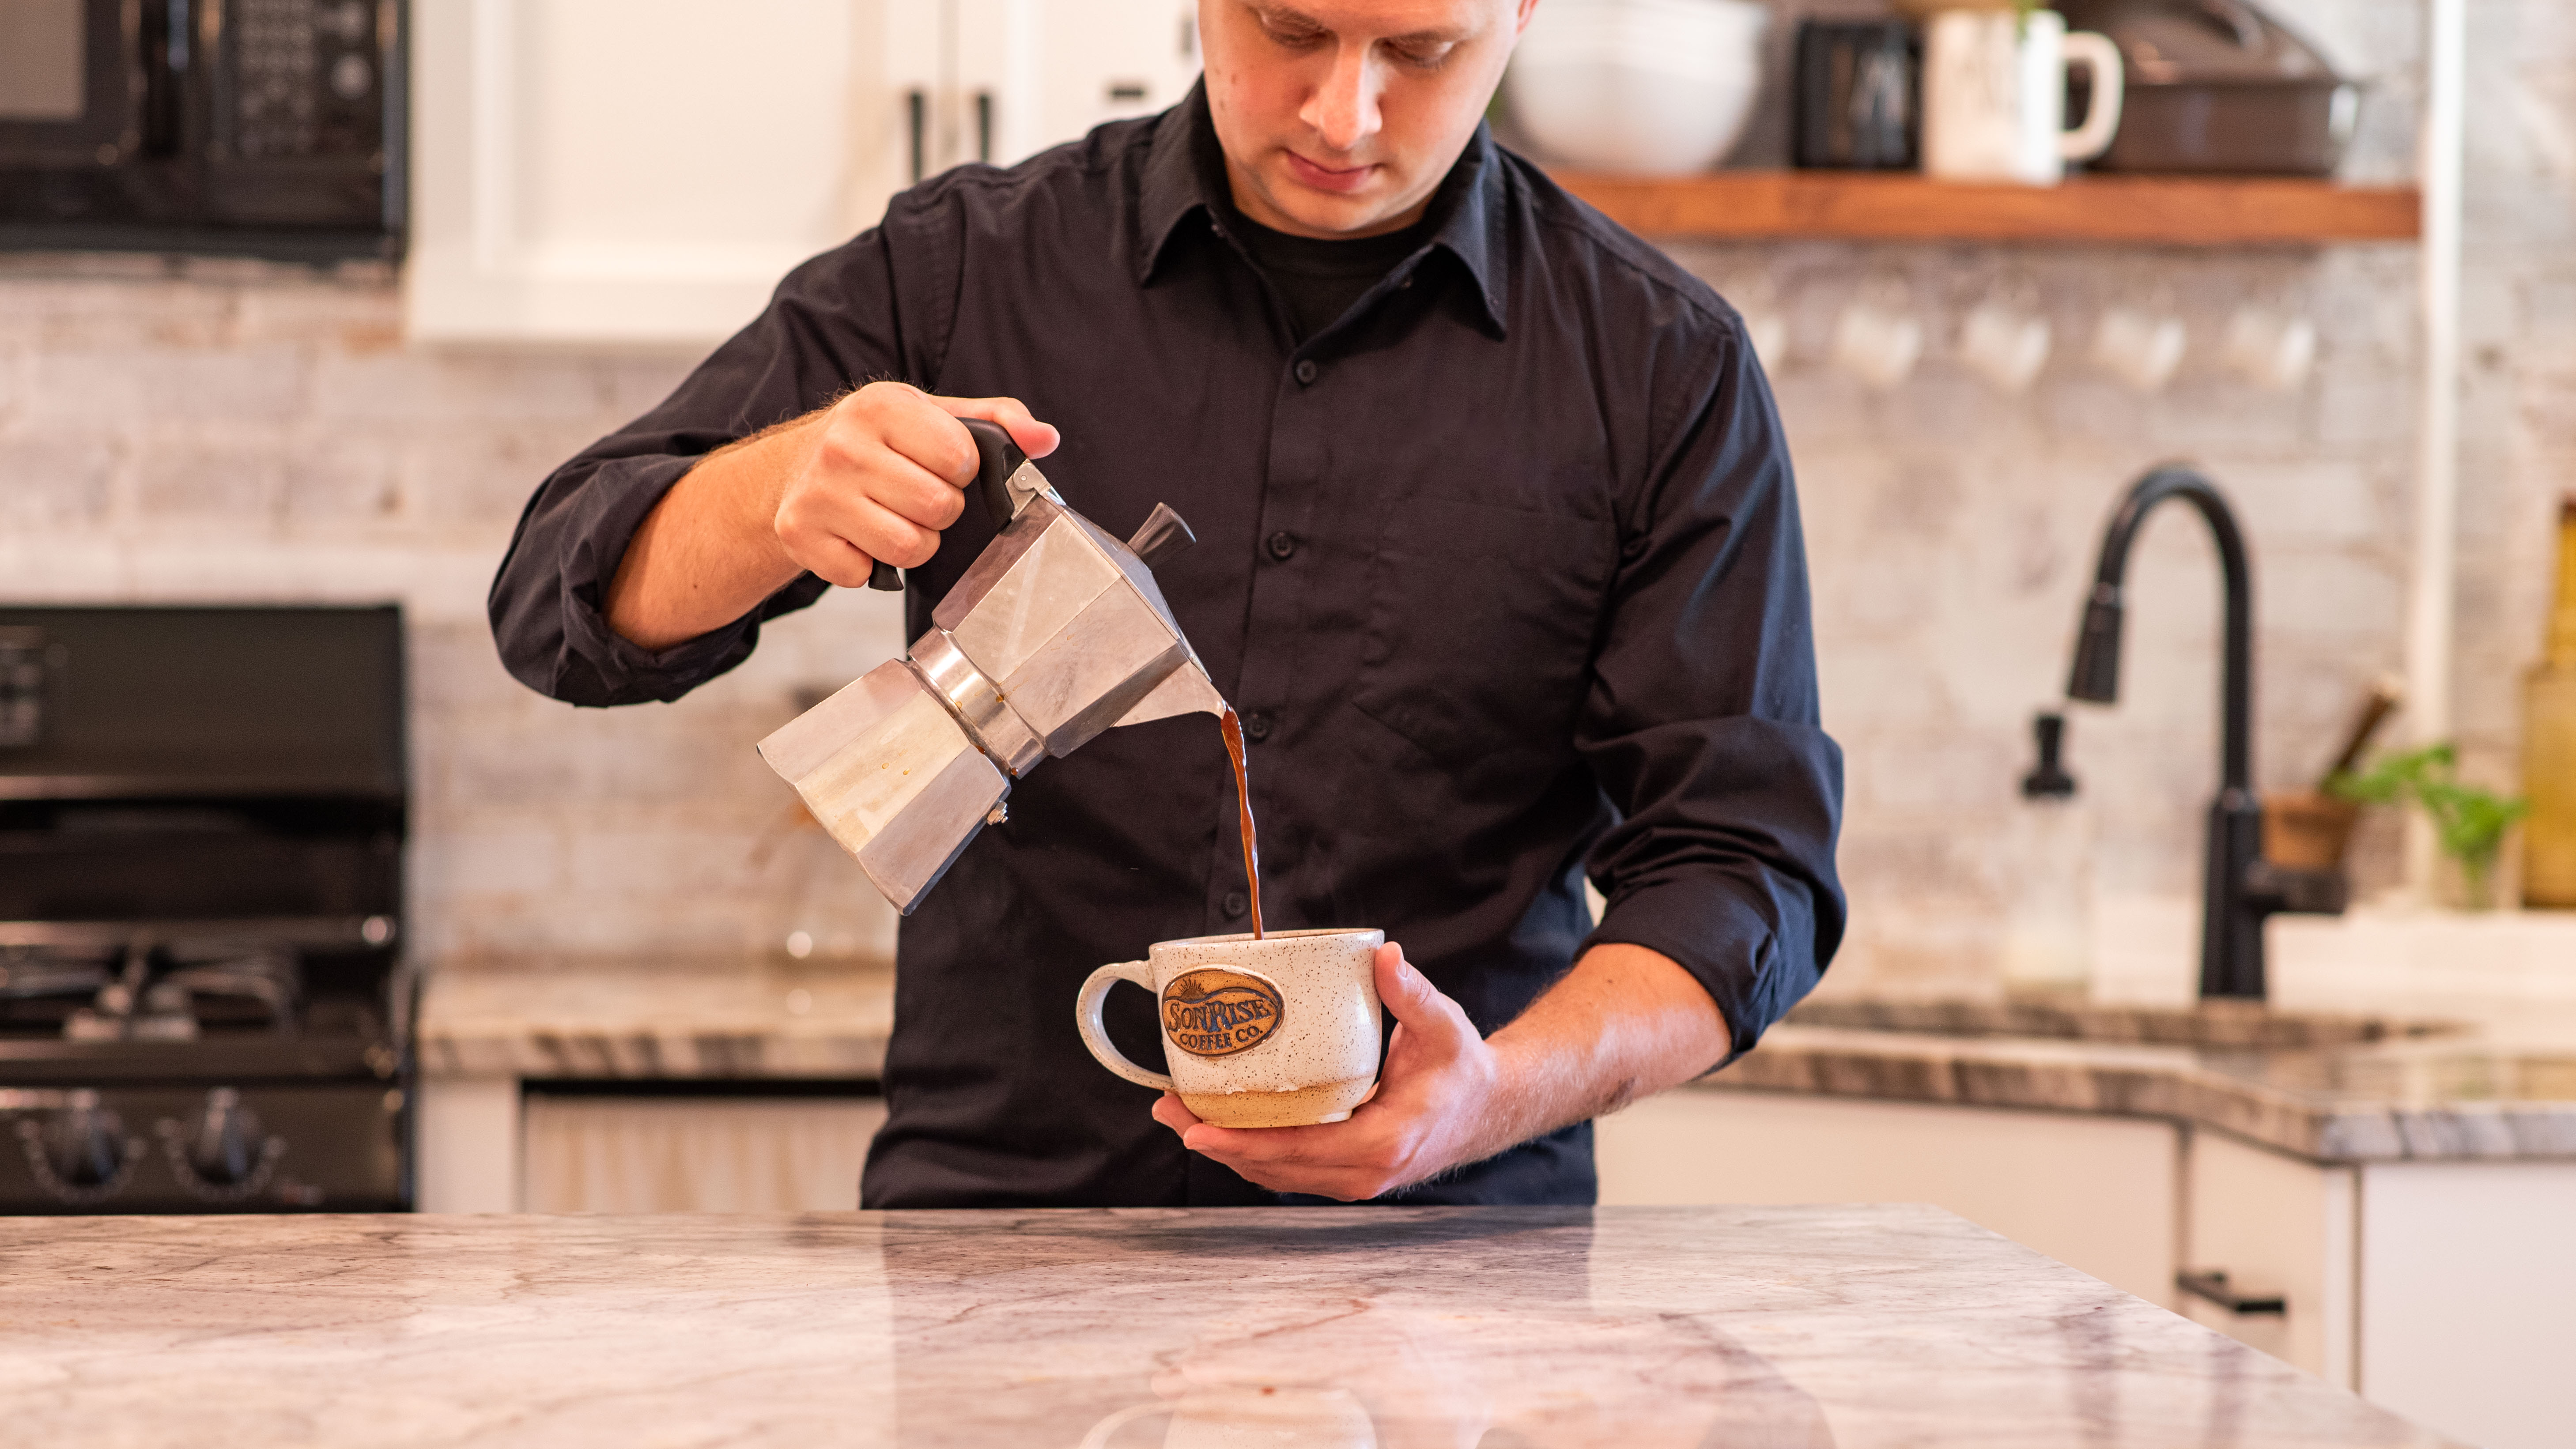
Now, your delicious coffee is ready to be served. Pour it into your favorite coffee mug, and if desired, add some steamed milk for a latte or some hot water to create a simple americano.
Brewing coffee with a Moka pot is an art, and like any art form, it sometimes comes with its challenges. Two common issues you might encounter are using a grind that’s too fine or applying too much heat.
Problem: If your coffee tastes bitter and over-extracted, it might be due to using a grind that’s too fine. Fine grounds slow down the brewing process and can result in a harsh, bitter brew.
Solution: To fix this issue, adjust your coffee grind to be slightly coarser, resembling sea salt rather than powder. This will allow the water to flow more freely through the grounds, preventing over-extraction. Experiment with different grind sizes until you find the sweet spot that suits your taste.
Problem: Applying excessive heat to your Moka pot can lead to a rushed extraction, potentially causing burnt or bitter coffee.
Solution: To avoid this, start with boiling water in the pot, use a low to medium heat, and then adjust as needed. Keep a close eye on your pot throughout the brewing so you can monitor the process and keep the pot from overheating and burning. Patience is key with the Moka pot; it’s better to brew a bit slower than to rush the process.

Make sure to clean your moka pot well after each use. Some Moka pot users will tell you that leaving the extra coffee residue in your pot will improve the quality of your coffee. This is not true and will contribute to a more bitter coffee in the end.
When storing your moka pot, it is best not to have your pot put together. There is a rubber gasket in between the two parts, and having it screwed together will cause that gasket to wear out much quicker than if you store the water tank and the upper brew chamber separately.
If you are looking for a way to brew strong espresso-like coffee or are just interested in trying a new way to make your morning coffee, then I’d encourage you to give the Moka Pot a try.
It is of the Lord's mercies that we are not consumed, because His compassions fail not.
Lamentations 3:22-23
They are new every morning: great is thy faithfulness.
Our vision is to provide sustainable, organic, micro-roasted coffee for our community. We hope to see our fresh organic coffee and tea help you to start your day not just right, but empowered!