Want to Save 10% on Your Order Today?
Sign up for our newsletter and we'll send you a 10% off coupon
Plus stay up-to-date on all things SonRise Coffee!
Sign up for our newsletter and we'll send you a 10% off coupon
Plus stay up-to-date on all things SonRise Coffee!
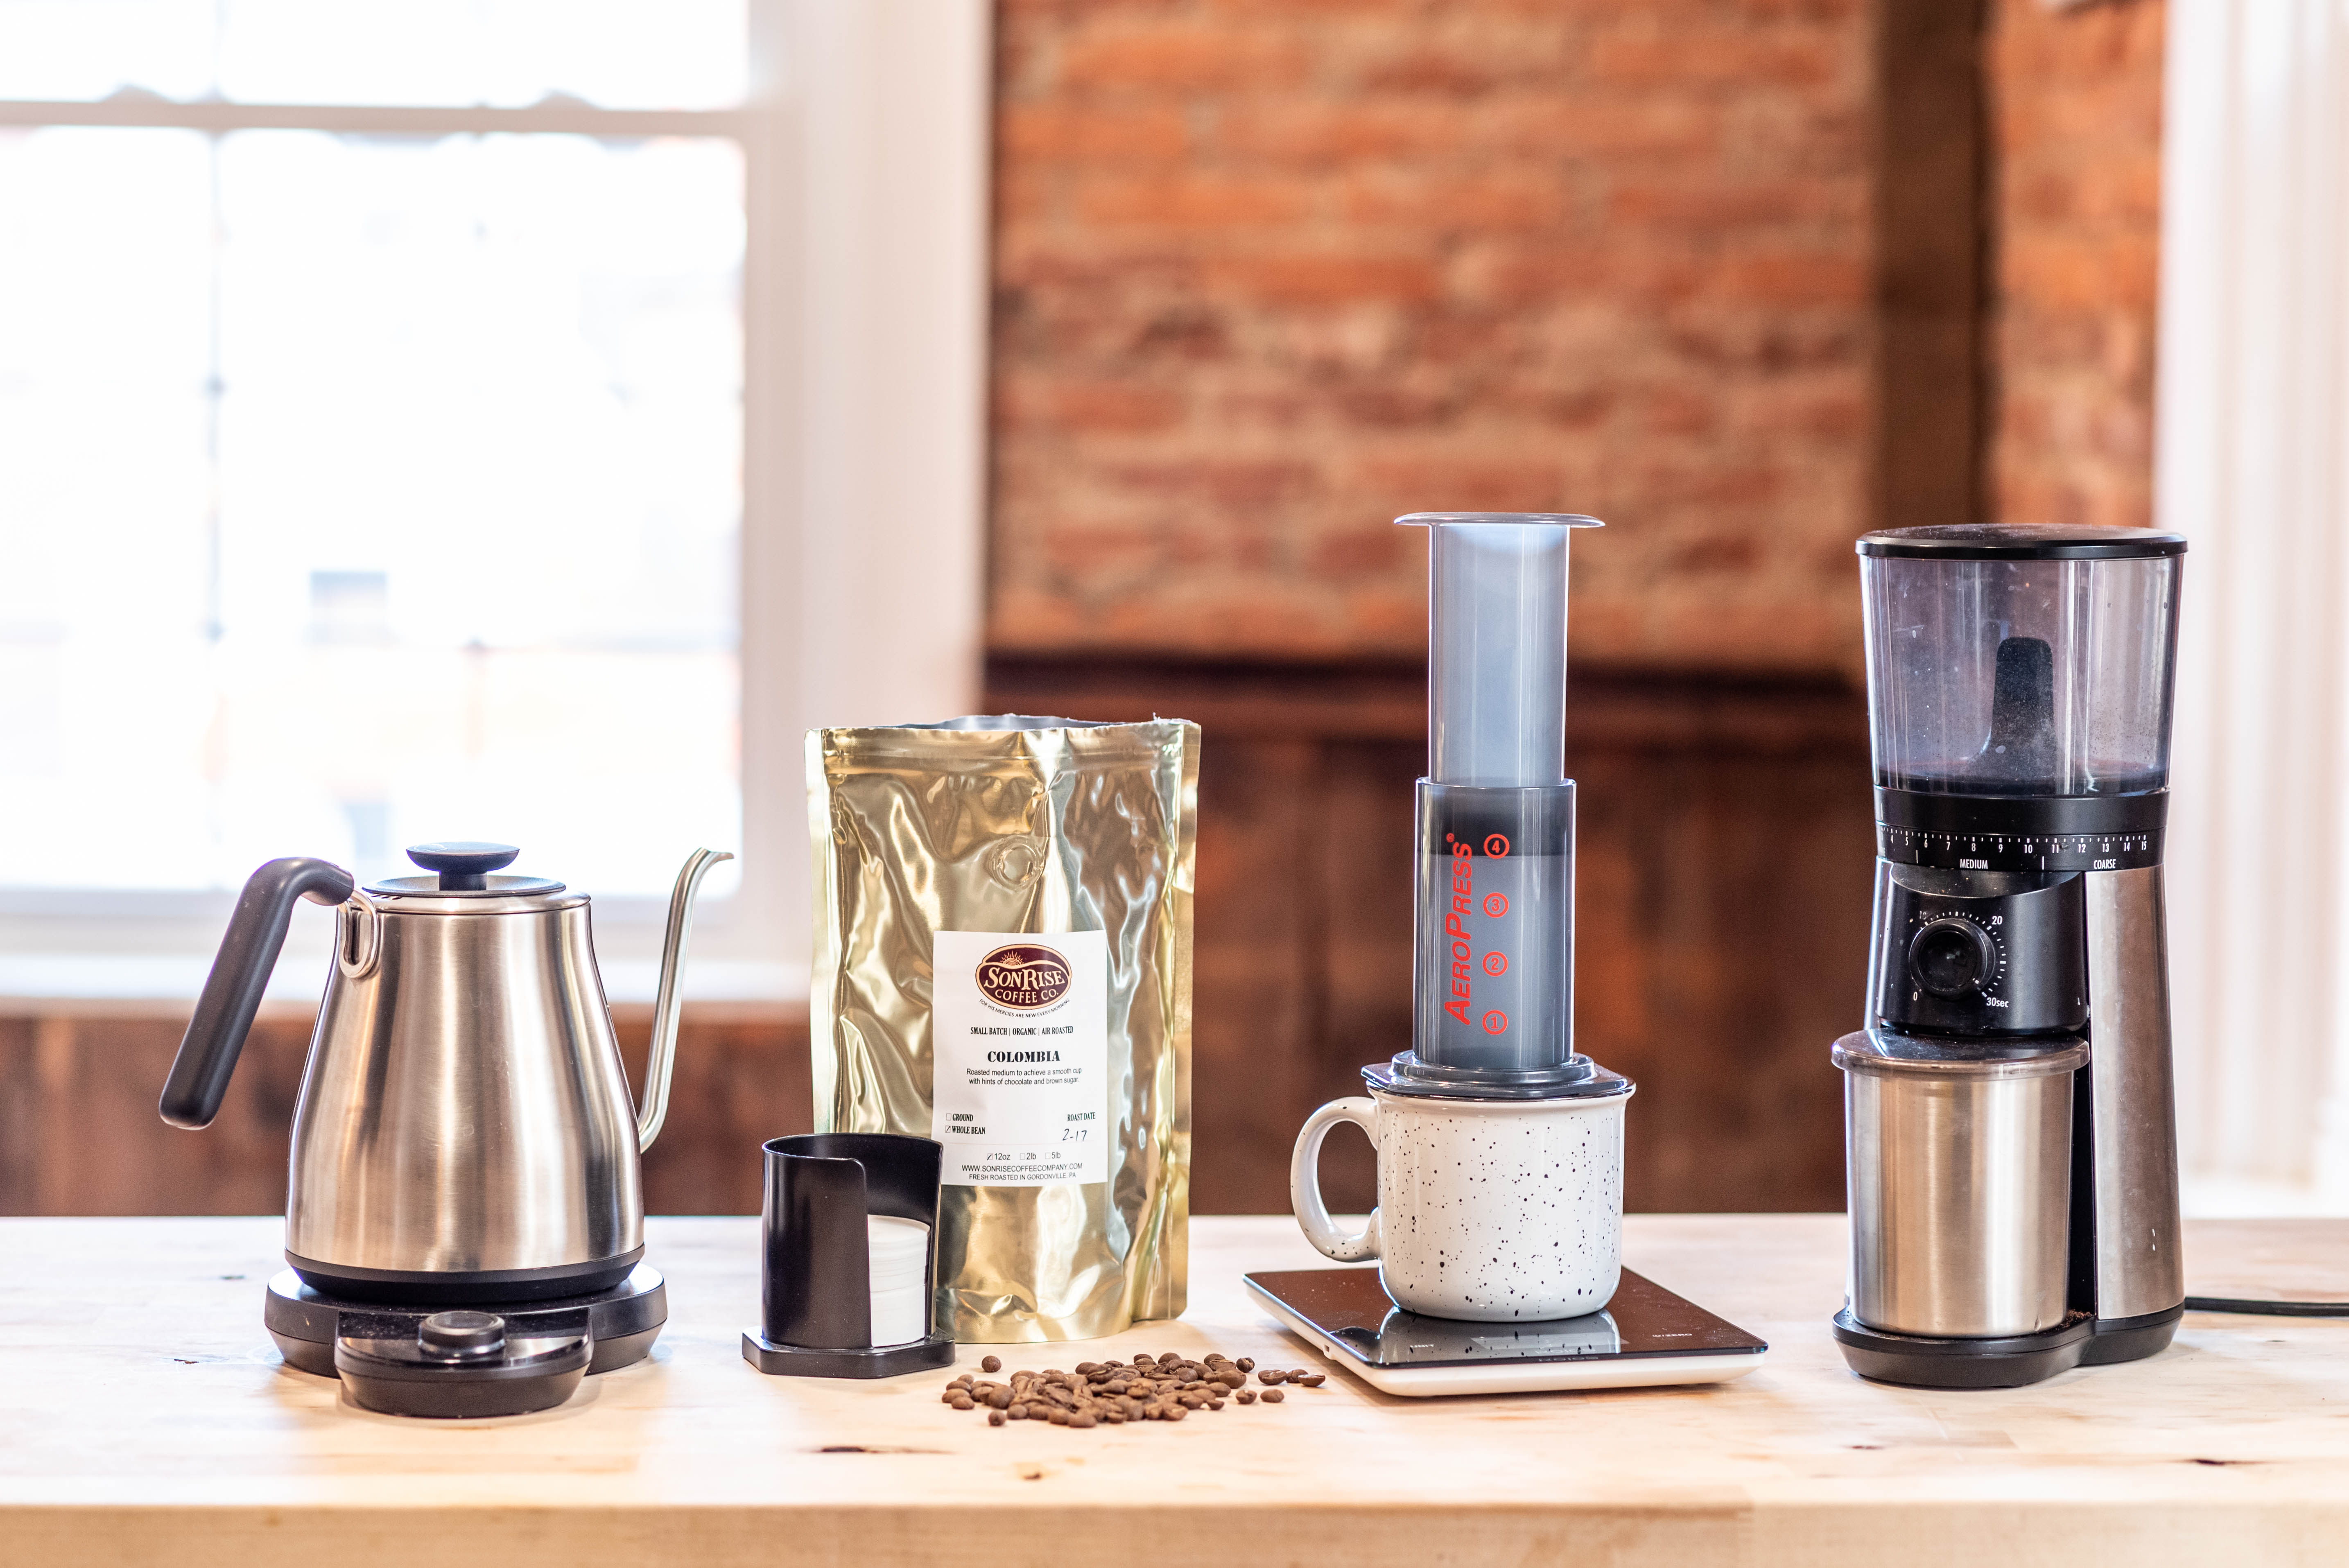
One of the newest brewing methods in the coffee world is the AeroPress. But before we get into how to make AeroPress Coffee, let’s get into the origin of this creative coffee brewing method. It was first invented in the early 2000s. And in a strange twist, Alan Adler, the man that created the AeroPress, is also the inventor of the famous Aerobie Frisbee. The AeroPress is a brewing method that uses pressure to force water through the coffee grounds. This creates an espresso-like brew that can be used as is, or you can add water for a regular cup of coffee.

The reason so many coffee enthusiasts love the AeroPress is due to how simple it is to get a great cup of coffee. Unlike the popular pour-over method, the AeroPress isn’t all about precision and is the preferred brewing method if you’re traveling.
While there are countless ways of brewing a cup of AeroPress coffee, getting a consistent cup of fantastic coffee can be challenging. That is why we’re here today. In this easy 8-Step Guide, we’ll show the tips and tricks you need to know to get your ideal cup of coffee every time using the AeroPress.
So let’s get into how to use the AeroPress to make yourself a delicious cup of coffee!
The AeroPress is a relatively recent addition to the coffee world. That hasn’t kept coffee aficionados around the globe from adding their own variation to the basic AeroPress brew. A quick search for AeroPress recipes will uncover a plethora of ideas. These “recipes” primarily adjust the three main variables in the AeroPress brewing process.
These factors significantly affect the finished product, so as you start your AeroPress journey, be sure to experiment with these factors to find your ideal recipe.
Whatever recipe you choose, you will either be brewing your coffee using one of two methods.
Today we’ll be showing the standard AeroPress brewing method. Just know that you can easily convert this or any other recipe for use with the inverted brewing method.
The sweet spot for coffee to water ratio in an AeroPress is 15-20 grams of coffee to 200-220 grams of water. This is a great place to start, and you can adjust both the amount of coffee and the grind to find what you like best. For sake of consistency, we’ll go with a ratio of 17 grams of coffee to 220 grams of water.
Your Favorite Mug: You will need a mug or beaker to brew your coffee into. Because you will be pressing the AeroPress directly onto your mug, make sure to use one that is strong and sturdy.
Now that you have all the items you need to brew your coffee lets get into the details of how to make AeroPress coffee.
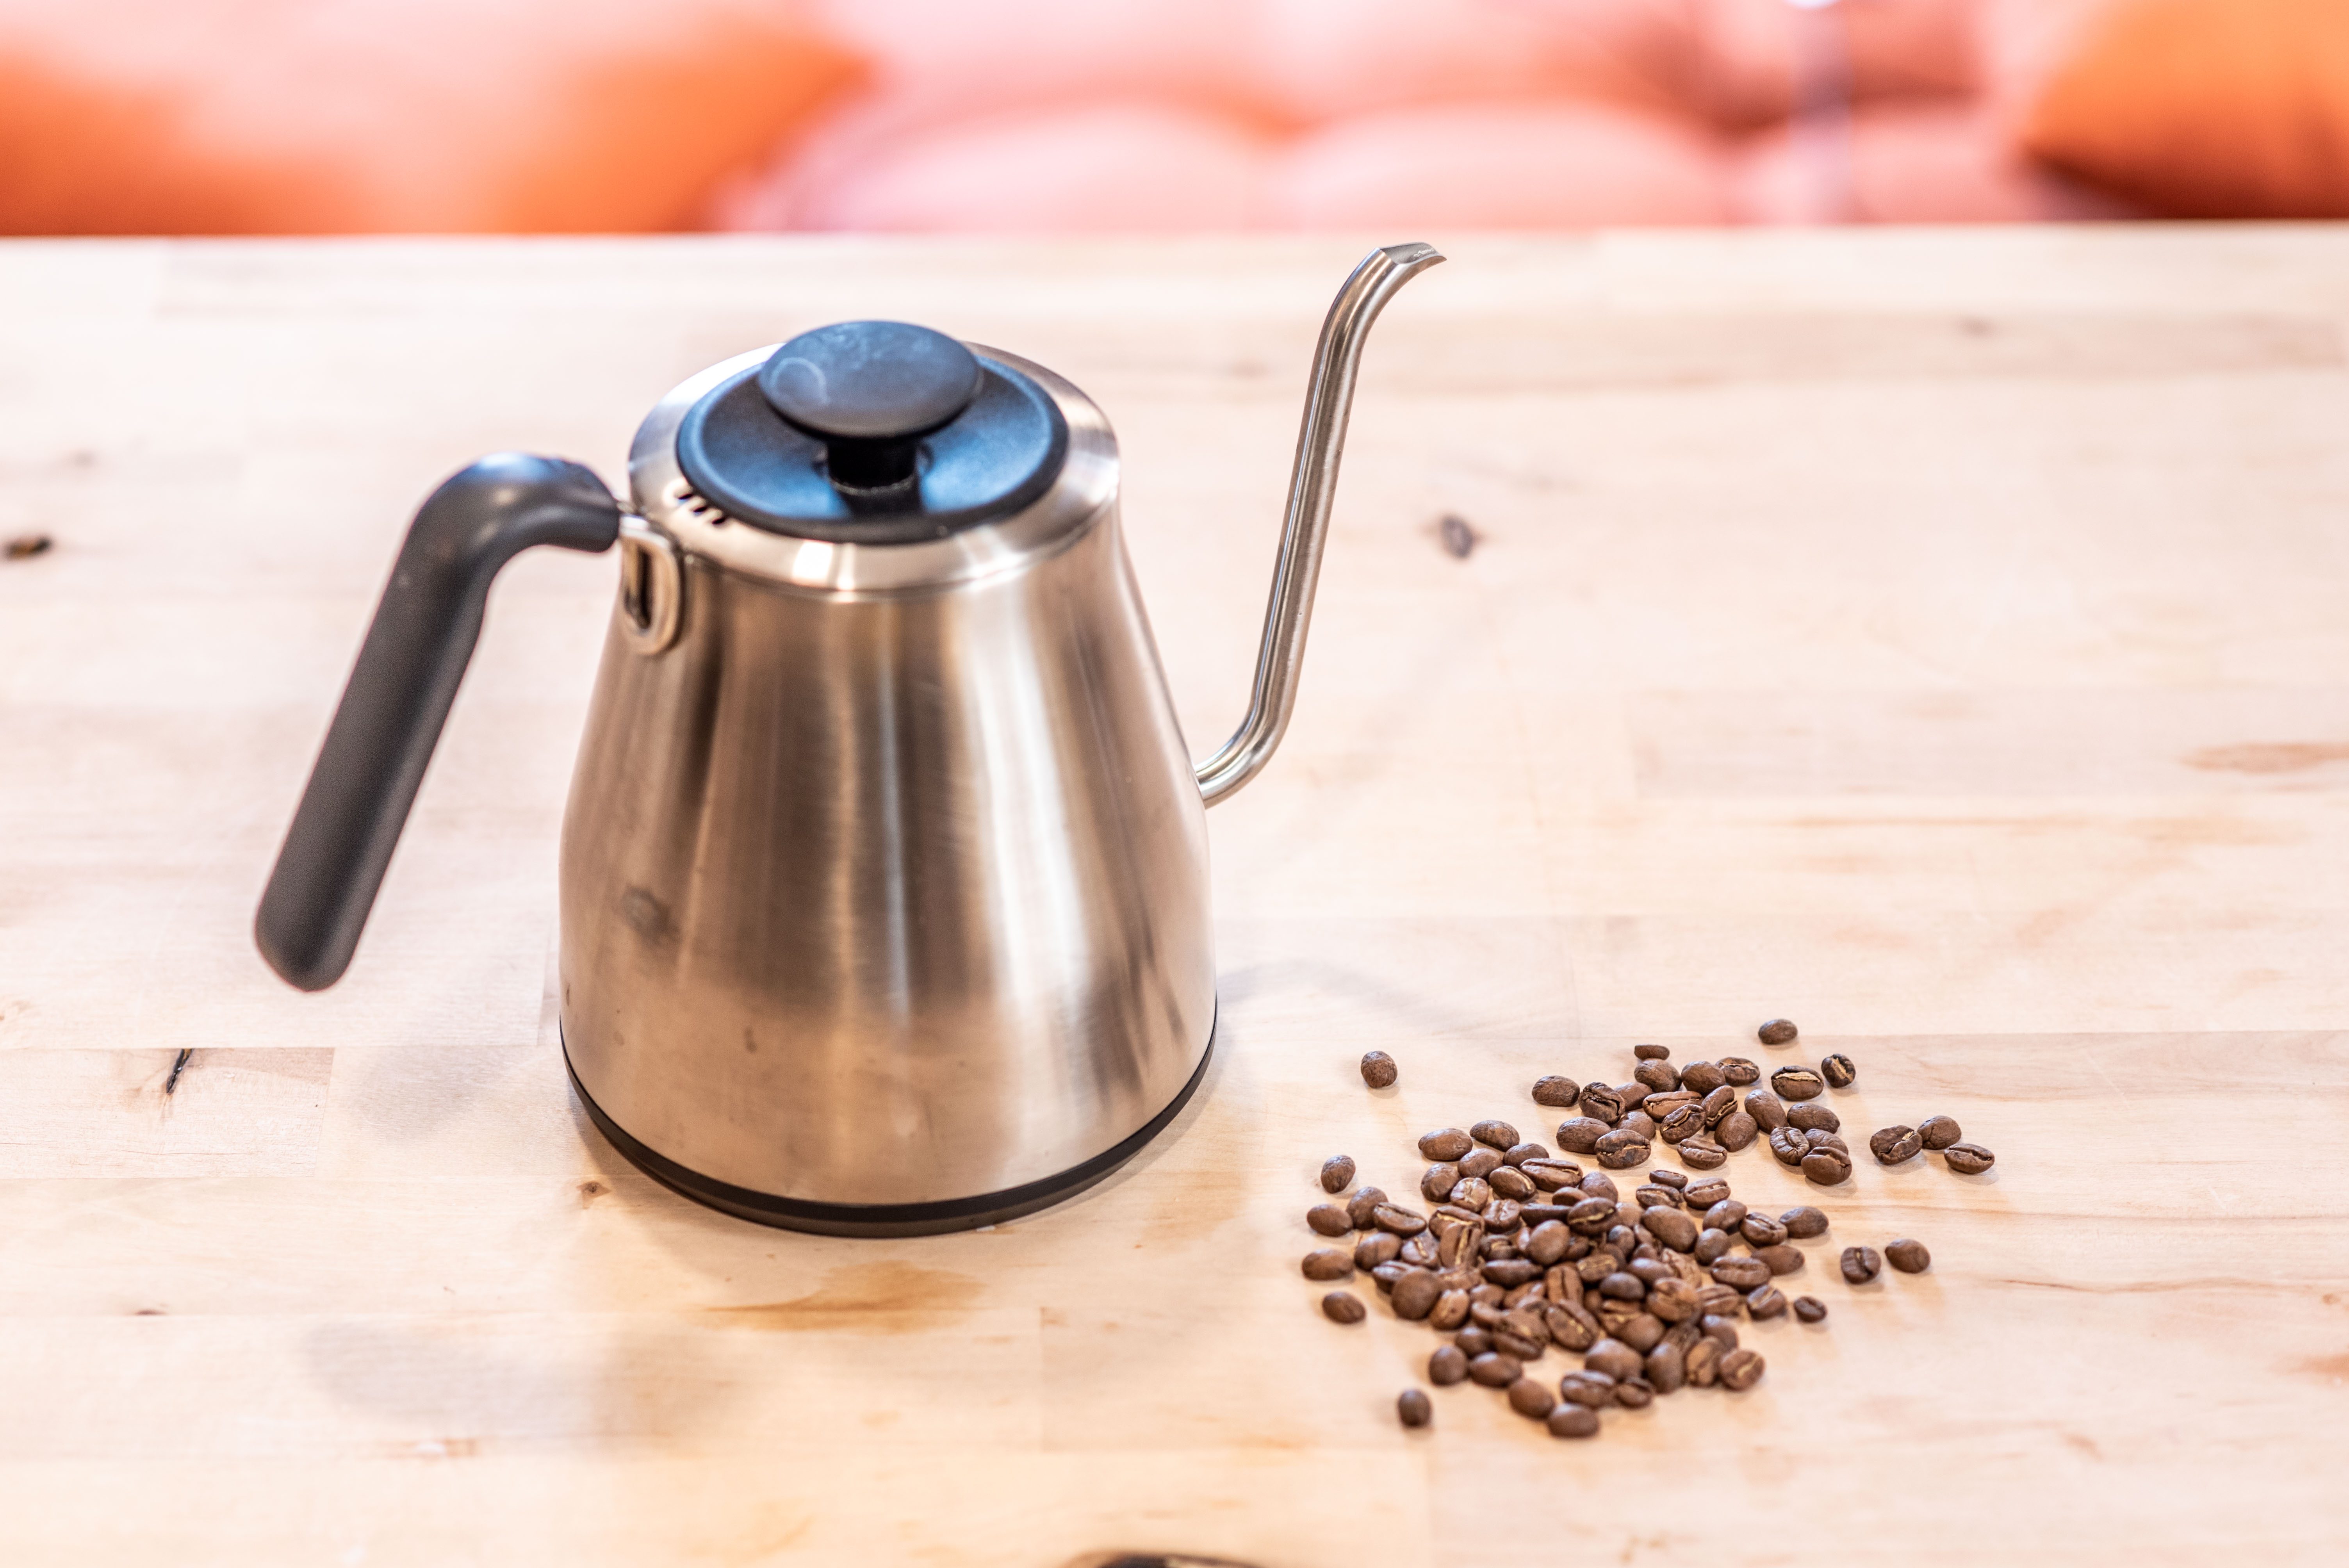
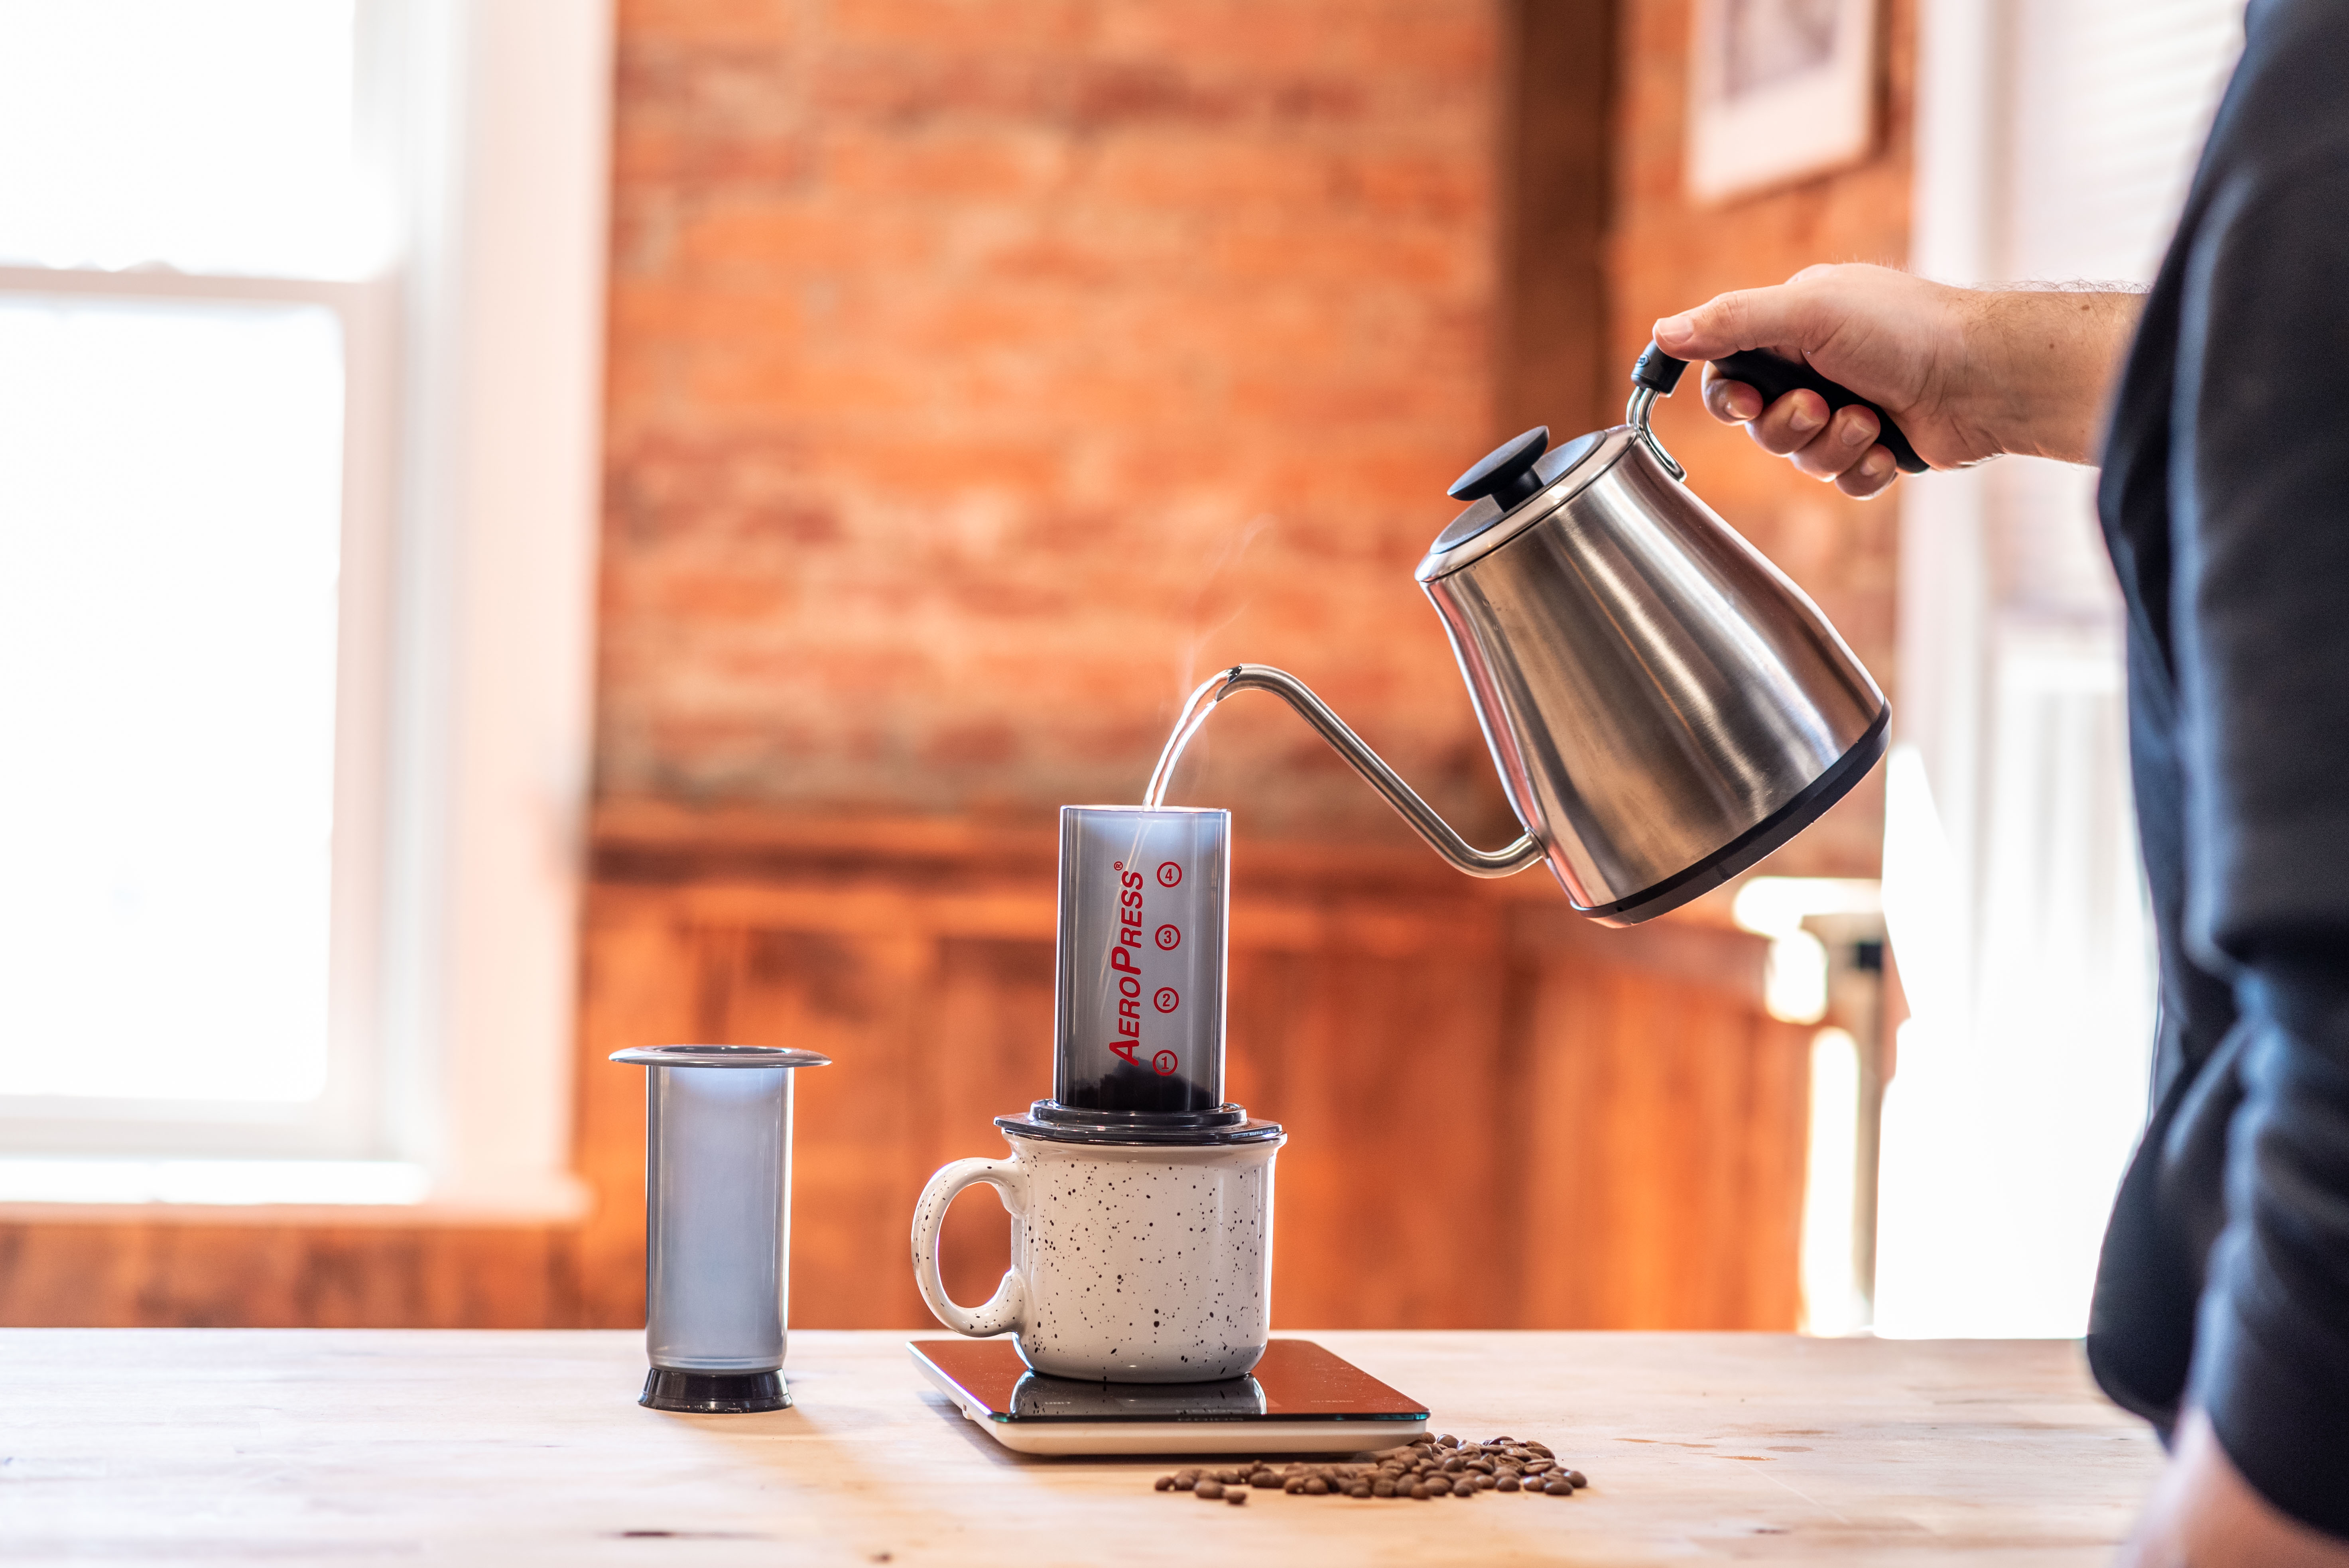
Begin by heating up your water. You can use whatever kettle you have in your kitchen, or you can invest in a fancy gooseneck kettle. The ideal temperature for an AeroPress brew is around 200-205 degrees or just off the boil.
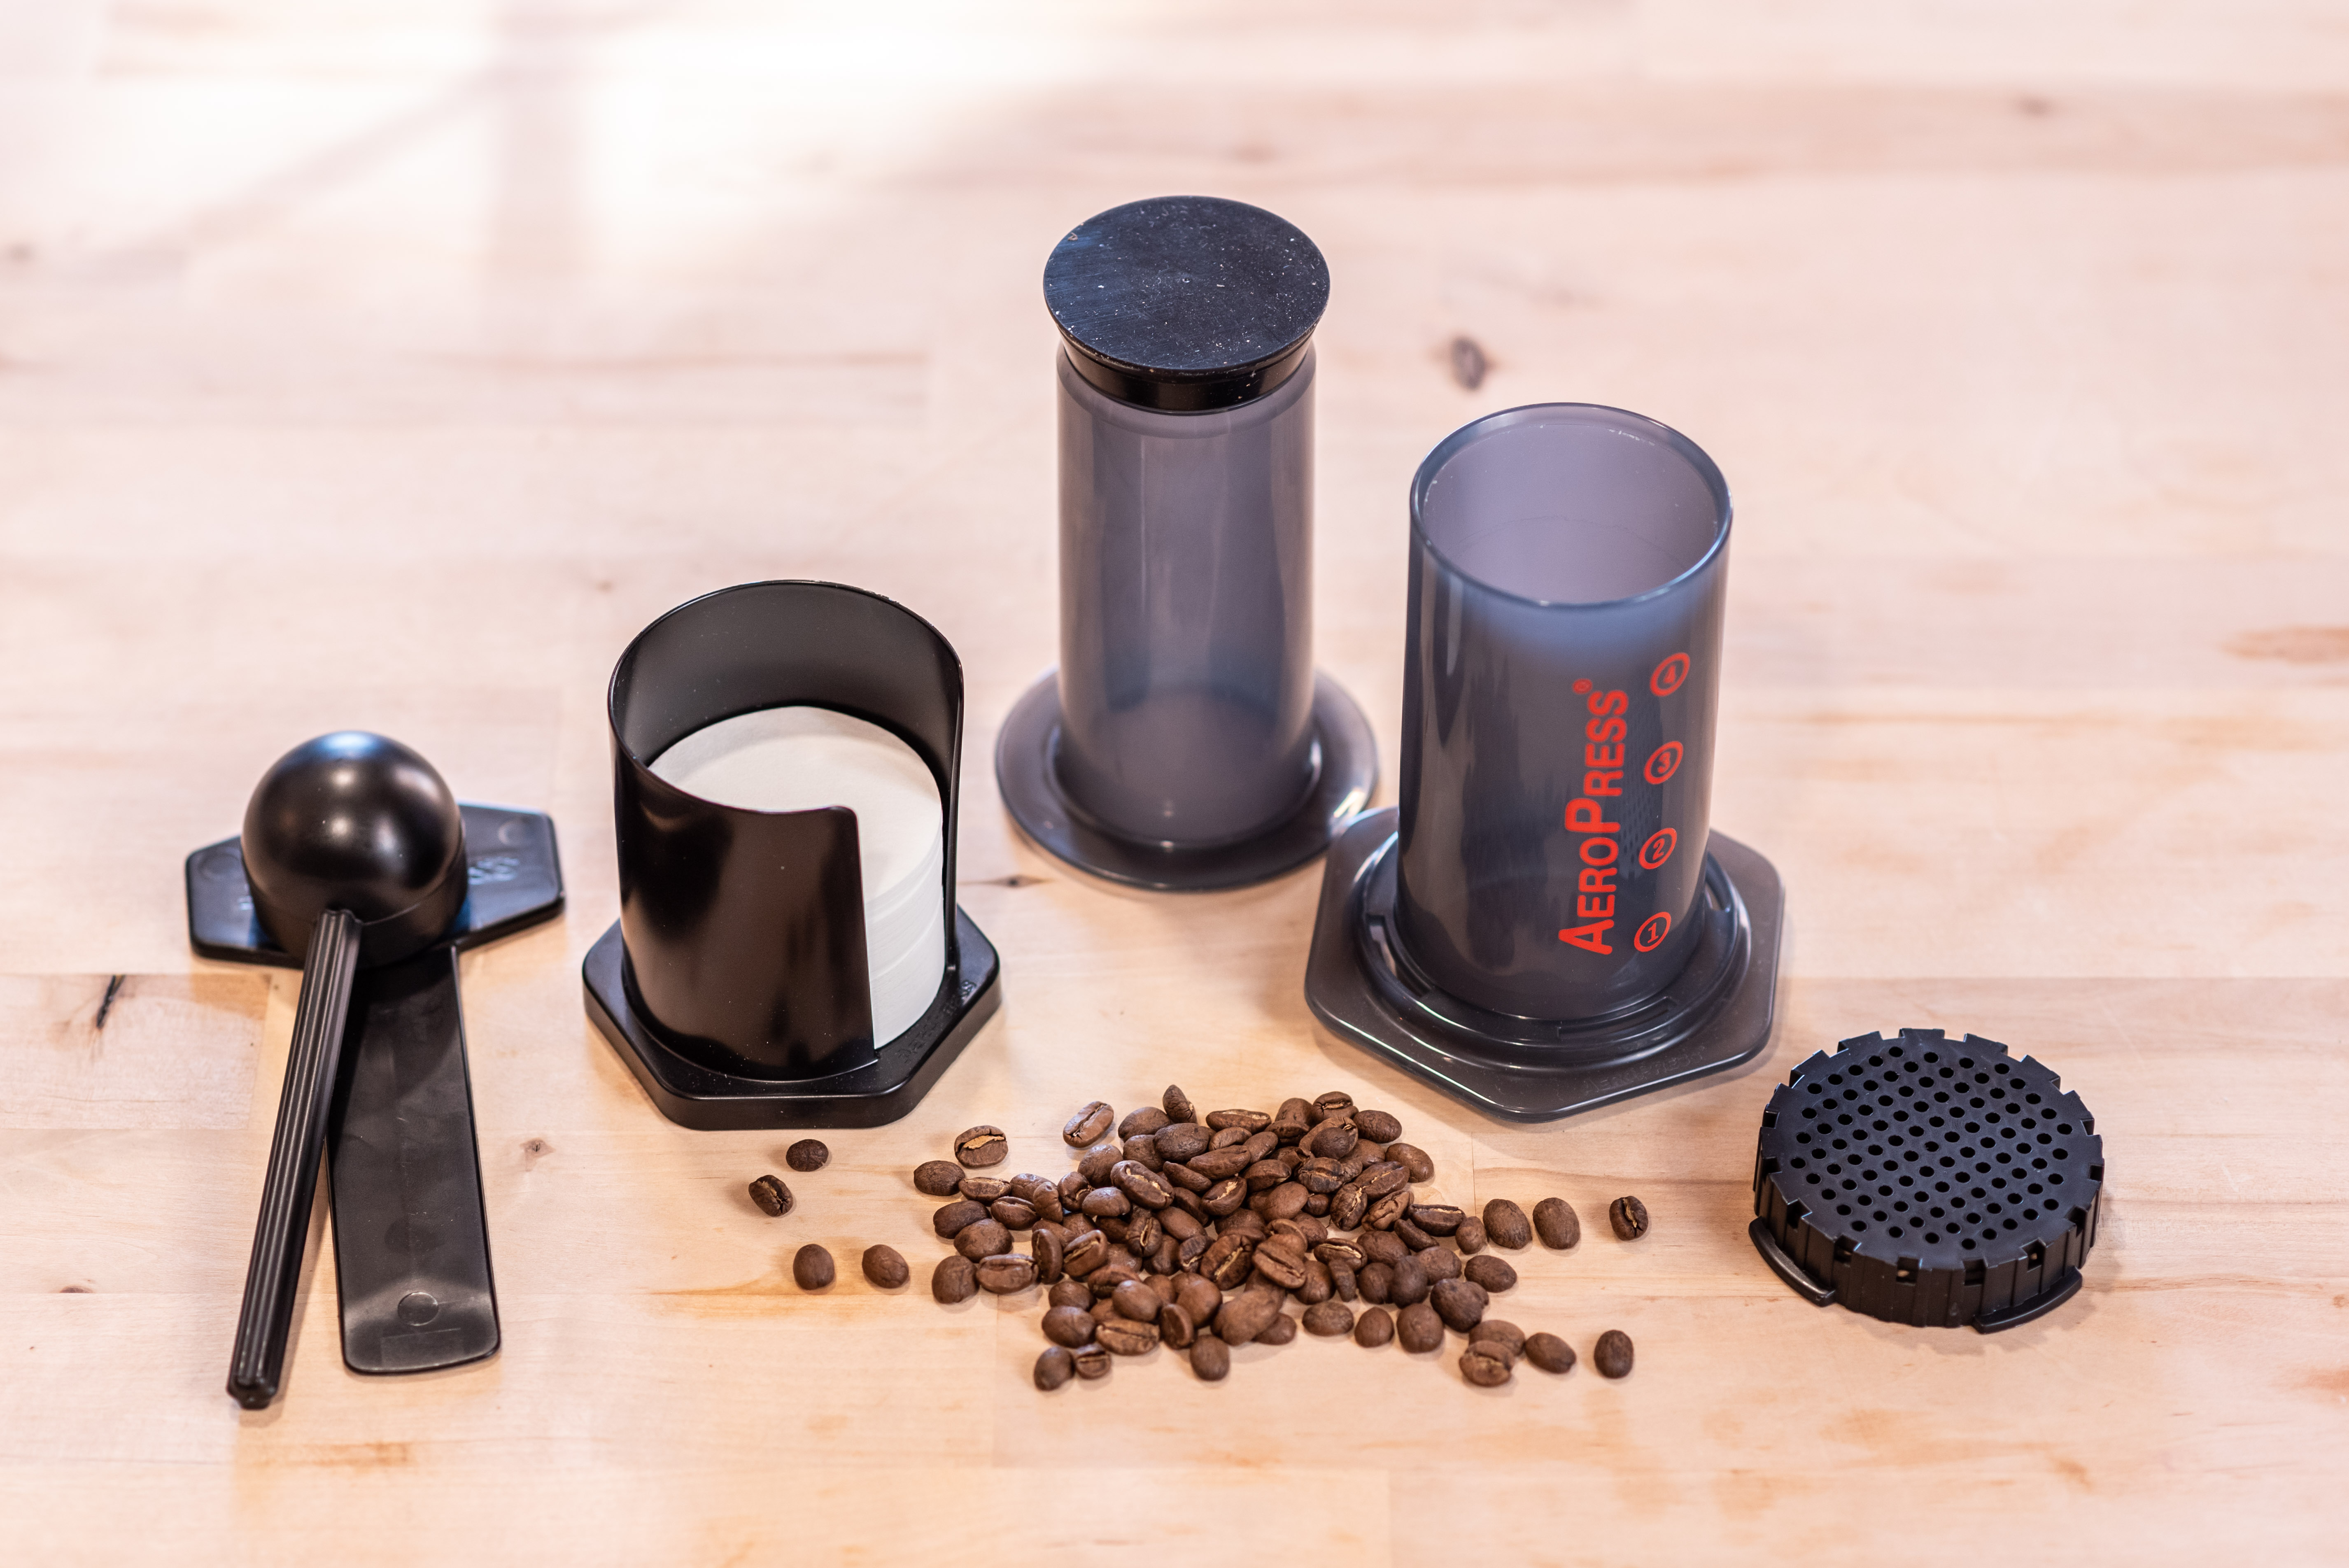
Once your water is heating, you can prepare your AeroPress. Start by adding a paper micro-filter to the basket or filter cap. Screw the basket with the micro-filter onto the brew chamber and put the brew chamber on your mug in the standard (upright) position.

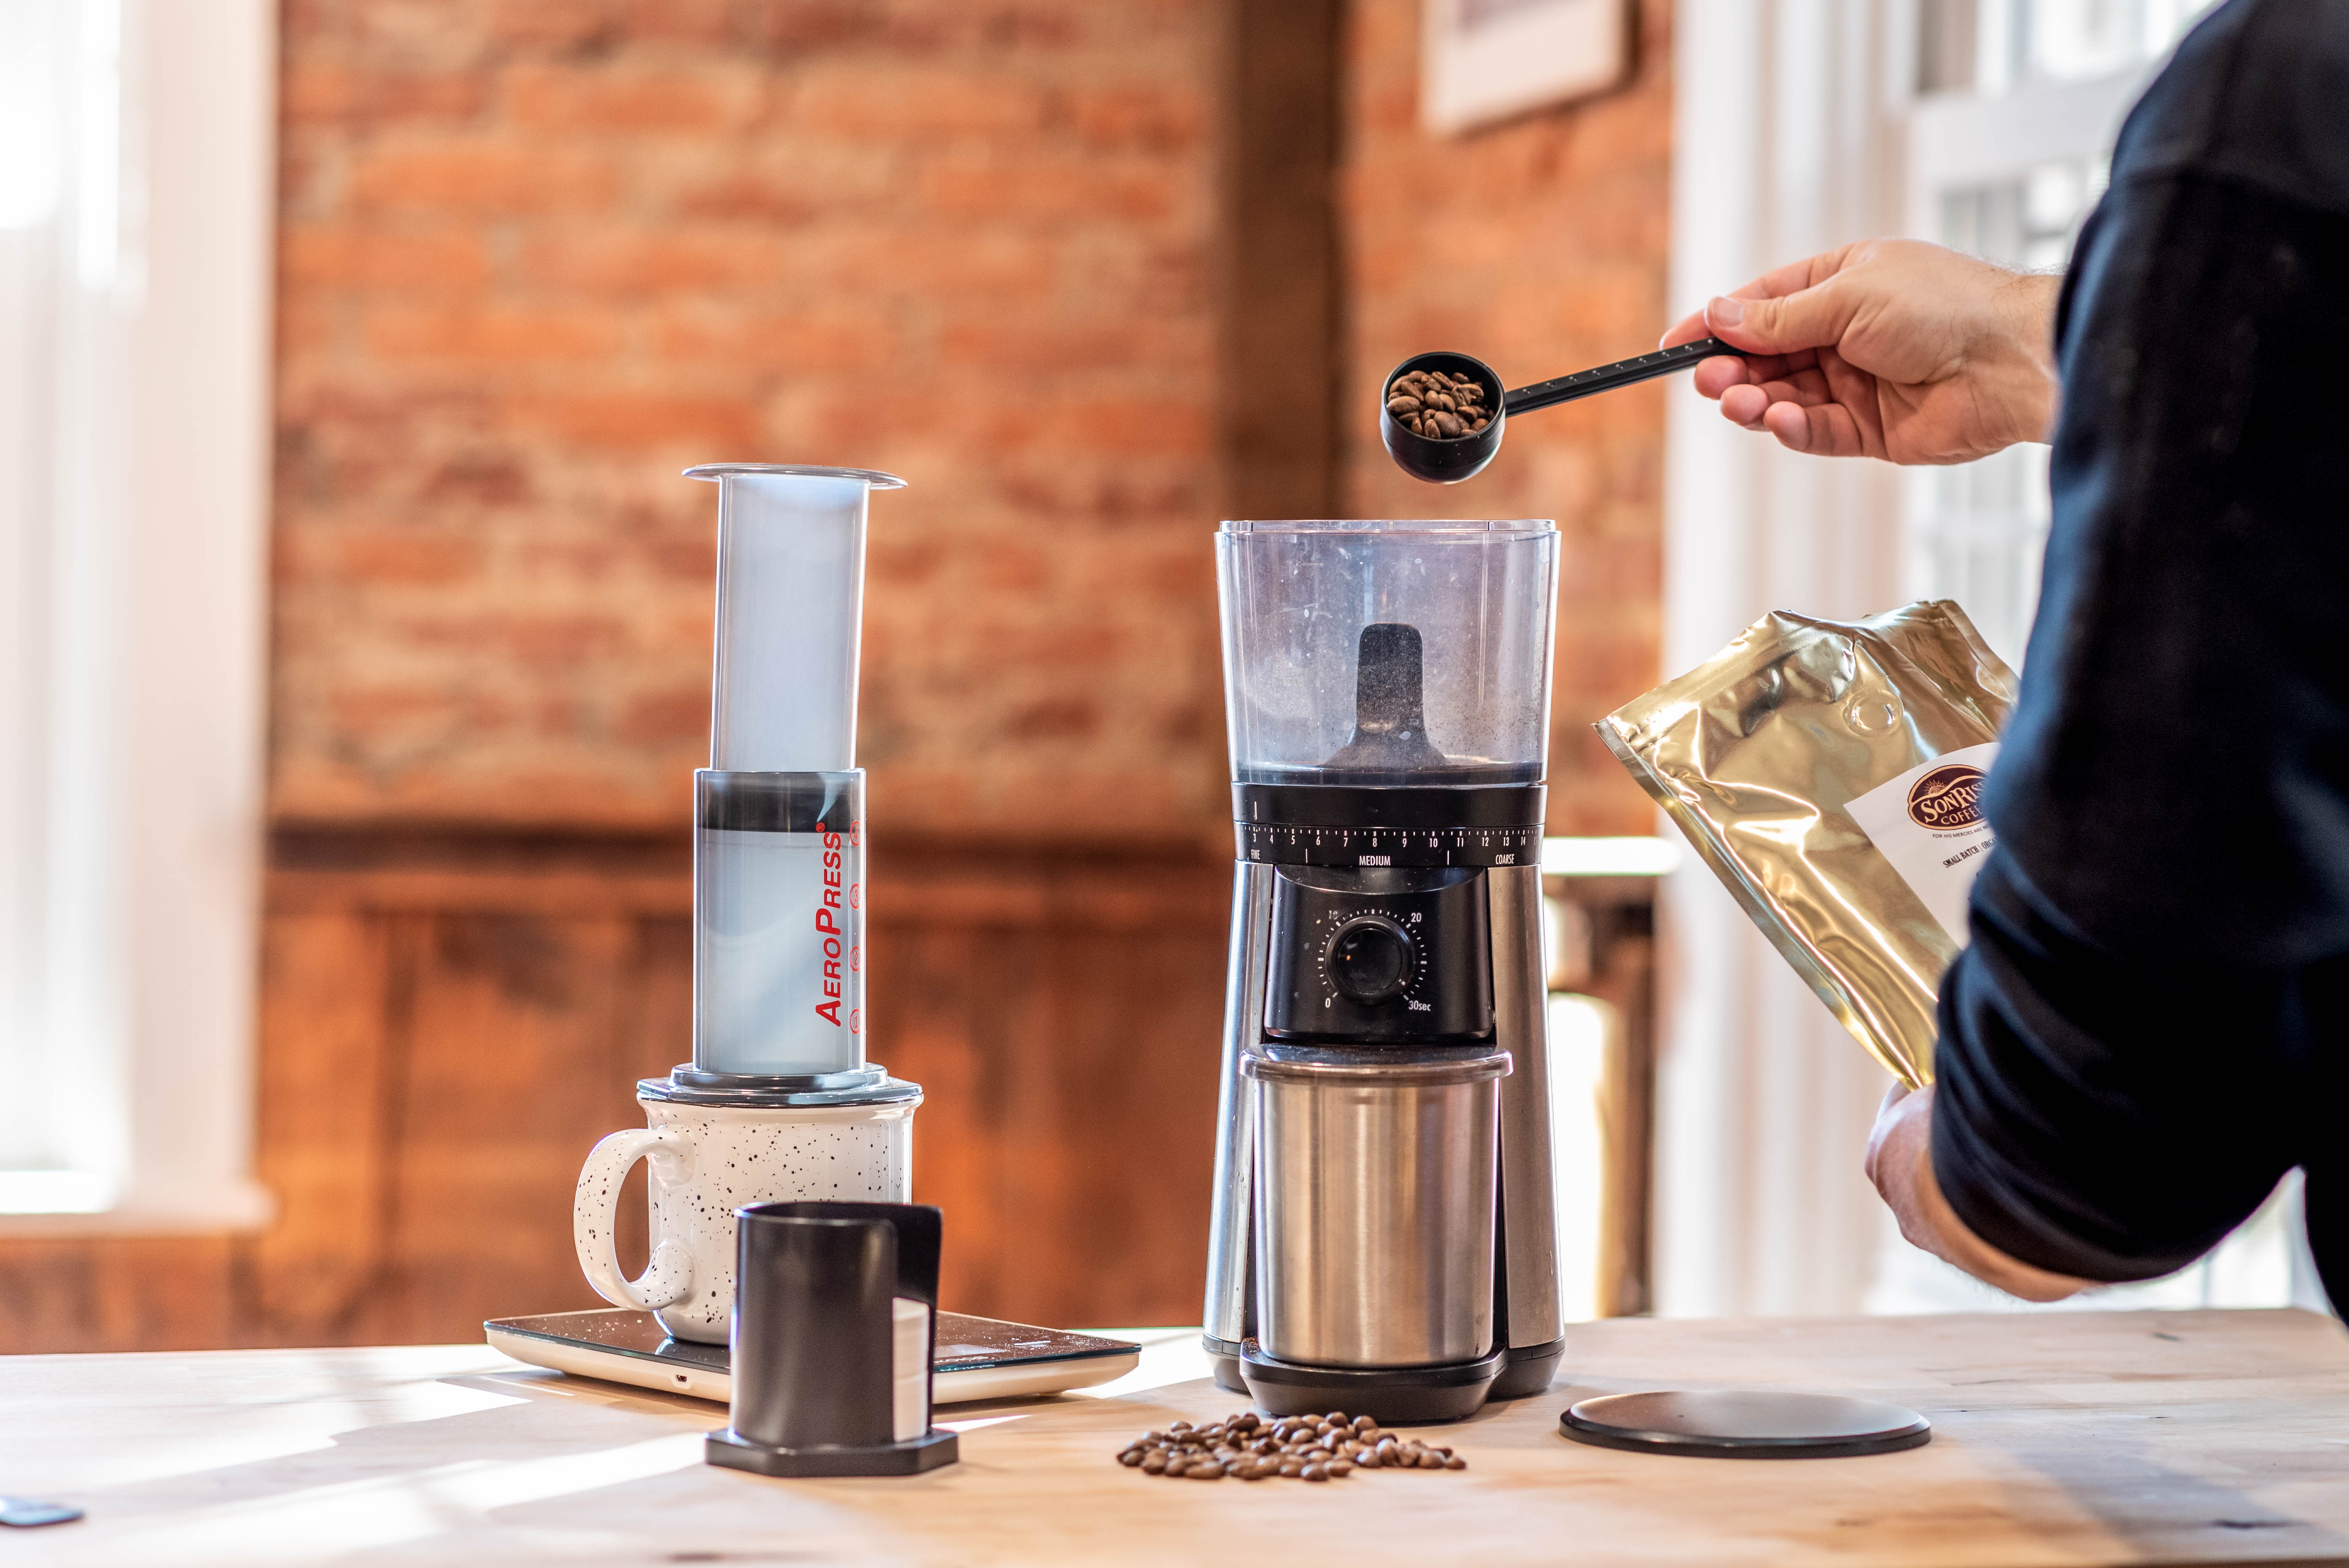
Measure out 17 grams (or a little more than ½ ounce) of coffee and put it in your preferred grinder. The scoop provided by AeroPress is approximately 16 grams. AeroPress recommends a medium-fine grind, similar to what is used for pour-over, although most coffee aficionados prefer a bit coarser grind. If you use the Baratza Encore, we recommend setting the grind to 12.
Add the grounds to the AeroPress brewing chamber.
Add water up to the #4 on the side of the brew chamber. This is about 200-220 grams (or 7 ounces) of hot water, poured slowly. This should take about 10 seconds. Then, with the Aeropress paddle, stir the slurry (coffee and water mixture) well. You want to make sure that all the grounds are fully saturated.
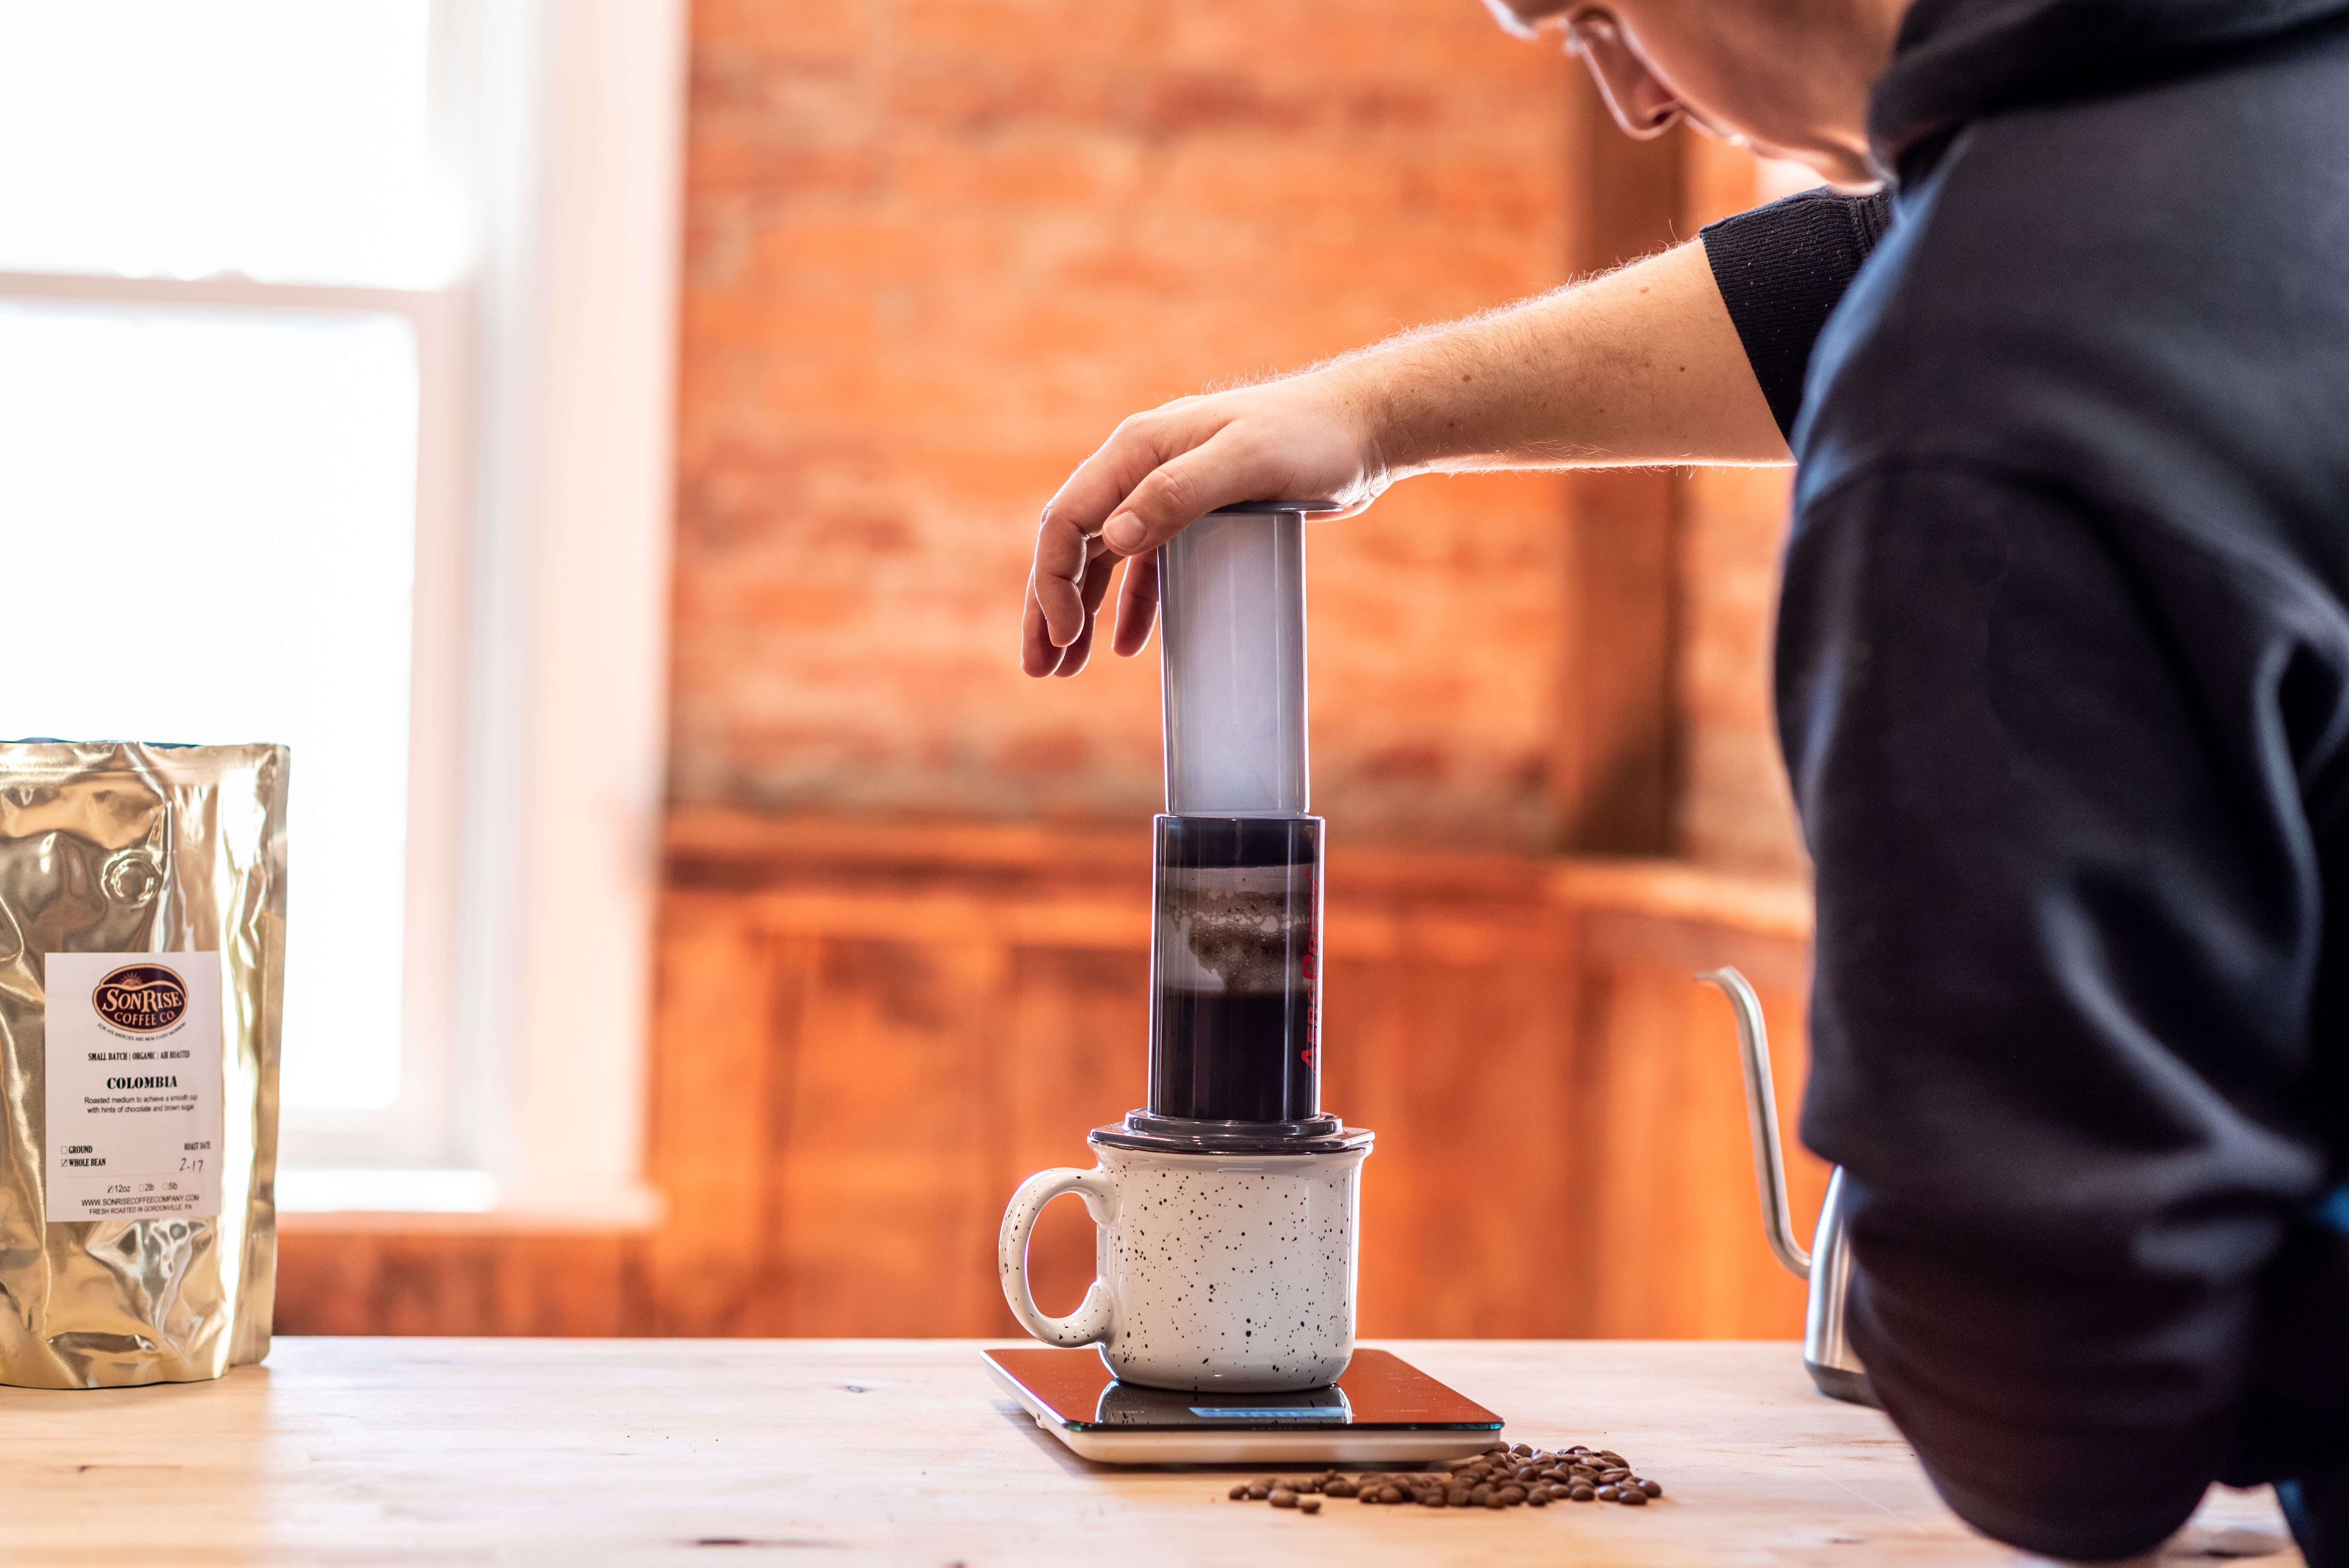
As soon as possible, insert the plunger into the brew chamber about one inch. This creates a vacuum inside the chamber, keeping the water in the chamber until you are ready to press. The general consensus is that you need to let your AeroPress coffee steep for 1 ½ to 2 minutes, although each recipe will have its “ideal” brew time.

At 1 minute and 15 seconds, pick up the entire press and gently swirl the brewer to agitate the slurry. Wait for another 30 seconds, and then begin pressing the coffee. Slowly and evenly press all the way down until you hear a slight hissing sound. The entire press should take approximately 30 seconds.
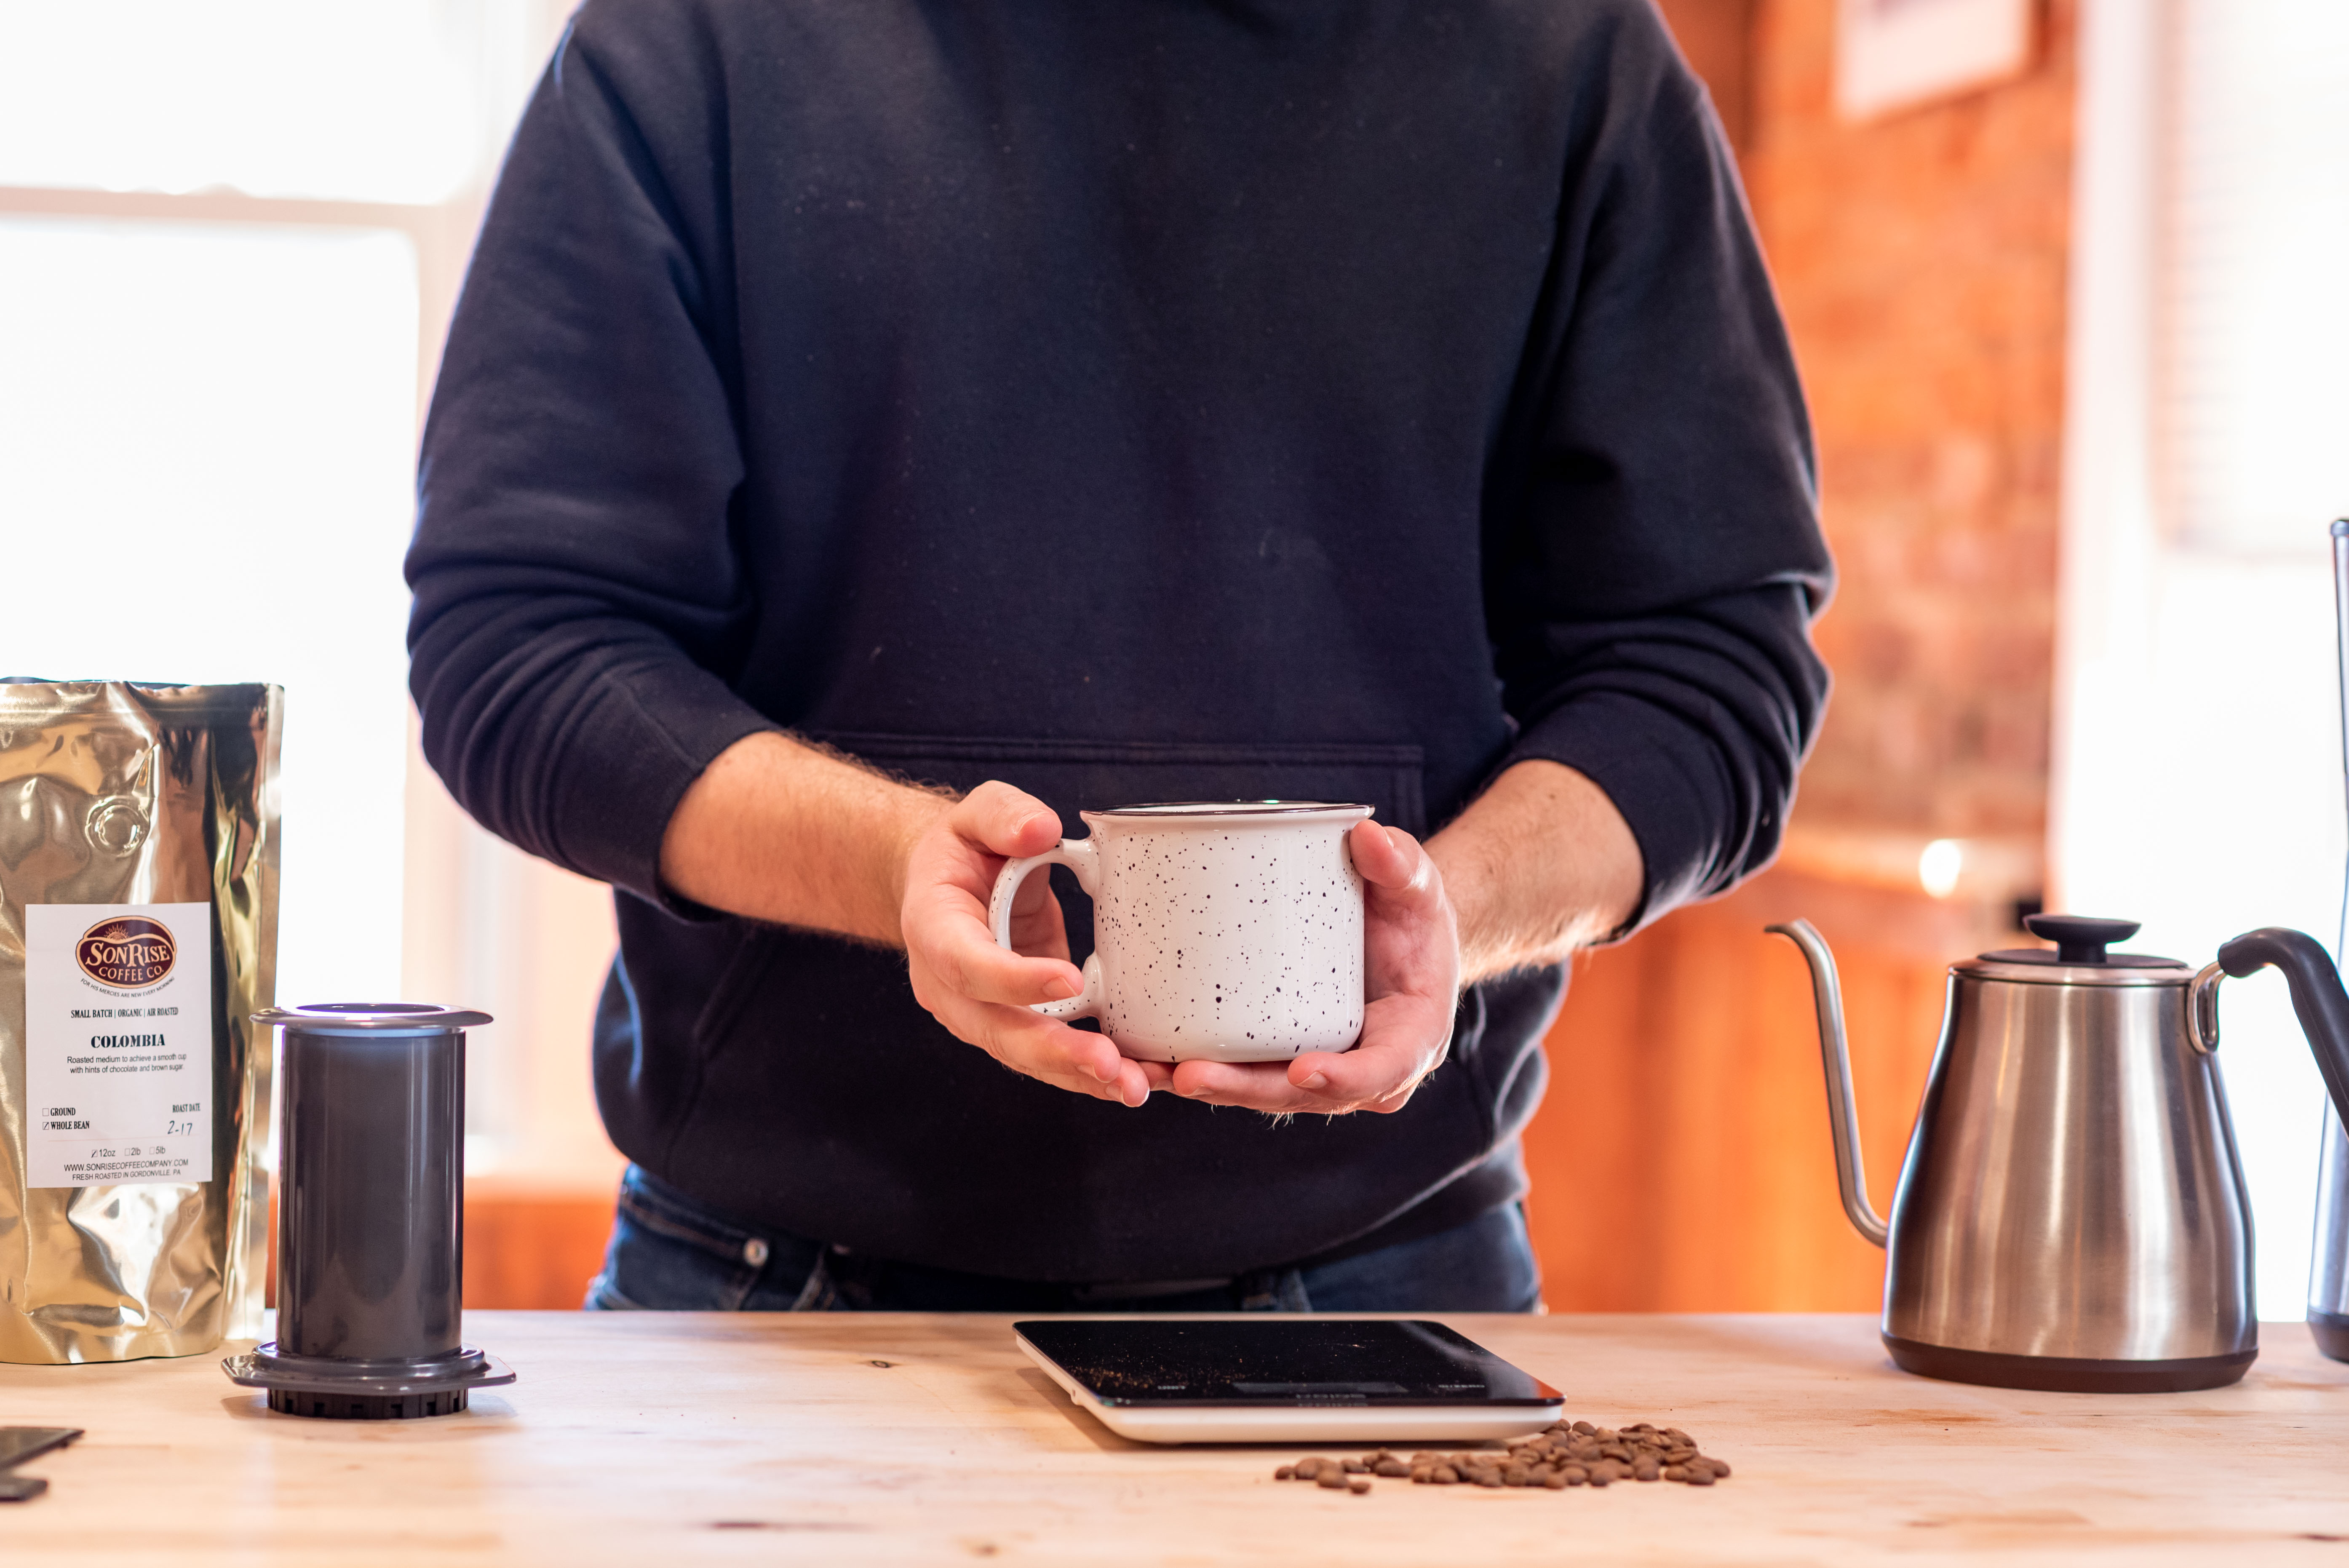
When your brew is complete, simply unscrew the filter cap and gently press out the coffee grounds. If the brew was done correctly, you’ll end up with a nice, clean puck of spent coffee. After that, all you need to do is to rinse out the Aeropress, and your clean-up routine is complete.

And just like that, you have a great cup of coffee with very little hassle or mess. You can easily adjust the strength of your cup by adding more hot water to your mug. Then sit back, relax, and enjoy a delicious cup of coffee.
If you are looking for a simple yet delicious way of brewing yourself a single cup of coffee, then the AeroPress is the perfect solution! The ease of using the AeroPress makes it a popular yet inexpensive way to get into the specialty coffee scene. So what are you waiting for? Grab an AeroPress and some fresh roasted organic coffee, and try your hand at this incredible way to make your morning brew.


It is of the Lord's mercies that we are not consumed, because His compassions fail not.
Lamentations 3:22-23
They are new every morning: great is thy faithfulness.
Our vision is to provide sustainable, organic, micro-roasted coffee for our community. We hope to see our fresh organic coffee and tea help you to start your day not just right, but empowered!